
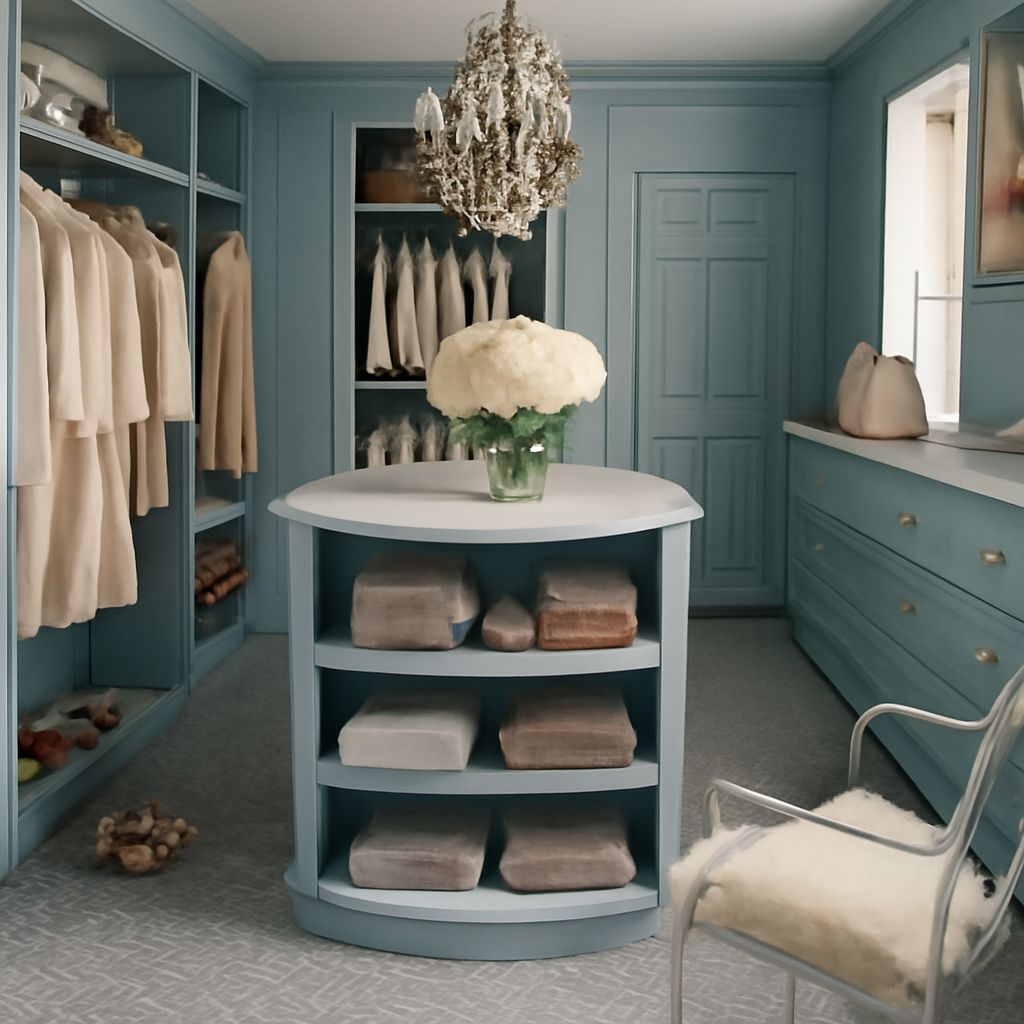
To learn how to design a walk-in closet, start with the wardrobe rather than the cabinetry. Count what you own, measure the finished room, and reserve clear space for movement, open drawers, doors, and corners.
The best walk-in closet designs assign storage by garment type and retrieval frequency. Everyday clothes should sit between waist and eye level; luggage and seasonal items can occupy higher, less convenient zones.
Walk-In Closet Designs Begin With a Finished-Room and Wardrobe Inventory
Measure the finished interior, not the rough construction opening. Record wall-to-wall dimensions, ceiling height, corners, door widths and swings, windows, outlets, switches, vents, radiators, and trim. Note obstructions that cannot move.
Then inventory each owner’s belongings:
- Count shirts, trousers, skirts, suits, coats, dresses, and other hanging garments.
- Measure the hanging length required for short, medium, and long clothing.
- Count folded items, shoes, boots, handbags, accessories, luggage, and seasonal storage.
- Mark shared items, personal ownership, and the preferred location for a hamper.
- Separate daily-use pieces from occasional and rarely retrieved items.
Group similar items before choosing storage. A precise inventory prevents oversized shelves for a small shoe collection or too little long-hang space for dresses and coats.
Plan Clear Aisles, Doors, Drawers, Corners, Reach, and Island Clearance
Use 22–24 inches for hanging storage and about 12–16 inches for folded-clothing shelves. Shoe shelves usually need 12 inches; boots may need 18–20 inches. Keep at least a 36-inch clear aisle, with 42–48 inches preferred where people pass or drawers face each other.
Double-hang rods typically sit at about 40–42 and 80–84 inches. Long-hang rods need roughly 66–72 inches, depending on the garments. Put frequently used items between 30 and 60 inches high. Reserve the highest shelves for luggage and seasonal pieces.
Do not measure aisles with drawers closed only. A 24-inch drawer can occupy most of a 36-inch aisle when extended. Avoid opposing drawers unless the remaining open-drawer clearance works, and keep door swings outside the storage path where possible. Treat awkward corners with a shelf return, angled unit, or deliberate dead zone rather than inaccessible hanging rods.
Compare Dimensioned Layouts for Small and Large Rooms
- One-wall, 5×7 feet: Place 24-inch-deep storage on one 7-foot wall. The remaining 36 inches provide the basic aisle. Use double hanging, a few drawers, and upper shelves; avoid an island.
- L-shaped, 7×7 feet: Two 24-inch-deep runs leave a 36-inch central aisle. Use one wall for hanging and the other for shelves or drawers. Stop the runs before the corner or use a corner shelf to preserve access.
- Galley, 7×8 feet: A 24-inch hanging wall opposite an 18-inch shelving wall leaves a 42-inch aisle. Keep drawers on one side only, and do not expect people to pass while they are open.
- U-shaped, 8×8 feet: Three 24-inch-deep runs leave a 48-inch center. Use the back wall for the most valuable storage, with corner transitions that do not block doors or adjacent drawers.
- Larger, 12×14 feet: A 24-inch storage wall and a 24-inch island leave 48-inch aisles on both sides. Keep the island at least 36 inches from end walls and door swings. Add opposing storage only after recalculating every aisle.
Assign Hanging, Shelves, Drawers, Shoes, and Accessories by Use
Put short garments on double-hang sections, long garments in uninterrupted tall bays, and folded knitwear on adjustable shelves. Use drawers for underwear, jewelry, watches, and other small items. Place shoe shelves near the floor, with daily pairs closest to the entry.
Give each owner a clearly defined zone, even when the room is shared. Divide hanging, drawers, and shelves by person rather than creating one undifferentiated storage bank. Keep the hamper near the bedroom or closet exit. Add a bench or seat only where it does not reduce a 36-inch minimum aisle; a seat around 18–20 inches high is practical.
Complete a Primary-Bedroom Closet Design With Elevations, Finishes, and Installation Checks
A functional primary-bedroom closet design needs an elevation for every wall. Draw each unit’s width, height, depth, rod level, shelf spacing, drawer stack, corner treatment, outlets, vents, and trim. Include door and drawer fronts, so the drawings show actual operating space.
Before ordering, tape the cabinet footprints on the floor and mark drawer extensions with cardboard. Walk the route carrying a laundry basket. Confirm that doors open fully, drawers can be used without blocking the aisle, rods are reachable, and corners do not hide frequently used items.
Use ambient ceiling lighting plus vertical or under-shelf lighting where clothing colors are difficult to distinguish. Put a full-length mirror near the exit, not where it narrows a passage. Choose durable, wipeable finishes, and price cabinetry, hardware, lighting, mirror, seat, installation, and contingency separately.
During installation, verify level walls, secure anchoring, ventilation clearance, outlet access, door operation, and the final aisle dimensions. Load shelves and rods only after checking that every component remains stable and accessible.