
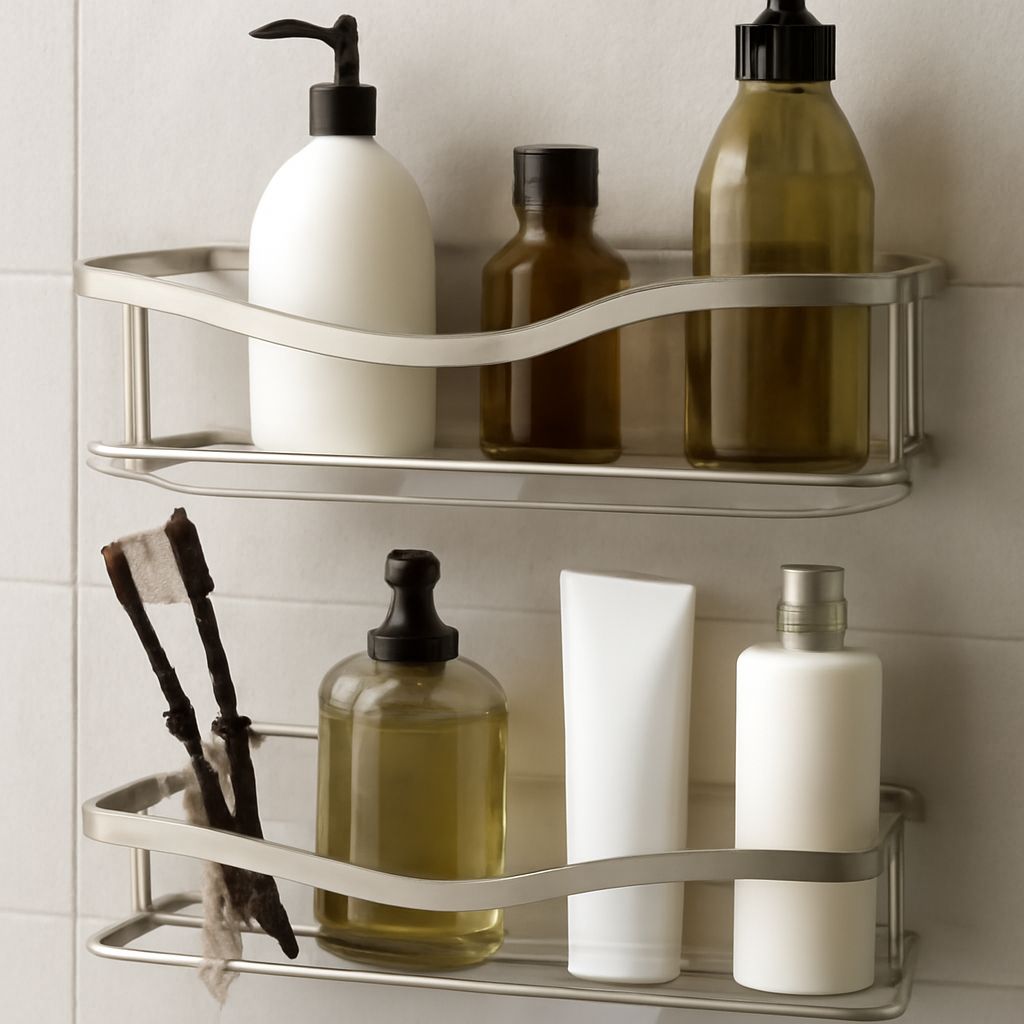
Shower shelves are easiest to choose after matching the format to wall material, waterproofing stage, bottle sizes, and users. Built-in storage suits new construction or a remodel; add-on formats suit a finished shower. Compare depth, projection, drainage, load, and corrosion resistance—not appearance alone.
A shower wall shelf should keep daily bottles reachable without blocking elbows or sitting in direct spray. Tile, grout, fiberglass, glass, and available backing each favor different mounting methods.
Shower Shelves: Compare Built-In and Add-On Formats
Niches and tile-in shelves
Niches are recessed into the wall, so they add no room projection. They require framing, waterproofing, and tile work before the shower is finished. A tile-in shelf can span or divide the niche and match the surrounding surface. These options provide stable, generous storage, but they are expensive to retrofit. Grout joints and inside corners also need regular cleaning.
Drilled and adhesive shelves
Drilled hardware suits heavy bottles when anchors can reach framing or approved solid backing. Drill through tile with the correct bit, avoid grout joints, and seal penetrations as the mounting system specifies. The attachment is not itself waterproofing unless designed and installed as part of that system.
Adhesive shelves avoid holes and work well on clean, smooth, nonporous tile or glass. They are less suitable for damp grout or textured fiberglass. Follow the cure time and stated load limit before adding bottles.
Tension poles and corner baskets
Tension poles need no holes and can add several adjustable baskets, making them useful in rentals. They depend on firm floor-to-ceiling pressure, may shift, and have less predictable load capacity. Corner baskets use otherwise wasted space and may be drilled, adhesive-mounted, or pole-supported. Their tight corners and basket joints can be harder to clean.
Hanging shower-head caddies
Hanging caddies install quickly over the shower pipe and suit light, temporary storage. They can swing, rub finishes, or stress a fitting when overloaded. Check the hook, stabilizer, and stated capacity.
Choose a Shower Wall Shelf by Size and Material
Measure bottle heights and footprint
Measure every bottle, including pump tops, caps, and the height needed to lift it out. Leave roughly 25–50 mm (1–2 in) above the tallest bottle. Measure the largest footprint too; a shelf can be tall enough but too narrow for a family-size conditioner.
For several containers, mark their combined width and add finger space. A 100–150 mm (4–6 in) deep shelf often accommodates large bottles, but use the finished interior depth and front lip—not a catalog dimension. Keep any retaining bar low enough for easy removal.
Match tile, grout, fiberglass, and glass
Tile-in shelves use compatible tile or solid surface, with grout joints planned away from standing water where possible. Drilled mounts need suitable anchors behind tile; tile alone is not structural. Fiberglass may flex, so use its approved backing or mounting method. Glass needs purpose-made clamps or brackets; never field-drill tempered glass.
Favor 304 stainless steel, 316 stainless steel in especially corrosive settings, anodized aluminum, or stable plastic. Inspect seams, fasteners, and plated edges for early corrosion.
Bathroom Shower Shelves: Plan Reach and Clearance
Set user reach and elbow space
Place everyday items between the primary user’s shoulder and waist height, then check every household member. Keep soap and shampoo within a natural arm’s reach without bending around the shower stream. A lower shelf can serve children, while an upper tier can hold backup bottles.
Check projection and spray
Measure finished projection from the wall, including bottles and the front lip. Keep the shelf clear of elbow paths, the shower door, curtain, controls, and grab bars. A deep shelf near the spray head catches water and makes you reach through the stream. Check the door swing and standing footprint before fixing the position.
Mount, Drain, Slope, and Clean Shower Shelves
Plan support, load, and the waterproofing interface
Confirm the wall structure, fastener rating, and combined wet load of the shelf, bottles, and water. Heavy glass or stone needs continuous support or brackets designed for its weight; tile is not structural. For niches and tile-in shelves, coordinate framing, membrane, slope, tile, and grout as one assembly.
For a retrofit, follow the manufacturer’s anchor and seal details at every penetration. Do not treat an adhesive pad, screw, or bracket as a waterproofing system unless it was designed and installed as that system.
Slope surfaces and protect cleanable edges
Slope horizontal surfaces slightly toward the shower—about 1/8 inch per foot is a common planning target—so water drains instead of pooling. Keep the front edge smooth, rounded, and sealed. Avoid deep grooves, exposed tile cores, and sharp trim that trap soap or cause injury.
Control drainage, rust, and cleaning
Use open sides, drainage holes, or a slatted basket where the design allows. Do not block weep paths with caulk. Wipe shelves with a nonabrasive cleaner, rinse away product film, and dry metal edges. Clean grout and corners with a soft brush. Check fasteners and seams periodically, and keep loads within the manufacturer’s limit, especially on tension poles and hanging caddies.