
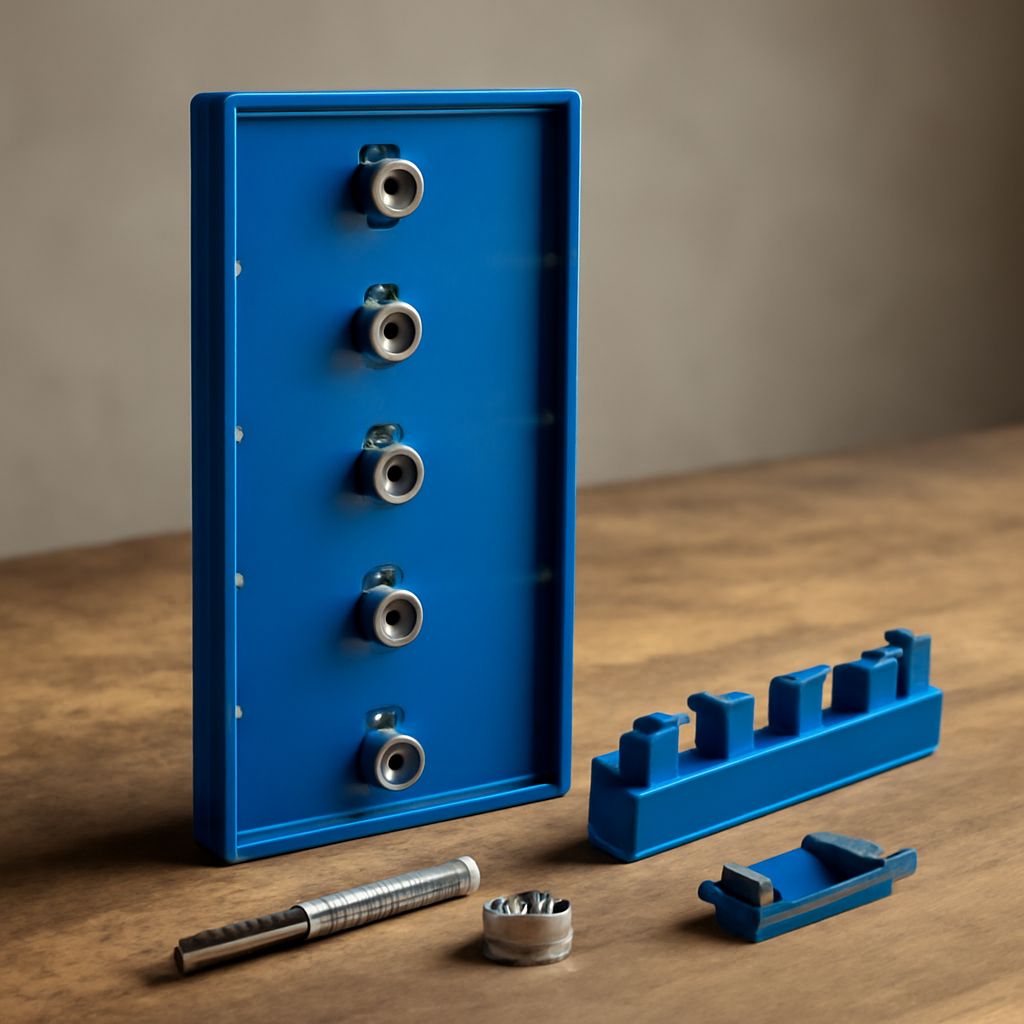
A shelf pin jig makes cabinet shelf holes accurate and repeatable. Choose the jig only after matching the shelf-pin diameter and hole-spacing standard you plan to use.
For clean results, establish one cabinet reference edge, mark both front and rear rows from that edge, then test the bit depth before drilling the cabinet sides. Clamp the jig firmly, clear chips between holes, and check the finished shelves for both pin fit and level.
Choose a Shelf Pin Jig and Pin Standard: Match Diameter and Spacing
Common shelf pins use either 5 mm holes or 1/4-inch holes. The 5 mm system commonly follows 32 mm hole spacing, while many inch-based systems use 1-inch spacing. Some jigs support 3/8-inch pins, but they are less common in typical cabinet work.
Match the drill guide, bit, and pins as one system. A 5 mm pin should not be forced into a 1/4-inch hole, and a jig designed for 32 mm spacing will not automatically match a 1-inch layout.
Fixed-template jigs are simple and consistent for repeated cabinet work. Adjustable jigs offer more control over row position and spacing. A self-centering jig helps locate a row across a panel, while guide bushings keep the bit aligned and reduce wandering. Select a jig that securely supports your chosen bit and includes a positive indexing feature.
Plan Shelf-Hole Rows: Set Setbacks, Reference Edge, and Orientation
Decide how far each row sits from the cabinet’s front and rear edges. The front setback often reflects the door, face frame, or shelf reveal. The rear setback must leave room for the cabinet back, hardware, or a shelf that stops short of the rear panel.
Use the same cabinet reference edge for every matching side. Mark that edge clearly with painter’s tape or a pencil line. Keep the cabinet orientation consistent, such as front edge up and finished face outward. Do not reverse the reference edge between matching cabinet sides, or the rows may mirror incorrectly.
For paired rows, transfer the same front and rear setbacks to both sides. If the jig has separate front and rear locating stops, confirm which stop contacts the reference edge before drilling. Dry-fit the jig and verify that each guide hole lands on the intended layout.
Use a Shelf Hole Jig: Set Bit Depth and Test on Scrap
Install a sharp brad-point bit that matches the pin diameter. Its center point starts the hole cleanly, while the outer spurs help define the opening. Set a stop collar or the jig’s depth stop so the hole is deep enough for the pin, but does not break through the cabinet side.
Test the complete setup on a scrap piece of the same thickness and material. Clamp the jig, drill one hole, and insert a shelf pin. The pin should seat fully without excessive looseness. Test a short row as well; a bit that tracks poorly will show misalignment across several holes.
Inspect the back of the scrap for breakout. If tear-out appears, reduce feed pressure, support the workpiece, or use a sacrificial backer. Clear dust from the test hole and confirm the shelf pin still fits after cleanup.
Set Up a Shelf-Pin Drilling Jig: Clamp, Bore, and Index Cleanly
- Place the jig against the marked reference edge with its front and rear stops oriented correctly.
- Clamp the jig tightly enough that it cannot creep, but do not crush a thin panel or shift the layout.
- Drill the first hole at controlled speed. Keep the drill square to the guide and let the brad point establish the cut.
- Withdraw the bit slightly while it is still turning to clear chips, then stop before removing it completely. Vacuum dust from the guide and hole as needed.
- Insert the jig’s indexing pin into the first hole, or engage its indexing bar, before drilling the next position.
- Repeat the drill, withdraw, clear, and index sequence across the row.
Index only from completed holes that are clean and fully formed. A packed hole can prevent the index pin from seating and gradually move the row. For the second side, use the same reference edge, jig stop, bit depth, and indexing direction. This keeps the paired rows at matching heights.
Check Matching Rows: Confirm Pin Fit and Shelf Level
Clean every hole with a vacuum or a quick burst of compressed air. Avoid enlarging holes with a loose drill bit. Insert pins into several positions on both rows. Each pin should sit at the same depth, remain secure, and support the shelf without rocking.
Place a shelf on the pins and check it from the front and side. The shelf should sit level, with all four pins carrying weight evenly. If one corner lifts, inspect for a shallow hole, debris under a pin, reversed orientation, or a spacing error between the paired rows.