
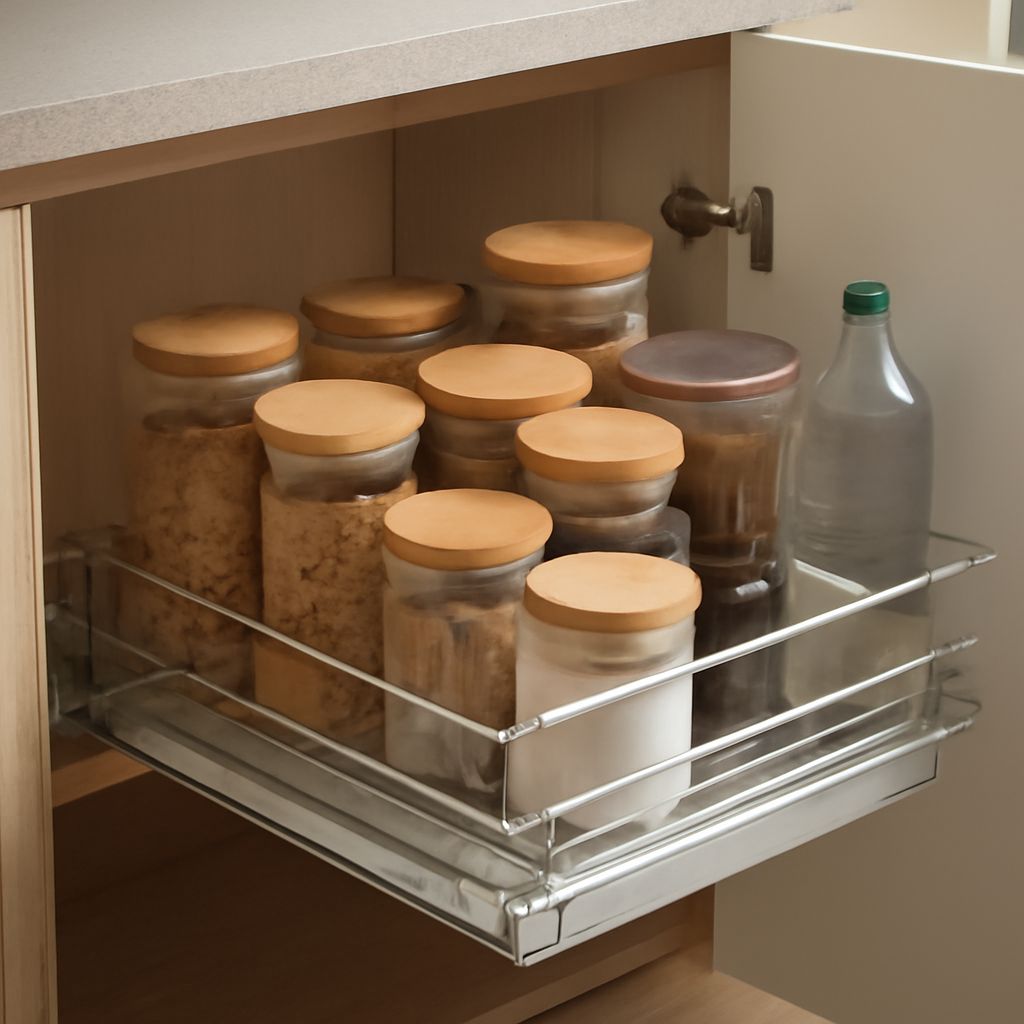
Pull-out shelves for a pantry are easiest to size after you measure the opening with the door, hinges, and face frame in place. The cabinet box alone does not show the space a shelf can actually use.
Choose a format based on the items stored, then match its width, depth, slide clearance, extension, and load rating to the measured opening. The process below covers both new installations and retrofit units.
Pull-out shelves for a pantry: compare shelf, tray, basket, and drawer formats
Each pull-out format solves a different access problem. A flat shelf maximizes usable height, while a tray, basket, or drawer controls how items move and remain organized.
- Flat shelf: Best for cans, boxes, appliances, and large containers. A low front lip prevents items from sliding off without blocking visibility.
- Tray: A shallow raised edge contains bottles and loose packages. It offers easier access than a fixed shelf while preserving most of the opening height.
- Basket: Useful for produce, bags, and irregular items. Open sides improve visibility, but small packages may fall through or become difficult to stack.
- Drawer: A box with higher sides suits packets, spices, snacks, and small goods. It contains items well but requires more vertical clearance.
For everyday dry goods, flat shelves or shallow trays usually provide the best balance of capacity and access. Use pantry pull-out drawers where small items would otherwise become buried. Reserve baskets for flexible storage rather than tightly packed cans or jars.
Plan the vertical spacing around the contents, not around equal-looking gaps. Measure the tallest item in each zone, then add roughly 1 to 2 inches for hand access. Include the shelf thickness, slide hardware, and any drawer sides in the required height. Leave more room where you need to lift out tall bottles or appliances.
Sliding shelves for a pantry: measure the true clear opening
Measure the smallest usable opening, not the cabinet-box width. A door, hinge, or face frame can reduce the opening enough to prevent a correctly sized shelf from entering or operating.
- Open the door fully and measure between the nearest obstructions. Check the front, middle, and rear of the cabinet because the opening may narrow behind the hinges.
- Identify hinge interference. Note the hinge cup, mounting plate, screws, and swing path. The shelf must clear the hinge hardware when it extends and when the door closes.
- Account for the face frame. On a face-frame cabinet, measure between the inside edges of the frame. The frame may create a front setback or require spacers and rear mounting brackets for the slides.
- Measure usable depth. Start at the actual slide mounting plane and measure to the back obstruction. Subtract stops, pipes, hinges, or other hardware. Do not assume the cabinet’s outside depth is available.
Record the narrowest clear width and the usable depth. For a side-mounted system, the shelf or drawer’s outside width must also allow the manufacturer’s slide deductions. A common side-mount requirement is about 1/2 inch per side, or 1 inch total, but the slide specification controls. Some undermount and specialty systems use different deductions.
For example, an opening that measures 17 3/4 inches at its narrowest point does not accept a 17 3/4-inch shelf on side-mounted slides. With a 1-inch total deduction, the pull-out assembly would typically be about 16 3/4 inches wide, subject to the specific hardware. Measure the assembled shelf or drawer, not only the board.
Check the front clearance with the door open and closed. The pull-out front must pass the face frame and hinge hardware without scraping, and it must sit far enough behind the door for the door to close. If the door is full overlay, its position can conceal the opening but still interfere with the shelf front or handle.
Depth affects extension as well as capacity. A full-extension slide exposes nearly the entire shelf, but it needs enough cabinet depth for its closed length and rear hardware. A shorter slide may fit a shallow cabinet but leave the back partially hidden. Confirm that the selected slide length fits the available depth before choosing the shelf size.
Pantry pull-out drawers: choose slides and shelf construction
Choose slides according to the loaded weight, frequency of use, and access required. Full-extension slides are generally the most useful for pantry storage because they bring rear items forward. Partial-extension slides can work in shallow or lightly used sections, but they leave the back less accessible.
- Load rating: Calculate the shelf or drawer weight plus its contents. Use the rating for the complete slide pair, and allow a margin for pulling a heavily loaded unit outward.
- Side-mount slides: They are common for retrofit shelves and tolerate many construction styles. They require accurate side clearance and parallel mounting.
- Undermount slides: They provide a clean appearance and can preserve interior width, but the shelf or drawer must meet the required bottom and side dimensions.
- Soft-close slides: They reduce slamming, but their closing resistance makes accurate leveling and fastening especially important.
Use a rigid shelf material that will not sag across the slide span. Quality plywood, hardwood, or a purpose-built pull-out tray works better than thin particleboard. Seal or edge-band exposed edges, particularly near spills. Add a front or side shelf lip when cans, jars, or bottles could shift during movement. Higher sides contain more, but they also reduce the visible opening and hand access.
Slide-out drawers for a pantry need enough interior width for the contents and enough exterior width for the hardware. Check whether the stated drawer dimensions describe the box, the face, or the complete assembly. For tall or heavy drawers, use the recommended rear brackets, center support, or heavier slide series instead of relying on a front screw alone.
Pantry sliding shelves: install, adjust, and test the pull-out
Install from the bottom upward when several units share one cabinet. This makes vertical spacing easier to verify and prevents an upper shelf from blocking the fasteners for a lower one.
- Lay out the positions. Mark each slide centerline on both cabinet sides. Transfer matching lines to the shelf or drawer, accounting for its bottom, side height, and required vertical clearance.
- Add a spacer where needed. In a face-frame cabinet, use a solid spacer or manufacturer-approved bracket to move the slide mounting surface past the frame setback. Make both sides equal in thickness.
- Level and align the slides. Check side-to-side level and front-to-back alignment. The pair must be parallel; even a small height difference can cause binding or uneven closing.
- Fasten securely. Predrill to avoid splitting, then use the screw type and length recommended for the cabinet material. Install enough front and rear fasteners, and add rear brackets when the system requires them.
- Insert and adjust. Attach the shelf or drawer slides, engage the release levers if provided, and push the unit fully into position. Adjust the slide screws or spacers until the front sits square.
Before loading, perform a front-clearance check. Pull the unit completely out, open and close the pantry door, and confirm that the shelf front, drawer face, and contents clear the hinges and handle. Check that the pull-out does not strike an adjacent cabinet or wall.
Load the heaviest items near the center and lower portions of the unit. Operate it several times while loaded, watching for sagging, rubbing, rocking, or a slide that separates from its mounting surface. If movement changes under load, stop and correct the level, parallel spacing, or fastening before regular use.