
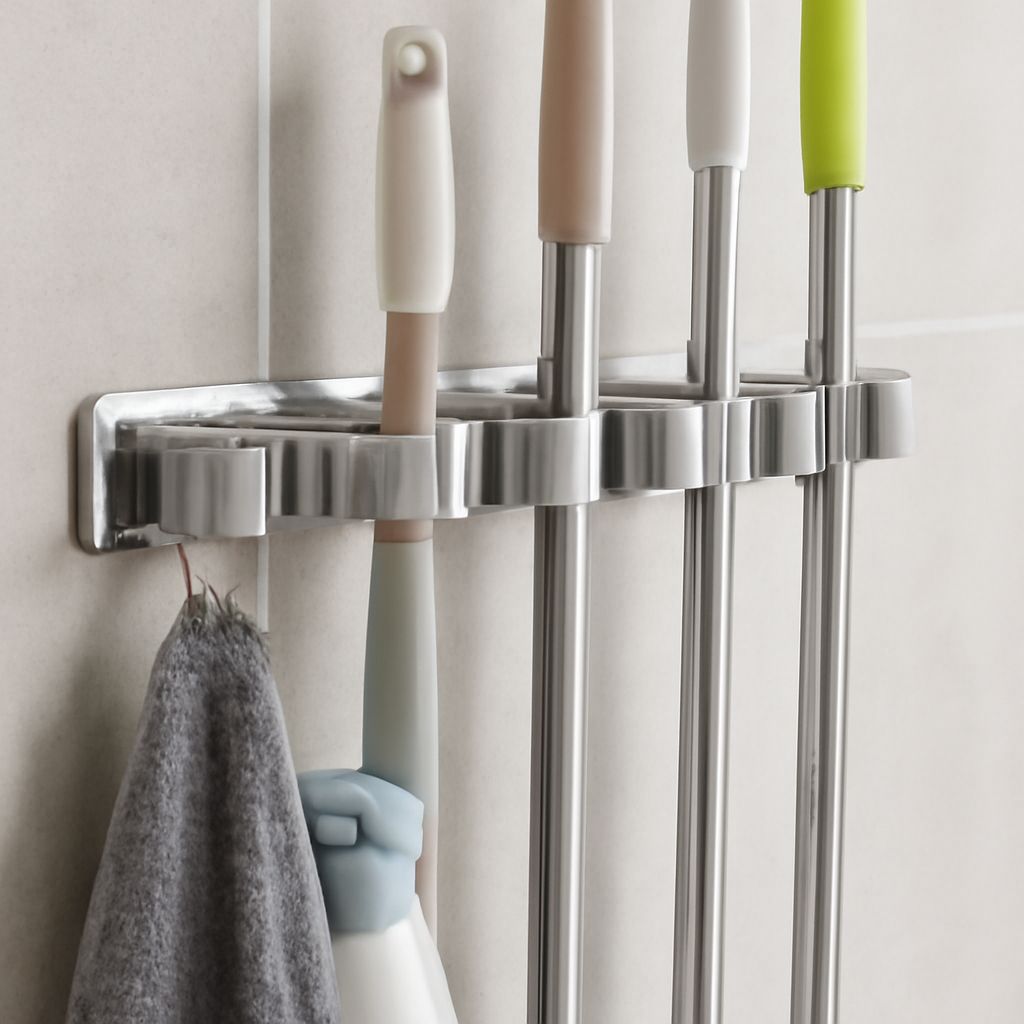
Choose a mop and broom holder with individually spaced grips, hooks, or both. A wall-mounted rail usually gives the best access and drying, while a cabinet or freestanding unit suits spaces where drilling is impractical.
Match the holder to your handle diameters, head sizes, tool weight, wall substrate, and available reach. Keep wet tools separate from dry ones, and leave enough clearance for buckets, dustpans, doors, and baseboards.
Mop and Broom Holder Types for Wet and Dry Tools
Wall rails are the most flexible option. They support several tools along one horizontal line and can combine rolling grips, spring clips, and utility hooks. Choose a rail when your tool collection may grow or includes different handle sizes.
- Spring clips: Rubber-lined jaws grip handles firmly and suit lightweight to medium tools. They may resist oversized or tapered handles.
- Rolling grips: Ball-bearing rollers accept a wider range of diameters. Lift the handle into place, then pull it down to release.
- Hooks: Use hooks for dustpans, brushes, buckets with hanging loops, and tools with holes in their handles.
- Cabinets: Enclosed storage hides clutter and protects dry supplies. It needs ventilation or an open drying area for wet mops.
- Freestanding holders: These avoid drilling and work in rentals, but require a stable base and enough floor space to prevent tipping.
Hang wet mops and squeegees where air can circulate around the head. Store dry brooms and dusters separately so moisture does not soften bristles or transfer dirt.
Measure Tools and Wall Space Before Buying
Inventory every tool before selecting a rack. Measure each handle’s diameter at the intended grip point, because tapered shafts can differ from their ends. Compare those measurements with the holder’s supported diameter range.
Also record each head’s width and front-to-back depth. A wide mop head may strike a wall, shelf, or neighboring tool even when its handle fits. Count the tools, then add one or two spare positions if space allows.
- Allow roughly 6 to 10 inches between adjacent tools, increasing the gap for wide heads.
- Reserve a lower or nearby position for a bucket, dustpan, or heavy attachment.
- Check the full swing of doors and cabinet doors before marking the rack location.
- Keep the lowest head above the floor and clear of baseboards, trim, and stored items.
- Test reach from the standing position. The highest grip should be easy to release without stretching.
Mark the usable wall width, not just the open section. Include the rail’s end brackets, handle overhang, and the space needed to lift tools free.
Choose Grip, Hooks, Material, and Wet-Dry Separation
A mop hanger with rolling grips is a strong all-purpose choice when handles vary. Spring clips work well when every handle has a similar diameter and you want a compact, secure hold.
Choose hooks when your collection includes a dustpan, hand brush, spray bottle, or looped bucket. A rail with both grips and hooks usually uses wall space more efficiently than separate organizers.
Use stainless steel, coated steel, or rigid, water-resistant plastic in damp utility rooms. Inspect seams and hardware for rust resistance. Check the stated weight rating, including the tool head and any water retained by a wet mop.
Place wet tools at one end, with drip space beneath them and airflow around their heads. Keep dry brooms and dusters away from splashes. For heavier tools, use stronger grips and place them low enough to remove safely without pulling the rail upward.
Mount, Load, Dry, and Adjust the Holder
- Mark the rail height and position. Use a level, then confirm door clearance, baseboard clearance, tool spacing, and comfortable reach.
- Locate studs where possible. Drive the manufacturer-specified screws into studs; use rated wall anchors for drywall, tile, masonry, or hollow doors.
- Match fasteners to the substrate and the loaded weight. Do not rely on light-duty adhesive strips for wet or heavy tools unless the holder specifically permits them.
- Install brackets and tighten each fastener evenly. Recheck the rail with a level before fully securing it.
- Perform a grip test. Insert every handle, pull down gently, and verify that clips close, rollers hold, and hooks do not rotate or slide.
- Load heavier tools in the lower positions, then add lighter tools. Leave open space around wet heads instead of packing them together.
- After the first use, inspect drips, movement, wall damage, and loosened hardware. Wipe the rail, clean trapped debris, and retighten fasteners if needed.