
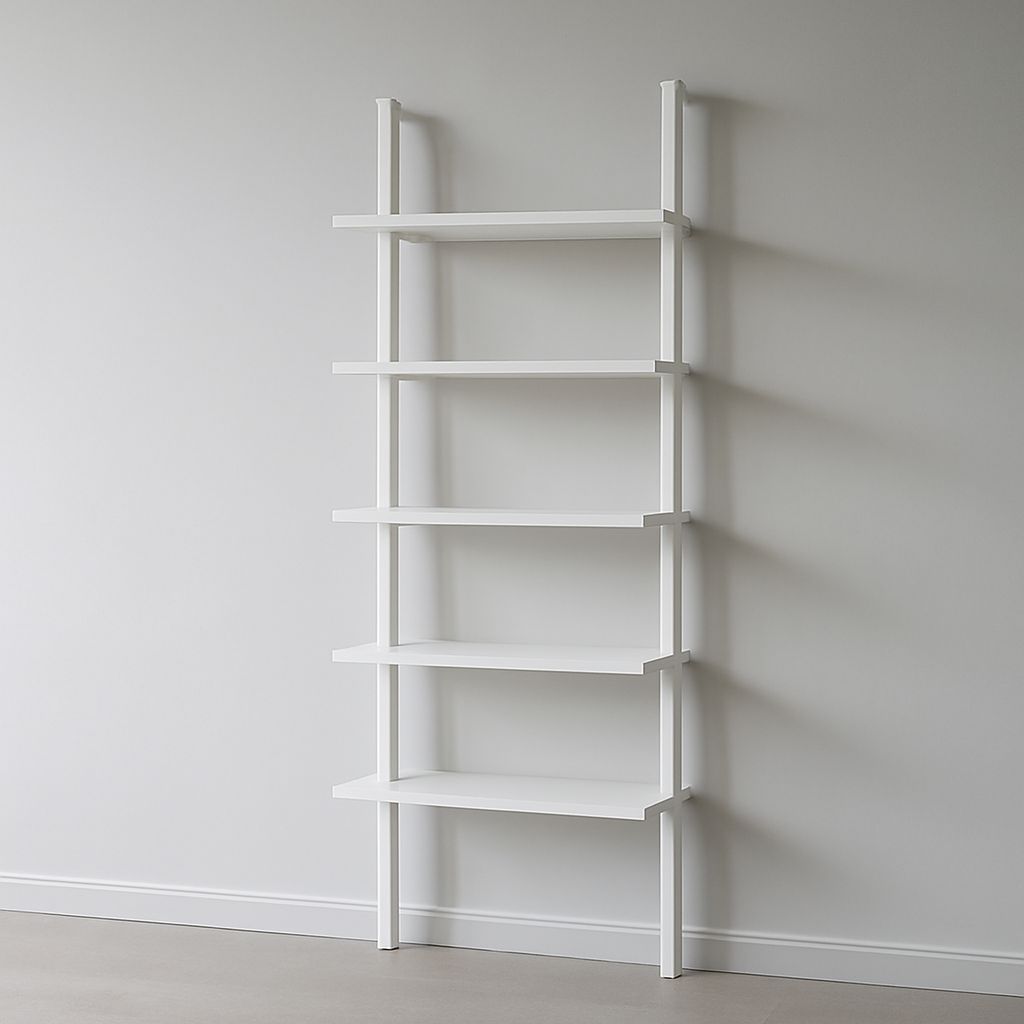
A long wall shelf carrying books should be designed from the load and wall attachment outward. For a typical loaded run, allow roughly 40–60 kg of books per metre, plus the shelf’s own weight. Use 25–32 mm solid timber or plywood, keep loaded bays around 600–750 mm wide, and fasten the support system directly to studs or sound masonry.
Longer spans, deeper shelves, dense reference books, and unsupported drywall require closer supports or a cabinet-style structure. Do not use decorative floating-shelf ratings as a substitute for designing a loaded bookshelf.
Long wall shelf: define span, depth, and load
Separate the overall shelf length from the unsupported span. A 3 m run may be safe when divided into five or six bays, but risky if it has only two end supports. Each clear bay must resist sag independently.
- Length: Measure the full run, then mark every bracket, upright, cabinet side, and seam.
- Depth: Use about 230–300 mm for ordinary books. Choose 300–350 mm for oversized books, but expect greater leverage on the wall and supports.
- Book load: Ordinary books commonly create 30–45 kg per metre. Dense textbooks and art books can approach or exceed 60 kg per metre.
- Shelf weight: Add the weight of timber, plywood, edging, brackets, and any back rail to the design load.
- Load position: A continuous row of books produces a line load. A heavy stack at one point produces a concentrated load and can cause local sag.
For example, a 3 m shelf designed for 50 kg of books per metre must support about 150 kg of books before its own weight is included. A 25 mm shelf with 900 mm clear spans is not equivalent to the same shelf divided into 600 mm bays. Sag increases sharply as the unsupported span grows, so adding a support is usually more effective than simply adding wall fasteners.
Choose wall-mounted shelving units by construction
Choose the system according to the load, adjustability, and appearance required. The strongest option is not always the simplest to install.
- Open bracketed shelves: Angle brackets are straightforward to inspect and replace. Use brackets with arms at least two-thirds the shelf depth, and space them closely for heavy books.
- Rail systems: A horizontal metal rail spreads the load across several attachment points. It works well on stud walls when the rail is fixed into multiple studs, not just drywall.
- Standards and uprights: Vertical tracks accept adjustable brackets and make bay spacing easy to change. Fix the standards securely at the top and bottom, then prevent the shelf from lifting or shifting.
- Cleat systems: A substantial timber or metal cleat gives continuous rear support. It still needs adequate fasteners and a front support when the shelf is deep or heavily loaded.
- Floating shelves: Hidden rods can look clean, but the wall plate, rods, shelf material, and anchorage must be engineered together. Decorative floating hardware is generally unsuitable for a long bookshelf.
- Cabinet-style units: Side panels, a back, fixed shelves, and top and bottom rails create short structural bays. This is usually the best choice for deep shelves, high loads, and a seamless wall.
Specify sturdy wall shelves and a wall-mounted bookshelf
Material and thickness determine how far a shelf can span without visible deflection. As a practical starting point, use 25 mm plywood or solid timber with supports about 600 mm apart for heavy books. A 32 mm shelf may allow wider spacing, but it should still be checked for the actual depth, species, and load. MDF and particleboard usually need shorter spans, thicker sections, or a stiff front edge.
A solid front nosing, hardwood edge, steel flat bar, or deep laminated front rail can greatly improve stiffness. A rear rail also helps. It supports the back edge, limits twisting, and gives the shelf a firm connection to the uprights or wall cleat. Do not rely on a thin decorative back strip as structural reinforcement.
Use a wall-mounted bookshelf when the shelves are deeper than ordinary book shelves, when the run contains several loaded levels, or when appearance requires hidden supports. Divide the unit into bays with vertical sides or uprights. Fix heavily loaded shelves to those uprights instead of leaving them floating between end panels.
For solid wood, plan for seasonal expansion and contraction across the grain. Do not trap a wide board rigidly between two fixed walls. Use slotted holes, clips, or a planned seam where the system allows movement. Plywood is more dimensionally stable, but seams still need support so adjoining shelves cannot move independently or create a visible step.
Plan brackets, rails, standards, and fasteners
Draw the shelf line, bay breaks, and every support before drilling. A loaded run normally benefits from supports at 450–600 mm centres for thin or flexible shelves, and around 600–750 mm for substantial 25–32 mm shelves. Treat 900 mm as an upper starting point only for an adequately stiff shelf with a verified load rating.
- Line check: Mark a continuous level line with a laser or long spirit level. Check the ceiling and floor separately; do not copy a visibly crooked surface.
- Bay check: Place a bracket, standard, upright, or cabinet side near every seam and at both ends. Keep unsupported overhangs short, usually no more than one-quarter of the adjacent span.
- Bracket check: Use brackets rated for the combined shelf and book load. Their vertical leg must sit flat, and their horizontal arm should support most of the shelf depth.
- Fastener check: On timber stud walls, locate the centre of each stud and use structural screws or bolts with the required embedment. On concrete or solid brick, use anchors matched to the masonry and load.
- Drywall check: Do not depend on ordinary hollow-wall anchors for a heavily loaded run. Add blocking between studs or use a rail designed to transfer load into several studs.
- Rail and cleat check: Fix every available stud location, use washers where needed, and prevent the rail from bowing away from the wall.
- Shelf-fixing check: Screw or clip the shelf to brackets, standards, cleats, or uprights so it cannot slide, lift, or tip forward.
- Anti-racking check: Add a back panel, diagonal brace, fixed back rail, or rigid cabinet back where side-to-side movement is possible.
Check for wiring and plumbing before drilling. For masonry, avoid weak mortar joints when possible and use the anchor manufacturer’s required hole size, embedment, and edge distance.
Install, align, join bays, and load-test
- Set out the structure. Mark the shelf height, support centres, studs or masonry fixing points, end clearances, and bay seams. Confirm that doors, trim, and electrical outlets will not interfere.
- Install the primary support. Fit the rail, cleat, standards, brackets, or cabinet uprights loosely first. Use shims where necessary, then tighten while checking the line and plumb.
- Build short, rigid bays. Keep uprights vertical and fix them at their designed top and bottom points. Fit back rails or panels before loading; these prevent the run from racking.
- Fit the shelves. Centre each shelf on its supports and secure it with the specified screws, clips, or shelf pins. Predrill solid timber near ends to reduce splitting.
- Join seams correctly. Put every seam over a support or shared upright. Align the top surfaces, leave the system’s required expansion allowance, and avoid forcing solid wood tightly between fixed walls.
- Recheck level. Measure along the front edge and across each bay. Correct small errors with approved shims or adjusters; do not compensate by over-tightening one fastener and distorting the rail.
- Load gradually. Place about 25% of the intended books across the entire run, then 50%, and finally the full design load. Do not stack one bay completely before loading the others.
After each stage, inspect for sag, fastener movement, wall separation, bracket rotation, open seams, or shelf lift. A visible permanent bow, creaking joint, loose anchor, or racking back is a failure signal. Remove the books, shorten the bays, add support, or strengthen the wall connection before continuing.