
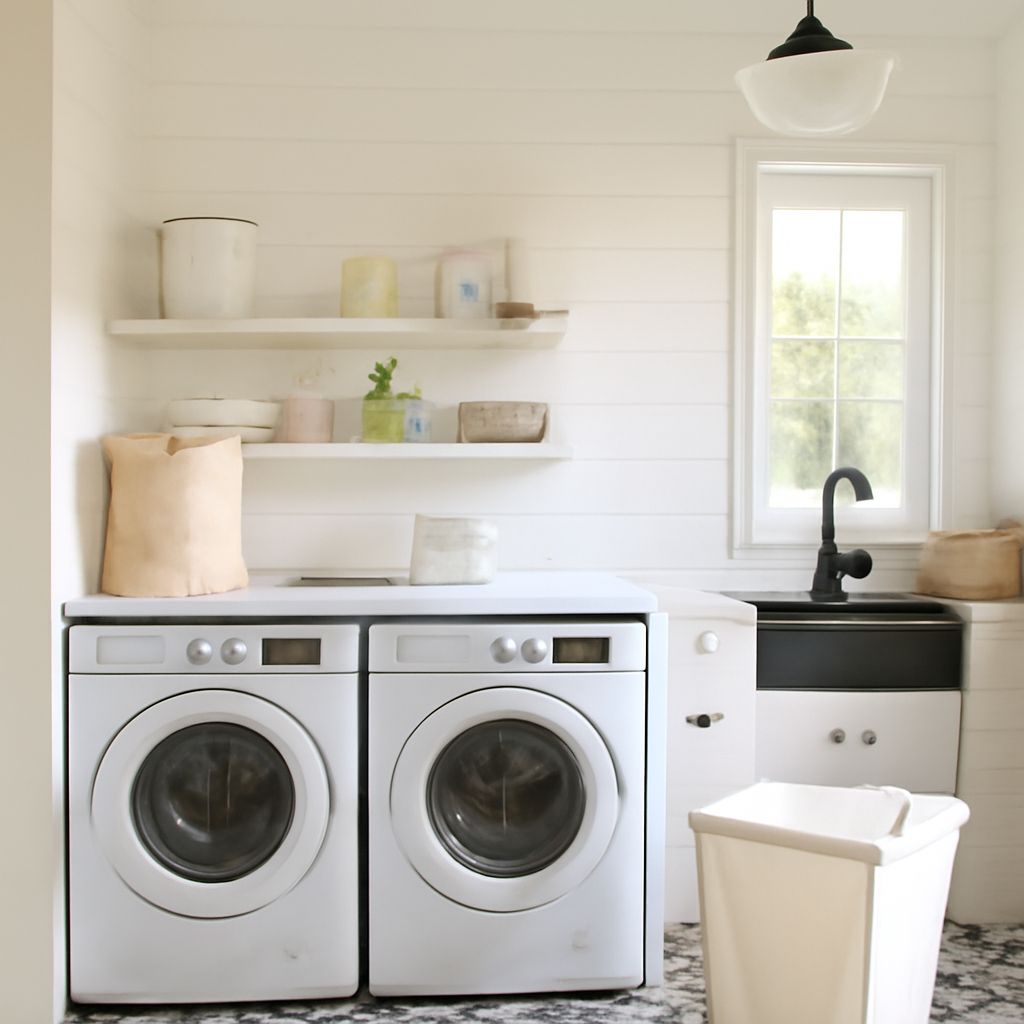
Porcelain is usually the best all-around laundry room tile because it handles water, soil, appliance weight, and frequent cleaning with relatively little maintenance. Ceramic, natural stone, and patterned tile can also work when their surface, installation, and care requirements fit the room.
Choose laundry room floor tile and mudroom tile together when the spaces connect. Compare water exposure, wet traction, room scale, grout maintenance, washer vibration, and transitions before ordering material.
Best Laundry Room Tile Types: Porcelain, Ceramic, Stone, and Pattern
Porcelain: Dense, low-absorption porcelain is the safest default for utility rooms. It resists spills, tracked soil, and repeated mopping, and it is available in concrete, wood, and patterned looks. Choose a product specifically rated for floors, not a wall-only tile.
Ceramic: Ceramic floor tile is often more affordable and easier to cut than porcelain. It works well in a dry or moderately damp laundry room when the product is floor-rated. It is generally more absorbent than porcelain, so confirm the manufacturer’s water-absorption and installation guidance before using it near a floor drain or appliance pan.
Natural stone: Marble, slate, travertine, and limestone require a different maintenance plan. Many stones are porous and need sealing before or after installation, with periodic resealing as recommended for that specific stone and finish. Use pH-neutral cleaner; acidic products can etch calcareous stones such as marble and limestone. Stone can be beautiful, but it is not a maintenance equivalent to porcelain.
Patterned tile: Encaustic-look porcelain, geometric mosaics, and printed ceramic can disguise small soil marks and establish a strong visual feature. Busy patterns also make grout lines more noticeable, so order samples and inspect the full repeat rather than judging one tile.
Choosing Laundry Room Floor Tile for Water, Traction, and Appliances
Select a matte or lightly textured surface with the manufacturer’s wet-traction information available. Glossy tile can become slippery when detergent or water is present. Extremely rough tile adds grip but may hold lint, mud, and cleaning residue, so balance traction with cleanability.
- Water: Tile sheds surface water, but grout joints, perimeter gaps, and the subfloor still need proper waterproofing where spills are likely. A washer floor pan can provide another layer of protection, especially upstairs or near finished spaces.
- Appliance movement: Washers and dryers are heavy and may vibrate during high-speed cycles. Use a rigid, flat substrate and floor-rated tile. Keep joints consistent beneath appliance footprints, and avoid unsupported edges that could crack under concentrated loads.
- Flatness: Large tile highlights dips and ridges. Correct the subfloor before setting tile rather than relying on thick adhesive to compensate. Excess variation can create lippage, where one tile edge sits higher than the next.
- Radiant heat: Confirm that the tile, mortar, membrane, and control system are compatible. Plan sensor locations, movement joints, and curing times before installation.
Mudroom Tile: Texture, Soil, Scale, and Mud Paths
For a mudroom, choose a surface that offers wet traction without deep grooves that trap grit. Medium-value colors and restrained variation usually hide tracked soil better than a solid white or very dark floor. A through-body porcelain can also make small chips less conspicuous.
Tile size changes both appearance and maintenance. Large formats create fewer grout joints and can make a compact room feel calmer, but they demand a flatter floor and careful setting. Small hexagons, squares, or mosaics provide more grout for traction and visual detail, while increasing cleaning area.
Check the visual scale against the room before buying. Lay samples beside the door, cabinets, bench, washer, and dryer. Walk the likely mud path from the exterior entrance to storage or laundry equipment. Confirm that the pattern does not create awkward slivers at doorways or narrow cabinet ends.
Plan Subfloors, Layout, Grout, Transitions, and Maintenance
Measure the room in several places, including alcoves and appliance recesses. Record door swings, cabinet depths, floor vents, drains, thresholds, and the clearances needed to pull out the washer. Add waste after confirming the tile layout; patterned or directional tile may require more spare material.
- Test the layout: Dry-lay tiles or use a scaled drawing. Center the field where practical, keep visible cuts balanced, and avoid tiny pieces at doors or along the main mud path.
- Choose grout deliberately: Narrow joints create a cleaner look but allow less tolerance for tile variation. Wider joints can suit handmade-looking tile and improve layout flexibility. A mid-tone grout is usually easier to maintain than bright white; verify the manufacturer’s minimum and maximum joint width.
- Control lippage: Use a suitable leveling system when recommended, but do not use it to correct an uneven subfloor. Inspect tile edges, lighting direction, and transitions during installation.
- Plan transitions: Match finished floor heights at adjacent rooms and account for underlayment, membrane, and radiant-heating components. Use a proper transition profile where tile meets wood, vinyl, or carpet, especially at doors.
- Set a care schedule: Sweep grit regularly, wipe detergent and standing water promptly, and use the cleaner specified for the surface. Seal cement-based grout if recommended. Seal natural stone separately and renew that protection according to absorption and use, not according to a porcelain-tile schedule.