
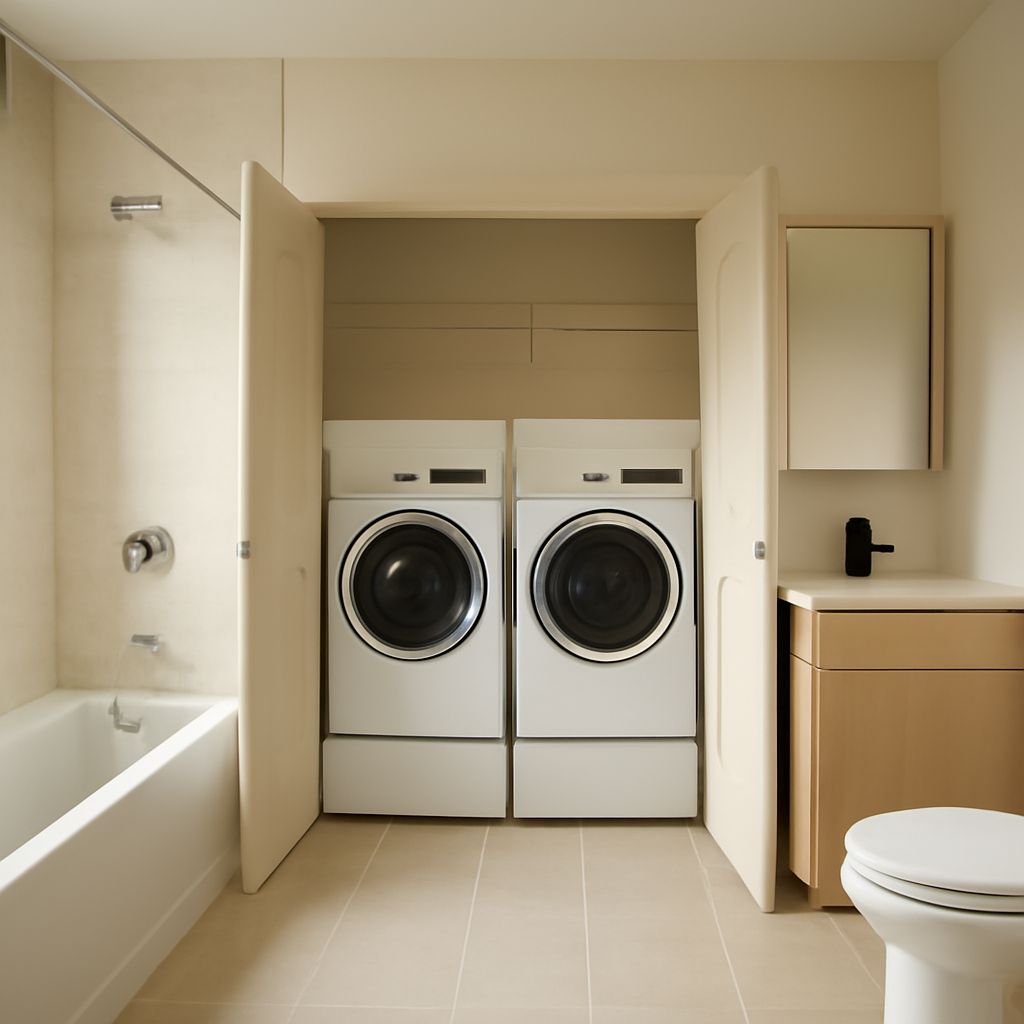
Laundry room dimensions should be built from the installed appliance envelope, not the 27-inch number on a sales listing. The practical laundry room size depends on the machines’ actual depth, open doors, hookups, ventilation, and the aisle in front of them.
As a planning baseline, allow at least 36 inches of clear working space in front of appliances. A stacked pair can fit in a roughly 30- to 36-inch-wide closet, while a comfortable side-by-side utility room often needs about 6 by 7 feet before counters or a sink are added.
Laundry Room Dimensions Begin With Actual Appliance Envelopes and Connections
Measure each machine before drawing the room. Record the body width and depth, then add the space needed for installation and use.
- Width: A nominal 27-inch washer or dryer may need 28 to 30 inches after side gaps, controls, hinges, and trim are included. Two machines usually require a 60- to 66-inch-wide run, not merely 54 inches.
- Depth: Measure from the rear housing to the farthest front point, including the door and handle. Add room for water hoses, the power cord, a drain connection, and the dryer duct. A machine with a 30-inch cabinet depth may require 34 to 38 inches installed.
- Height: Check whether a top-loading washer needs its lid fully open. Stacked units also need clearance above the control panel and enough height for the manufacturer’s stacking kit.
- Door swing: Record the direction and arc of every front-loading door. An open door can extend 18 to 24 inches into the aisle and may block a nearby cabinet or entry door.
- Connections: Locate the shutoff valves, drain standpipe, electrical receptacle, gas connection if applicable, and dryer exhaust. Recessed hookups can reduce projection, but they do not eliminate the required service space.
- Vent path: Keep the dryer duct as short and direct as possible. Reserve a route behind or beside the dryer that does not require crushing the duct or blocking a cabinet.
Leave access to valves, the drain, receptacles, and appliance panels. Side and rear gaps vary by model, so use the installation manual for the final measurement. Treat the appliance’s published dimensions as a starting point, not the complete installed depth.
Choose a Laundry Room Size From Door Swings, Aisles, and Service Clearances
A clear aisle is the unobstructed distance from the front of an appliance to the opposite wall, cabinet, sink, or open door.
- 36 inches: A workable minimum in front of a washer or dryer. It allows loading and unloading, but an open front-loader door can make the space feel tight.
- 42 inches: A more comfortable clearance for opening doors, transferring baskets, and working at a counter.
- 48 inches: Useful where two people regularly work together or where cabinet doors face the appliances.
- 32 to 36 inches: A practical entry-door width. Pocket, outswing, or bifold doors preserve more usable floor space than an inswing door.
Calculate room depth by adding the installed appliance depth, the front working clearance, and any opposing fixture. For example, a 36-inch-deep appliance installation plus a 36-inch aisle needs at least 72 inches from the appliance wall to the opposite obstruction. Add an 18-inch-deep cabinet on that opposite wall, and the room needs about 90 inches of depth.
For side-by-side machines, reserve roughly 60 to 66 inches along the appliance wall. A one-wall arrangement can fit in approximately 60 inches wide by 68 to 72 inches deep if there is no opposing counter. A more comfortable room increases the aisle to 42 inches and provides landing space beside the machines.
Small Laundry Room Dimensions for Closet, Galley, and Stacked Layouts
The best small layout depends on whether the machines are stacked and whether the room must also hold folding, storage, or a sink.
- Stacked closet: Plan a minimum clear opening of about 30 inches wide, or 32 to 36 inches for easier installation and service. A 36- to 42-inch closet depth often accommodates the machine body and connections, but the 36-inch working clearance usually extends into the hall or room outside the closet.
- Side-by-side closet: Allow approximately 60 to 66 inches of clear width and 36 to 42 inches of appliance depth. This works best with doors that open fully and provide the required aisle beyond the closet.
- Small galley: With machines on one wall and 18- to 24-inch-deep cabinets opposite, plan at least 7 feet 6 inches between walls. That combines roughly 36 inches of appliance projection, a 36-inch aisle, and 18 inches of storage.
- Compact utility room: A room around 6 by 7 feet can hold side-by-side appliances and a narrow landing surface, provided the actual machines fit within the planned width and depth.
Stacking saves floor width but does not remove service access. Leave enough room to pull the unit forward, reach the connections, and remove the dryer if repairs are needed. A top-load washer also needs unobstructed lid clearance, so a shelf directly above it may make the layout unusable.
Small Laundry Room Floor Plans With Dimensioned Examples
Use these examples as starting layouts. Replace the appliance dimensions with the measurements from your selected models before framing walls or ordering cabinets.
- Stacked closet plan: Draw a 36-inch-wide by 42-inch-deep closet for a 27-inch-wide stacked unit. Reserve at least 2 inches on each side if the installation instructions permit it. Keep a 36-inch clear area in front of the closet, and use a 32-inch or wider pocket door. If the selected unit is 34 inches deep rather than 30 inches, increase closet depth or allow the machine to project into the room.
- Side-by-side one-wall plan: Use a 66-inch appliance run for two machines listed at 27 inches wide each. Provide 36 inches from the machine fronts to the opposite wall, making the room about 66 inches deep if the installed appliance depth is 30 inches. If hoses and the dryer duct increase the installation depth to 36 inches, the room should be about 72 inches deep.
- Galley plan: Set side-by-side machines along one 66-inch wall run. On the opposite side, use an 18-inch-deep counter or cabinets. A 36-inch aisle between them produces an approximately 90-inch room width. Keep the room length at least 72 inches, or longer if the appliance run needs a sink or tall storage at one end.
- Larger utility-room plan: In an 8-by-10-foot room, place a 60- to 66-inch appliance run on one wall, a 24-inch-deep folding counter on the opposite wall, and maintain a 42-inch aisle. Add a sink or tall cabinet only where its doors do not reduce the working aisle below 36 inches.
Check every plan against the largest measurement: the actual machine depth, the open door projection, or the connection zone may control the final room size.
Add Counters, Sinks, Cabinets, and Folding Space
Add work zones only after the appliance envelope and circulation are fixed. A counter over front-loading machines is typically 24 to 25 inches deep and 60 to 66 inches wide for two units. Confirm that the counter can be removed or supported without preventing appliance service.
- Folding surface: Allow at least 24 inches of depth and 30 to 36 inches of usable width. A 36-inch-deep counter is more comfortable for baskets but increases the required aisle.
- Sink: A compact laundry sink commonly needs a 24- to 36-inch-wide base cabinet and a 20- to 24-inch-deep basin. Reserve plumbing access and avoid placing the sink where its doors collide with the washer or dryer.
- Base cabinets: Standard units are about 24 inches deep. They need the same 36-inch minimum aisle as the appliances, plus door-swing space.
- Upper cabinets: Use about 12 to 16 inches of depth so they do not crowd the work zone. Mount them high enough to clear the counter and any appliance lid.
- Landing space: A 12- to 18-inch surface beside the machines helps hold detergent, baskets, or a wet garment while loading.
When floor area is limited, prioritize a full appliance door swing and a clear service path over extra cabinetry. A smaller counter that remains usable is better than a deeper one that reduces the aisle below the required clearance.