
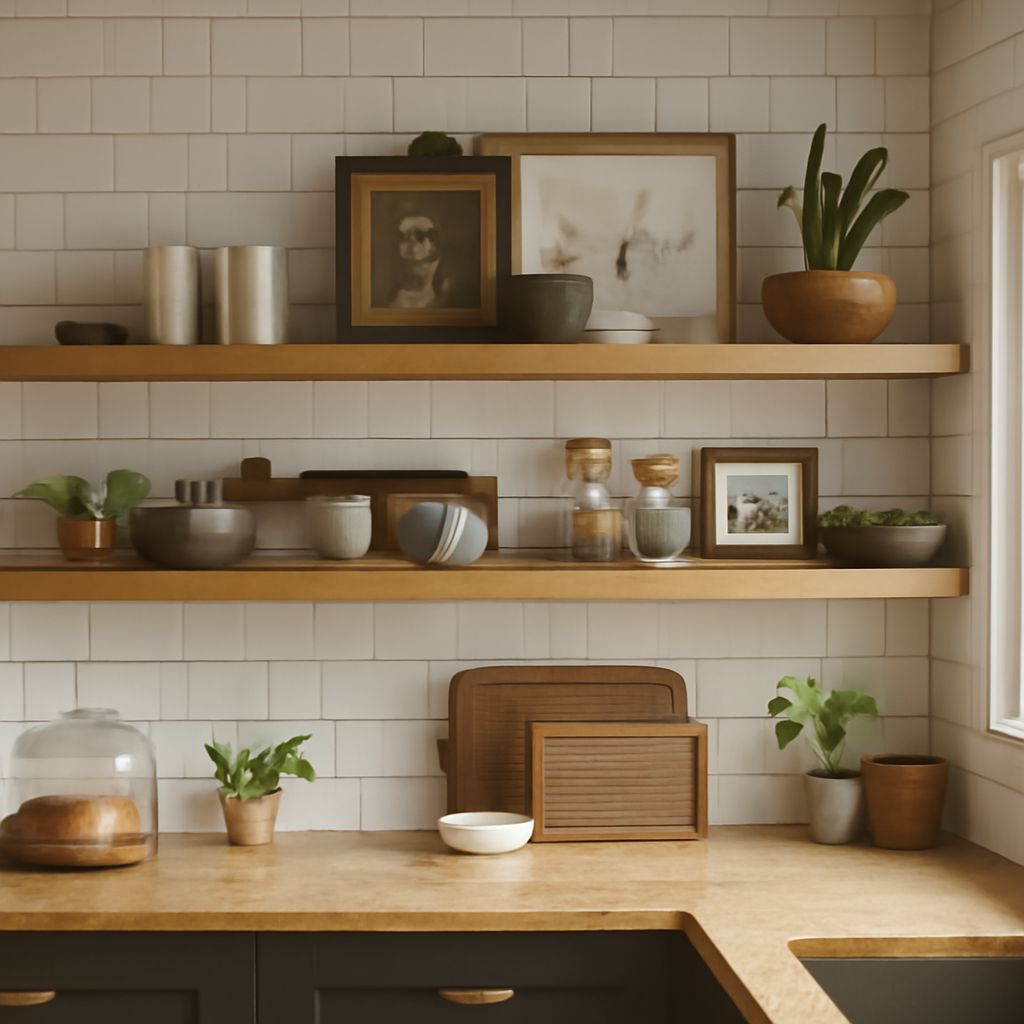
Kitchen floating shelves can span a long wall, but their size should follow the stored weight rather than the empty shelf’s appearance. For dishes, begin with a shelf depth of 10 to 12 inches and support it at multiple structural points.
A long floating shelf is safe only when its construction, bracket engagement, fastening, and spacing work together. Plan the wall first, then match the shelf to the span, the kitchen zones, and the actual dish load.
Choose a location for kitchen floating shelves around range, sink, and wall obstacles
Measure the wall at the countertop, backsplash, and intended shelf height. Walls and corners are rarely perfectly square, so measure both ends and the middle. Record the usable length rather than assuming the wall measurement equals the shelf length.
- Check corners: Decide whether the shelf will stop before a corner, return onto an adjacent wall, or use a small clearance. A corner return may require scribing or a joint.
- Mark appliances: Account for the range, hood, sink, refrigerator doors, countertop appliances, and cabinet doors. Leave enough room for doors and lids to open without striking the shelf.
- Review the backsplash: Measure its thickness and top edge. A shelf may need a rear notch, spacer, or a small gap so it does not bear unevenly on tile.
- Locate outlets and switches: Do not cover receptacles or require cords to pass behind a fixed shelf. Check for wiring before drilling.
- Separate kitchen zones: A sink area exposes the shelf to splashes, while a range area adds grease and heat. Follow the cooktop and hood manufacturer’s clearance requirements instead of choosing a shelf height by appearance alone.
Above a standard counter, 18 to 24 inches is a common planning range, but the range and hood instructions control in a cooking zone. Near a sink, keep the lowest shelf easy to wipe and avoid a depth that makes the work surface feel crowded.
For plates, bowls, and mugs, 10 to 12 inches deep usually provides useful capacity. Measure your largest plate and add clearance for fingers at the front. A shallow 8-inch shelf may suit spices or glasses, but it is less suitable for dinnerware.
Size a long floating shelf for span, construction, depth, and dish loads
Separate the shelf’s total length from its unsupported span. A 72-inch shelf may be structurally reliable when brackets divide it into several shorter spans, yet it can sag if supported only at its ends.
For a dish-loaded shelf, plan support points roughly 12 to 16 inches apart when the construction and wall allow it. Some engineered systems permit wider spacing, but use the hardware manufacturer’s load rating and spacing limits. Dense dish stacks should never rely on display-only concealed support.
Choose a shelf construction that resists bending and twisting:
- Solid hardwood: Strong and repairable, but wide boards need a stable, well-sealed construction that allows for seasonal movement.
- High-quality plywood: A laminated plywood shelf with a hardwood front edge offers good stiffness and predictable screw holding.
- Torsion-box construction: A hollow shelf with internal ribs can span farther without excessive weight, provided the ribs align with the concealed brackets.
- Steel-reinforced construction: Internal steel bars or a purpose-built shelf system can support longer, heavier shelves when sized for the load.
Unreinforced MDF, particleboard, or a thin solid board can deflect under a long dish load. A thick front edge may improve appearance, but it does not automatically strengthen the entire shelf. The bracket must transfer force into the shelf’s structural core, not merely into a decorative skin.
List what the shelf will hold and weigh a representative group. Ten dinner plates may weigh about 12 to 20 pounds, depending on the material; bowls, mugs, cookware, and serving dishes add more. Include the shelf itself in the total design load, then select hardware with a suitable margin above that load.
Place the heaviest items near the support points, not at the center of the longest span. If one section will hold a dense stack of plates, reduce the bracket spacing, add internal reinforcement, or divide the shelf into supported sections. If the required structure makes the shelf too thick or deep, use two shorter shelves instead.
Seal every surface, including end grain and concealed cutouts. A durable clear coat, paint, or hardwax finish reduces moisture absorption and makes grease easier to remove. Near a sink or range, finish the rear and underside as carefully as the visible top.
Plan concealed support at studs or masonry, with full bracket engagement
Find the wall’s structural points before ordering the shelf. Use a stud finder, confirm each location with a small test hole, and mark the stud centers. Check for plumbing and electrical lines before drilling. In masonry, identify whether the wall is brick, concrete block, or another material so you can choose compatible anchors.
For a long shelf, a continuous concealed rail or steel mounting bar can distribute the load across several studs. Individual floating brackets can also work when each bracket is fastened securely and the shelf is built for their spacing. Put the first bracket about 4 to 6 inches from each end, then place the remaining brackets at the planned intervals. Add a bracket near any heavy dish section or shelf joint.
The horizontal bracket arms need substantial engagement inside the shelf. For a 10- to 12-inch-deep shelf, an arm that enters roughly two-thirds of the shelf depth is a common starting point, but the specific system’s instructions take priority. The shelf must have enough internal material around each arm for a tight, strong fit.
- Stud walls: Use structural screws long enough to pass through the bracket or rail and enter the stud with the manufacturer’s required embedment. Do not count drywall thickness as structural engagement.
- Masonry walls: Use anchors and fasteners rated for the masonry type and the calculated load. Clean drilled holes and follow the anchor’s hole diameter and embedment requirements.
- Drywall alone: Use only for very light objects, not for a long shelf carrying dishes. Toggle or hollow-wall anchors do not replace stud or masonry fastening for this application.
- Joints: If the shelf must be made in sections, position each joint over a bracket or continuous support. Do not leave a seam in the center of an unsupported span.
Plan anti-rotation as well as vertical support. Concealed rods can hold a shelf up while allowing its front edge to tip downward. Use the system’s underside set screws, locking hardware, rear cleat, or another approved method to prevent rotation. The anti-rotation feature should clamp the shelf without crushing its material.
Install floating shelves for a kitchen: dry-fit, level, finish, and load progressively
- Make a full-size template. Cut cardboard or thin scrap material to the shelf’s length and depth. Hold it at the proposed height, then check corners, backsplash thickness, outlets, appliance doors, hood clearance, and sightlines from the sink and range.
- Dry-fit the support system. Position the rail or brackets on the wall and place the unfinished shelf over them if possible. Confirm that the bracket arms align with the shelf’s internal channels and that the front edge stays clear of cabinets and handles.
- Transfer the mounting marks. Mark every stud or masonry point through the support hardware. Use a level for the horizontal line, then verify the marks against the shelf rather than trusting an uneven countertop or ceiling.
- Drill and fasten the brackets. Predrill stud locations to prevent splitting. For masonry, drill to the anchor specifications and remove dust. Tighten fasteners firmly, but do not distort a rail or crush drywall beneath it.
- Fit the shelf. Slide the shelf fully onto every bracket arm. Do not accept partial engagement at one end. If the shelf stops early, remove it and correct the hole depth, internal obstruction, wall irregularity, or bracket alignment.
- Control the wall gap. Keep the rear edge close and consistent. A narrow reveal of about 1/8 inch can hide a slightly uneven wall, but a large gap signals poor fit or inadequate support. Scribe the shelf or use a properly secured spacer where tile or trim prevents contact.
- Lock against movement. Install underside set screws or the specified anti-rotation hardware. Check that the shelf cannot rock, lift at the front, or slide sideways when you apply moderate hand pressure.
- Finish before loading. Seal exposed cuts and allow the finish to cure according to its instructions. Remove dust and grease from the shelf and backsplash so the final fit and cleaning surface remain consistent.
- Load in stages. Start with the shelf empty and inspect its level. Add about 25 percent of the planned load, wait several minutes, and check for movement, fastener pullout, cracking, or visible deflection. Continue in similar increments, placing heavier dishes near supports.
Stop loading if the front edge drops, the shelf creaks repeatedly, the wall moves, or a gap opens behind it. Remove the contents and correct the support or shelf construction before using it for dense stacks of dishes.