
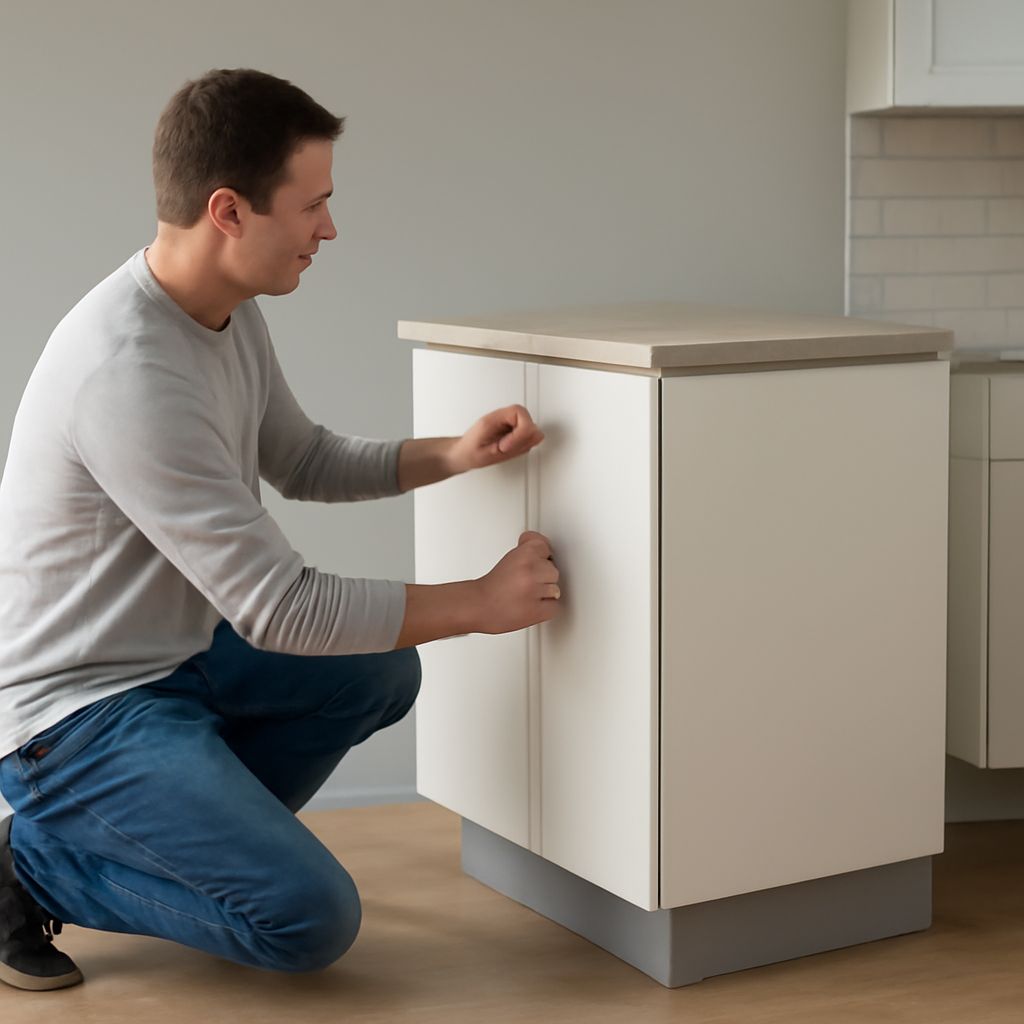
Kitchen cabinet dimensions typically follow a predictable system: base cabinets are 34½ inches high before the countertop and about 24 inches deep, while wall cabinets are commonly 12 inches deep. Most widths increase in 3-inch increments.
Use standard sizes as planning references, not finished openings. Measure the room, appliances, utilities, and trim before assigning cabinets to each wall.
Standard kitchen cabinet dimensions and size chart
The following chart covers common cabinet sizes. Actual box dimensions and installation clearances vary by manufacturer, so verify the product specifications before ordering.
- Base cabinets: 34½ inches high, about 24 inches deep, and typically 9 to 48 inches wide in 3-inch increments. The countertop usually brings the finished height to about 36 inches.
- Wall cabinets: Commonly 12 inches deep, with widths from 9 to 48 inches in 3-inch increments. Heights often include 12, 15, 18, 24, 30, 36, and 42 inches.
- Tall cabinets: Usually 84, 90, or 96 inches high and about 24 inches deep. Common widths range from 12 to 36 inches.
- Corner cabinets: Base corner units often occupy 33-by-33 or 36-by-36-inch spaces. Wall corner units commonly require 24-by-24 inches or more.
- Sink cabinets: Usually 30, 33, or 36 inches wide, with no drawer directly above the sink. Choose a width that accommodates the sink, plumbing, and cabinet walls.
- Appliance cabinets: Dishwasher units are commonly 24 inches wide. Range, cooktop, refrigerator, and microwave cabinets must match the appliance specification and ventilation requirements.
A nominal 30-inch cabinet does not always equal a 30-inch finished opening. The cabinet box, face frame, filler, scribe, end panel, and adjacent trim determine the installed dimensions. Confirm whether each listed measurement is the box size, overall size, or required opening.
Kitchen wall cabinet sizes
The most useful wall cabinet combinations are 12, 15, 18, 24, 30, 36, and 42 inches high, paired with 12-inch depths and widths in 3-inch increments. A 30- or 36-inch-high unit is common when the ceiling allows generous space above the countertop.
Leave about 18 inches between the countertop and the underside of a wall cabinet unless the appliance, manufacturer, or local requirements call for more. Ceiling height, soffits, crown molding, windows, doors, and casing can reduce the usable height. Measure the finished space, including flooring, drywall, backsplash, and trim, rather than relying on the room’s rough dimensions.
Measure the kitchen shell and record cabinet measurements
- Create a scaled sketch. Label walls and reference points, such as A at the first corner, B at a window edge, and C at a doorway. Mark the direction of each wall and note which reference point will start each cabinet run.
- Photograph the room. Take overview photos from every corner, then detail photos of corners, openings, trim, utilities, and damaged or uneven surfaces.
- Measure every wall three times. Record the distance at the floor, mid-height, and ceiling. Differences reveal bowed or out-of-plumb walls. Check the floor and ceiling with a level, and record the highest and lowest points.
- Record openings. Measure each window and door from finished edge to finished edge. Note sill height, head height, casing width, swing direction, thresholds, and the distance from every opening to the nearest corner.
- Check corners and diagonals. Measure corner-to-corner diagonals across the room and across unusual openings. Unequal diagonals indicate a room that is not square. Note gaps between walls, soffits, and ceiling lines.
- Mark trim and obstructions. Record baseboard, crown molding, picture rails, radiators, vents, pipes, and any projection that affects cabinet depth. Identify walls that are not plumb and floors that are not level.
Use the finished opening as the planning boundary. If flooring, drywall, or a backsplash is not installed, calculate its expected thickness and show it separately on the sketch.
Record appliances and utilities
Use each appliance specification sheet, not a model name or estimated size. Record width, height, depth, door swing, handle projection, ventilation, and the required finished opening. Include refrigerator hinge clearance, range or cooktop landing space, dishwasher door clearance, microwave height, and any required side gaps.
Mark outlets, switches, water supplies, drains, gas lines, ducting, lighting, heating vents, and shutoff valves on the sketch. Measure their locations from the same labeled reference points used for the walls. Allow access behind or beside cabinets; do not place a cabinet box over a service that must remain reachable.
Translate measurements into cabinet runs
Start each run at a fixed corner, wall opening, or appliance boundary. Place cabinets using standard 3-inch width increments, then reserve space for the items that cannot be absorbed by a cabinet box.
- Fillers: Allow filler strips beside walls, corners, appliances, and doors so doors and drawers can open fully. Add extra space where walls are out of square.
- Panels and scribes: Reserve finished end panels, refrigerator panels, appliance panels, toe-kick returns, and scribe pieces wherever cabinet sides remain visible.
- Openings and clearances: Keep the specified appliance gaps, countertop overhangs, door swings, and walkway clearances separate from cabinet widths.
Finish with a sum check for every wall: add cabinet widths, fillers, panels, appliance openings, and other reserved spaces. Compare that total with the measured finished wall span. Recheck the calculation against the shortest wall measurement, the lowest ceiling point, out-of-level floors, out-of-plumb walls, and any diagonal discrepancy before ordering.