
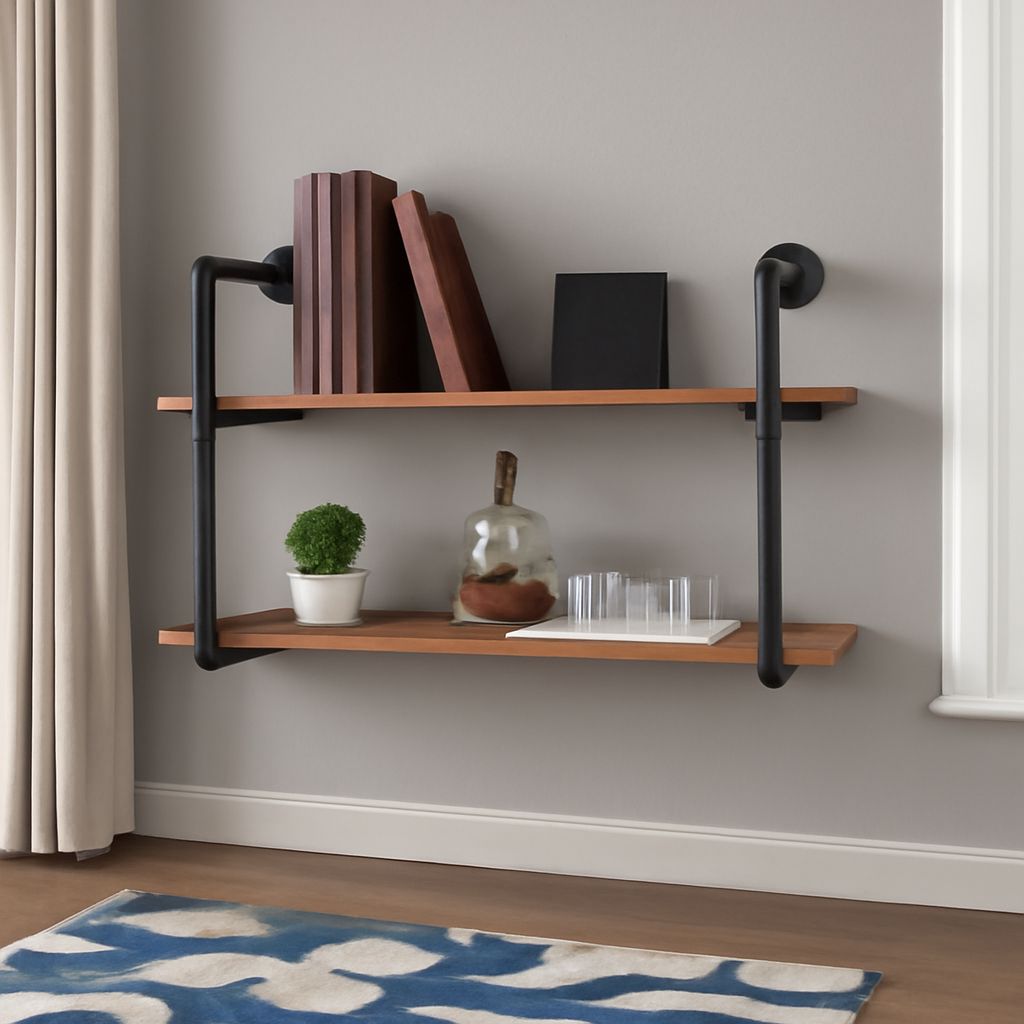
Industrial pipe shelving is easiest to plan as a dimensioned elevation, not as a collection of attractive fittings. Choose the board span, depth, pipe projection, support locations, and intended load first. For a typical wall-mounted unit, use two support lines per shelf, a 10- to 12-inch board depth, and 24- to 36-inch spans. Add a third support or shorten the span for heavy books, tools, or cookware.
Measure the finished pipe assembly before cutting boards. Pipe diameter, flange thickness, fitting geometry, and threaded take-up all change the usable dimensions.
Choose an industrial pipe shelving layout for span, depth, projection, and load
The most stable layout uses vertical pipe standards fixed to the wall, with each board supported at two or more points. A simpler design uses separate wall flanges, nipples, elbows, and tees beneath each shelf. Caps can finish exposed pipe ends, while unions make a standard easier to disassemble.
- Span: Keep a solid-wood or plywood shelf at 24 to 36 inches between support lines unless its thickness and load rating justify more.
- Depth: Select boards based on the objects they will hold. Ten inches suits many books and displays; 12 inches gives more usable storage.
- Projection: Measure from the wall face to the front of the pipe. Keep the board slightly deeper than the pipe projection, usually by 1/2 to 1 inch, so the front edge remains supported without excessive overhang.
- Load: Total the weight of the objects on each shelf. Use the weakest rating among the board, pipe, fittings, flange, fasteners, and wall substrate as the controlling limit.
Create a full-size elevation showing every shelf height and support center. For a representative board width B, place two flange centerlines about 3 inches from each end, at x = 3 and x = B minus 3 inches. Transfer those points to the wall only after confirming they align with studs or planned anchors.
Calculate pipe shelving: thread take-up, nipples, flanges, fittings, boards, and fasteners
Make the bill of materials from the elevation. Count each part by support line and shelf level rather than guessing from the number of boards.
- Boards: List the number, finished width, depth, and thickness. Cut each board to the measured pipe layout, allowing only the planned front and side overhangs.
- Pipe: Specify the diameter and lengths for vertical standards, horizontal rails, and nipples. Use larger pipe or additional supports where loads increase.
- Fittings: Count wall flanges, nipples, elbows at changes in direction, tees at shelf junctions, caps at open ends, and unions where orientation or future removal matters.
- Fasteners: Use structural screws long enough to penetrate sound studs or blocking. For masonry, specify anchors rated for the expected shear and pull-out loads. Include washers when the flange holes require them.
- Finish: Select a compatible pipe finish, such as clear coat, paint, or protective wax, and a board sealer suitable for the room.
Allow for thread engagement at every threaded joint. A nipple’s visible length is its cut length minus the engaged thread at both ends; it is not the same as the gap you want to see. On small NPT fittings, effective engagement may be roughly 1/2 inch per end, but measure the actual fittings and account for elbow and tee body dimensions. Build one sample joint, measure its face-to-face length, then apply that take-up to the remaining nipples.
Prepare iron pipe shelving: clean, finish, cut, seal, and dry-fit
- Degrease every pipe and fitting with an appropriate cleaner, then wipe away residue and let the metal dry completely. Remove loose scale with a wire brush.
- Apply the chosen finish before installation. Coat all accessible surfaces, including threaded areas that will remain exposed, and follow the product’s curing time.
- Cut boards to the verified dimensions. Sand the faces and edges, then seal every face and edge with the selected finish. Let the finish cure before loading the shelves.
- Dry-assemble the pipe frame without permanent adhesive. Tighten fittings enough to check alignment, but do not force a flange into a wrong position. Mark the orientation of elbows, tees, unions, and caps.
- Place the boards on the dry frame and check clearance, overhang, shelf spacing, and pipe projection. Revise pipe lengths before drilling the wall or fixing the boards.
Mount flanges at exact stud or anchor points, level boards, prevent rotation, and load progressively
Locate the wall support points with a stud finder and confirmation holes, or mark the approved masonry anchor pattern. A decorative flange and threaded pipe are not adequate wall support by themselves. Each flange must be fastened through sound substrate with the specified structural screws or rated anchors; drywall-only anchors are unsuitable for heavy shelving unless specifically engineered for the load.
Mark every flange center using the elevation’s exact x and y measurements. If a planned center misses a stud, add blocking, move the entire support layout before cutting, or redesign the anchor pattern. Do not shift one flange casually, because that changes shelf span and can twist the frame.
- Install the rear flanges loosely, use a level to align each support line, and tighten the fasteners evenly.
- Assemble the pipes and fittings, then check each shelf in both directions. Shim only with durable, load-rated material.
- Fix boards to the frame with underside pipe straps, clips, or short screws that cannot contact the pipe or split the wood.
- Prevent rotation with paired wall supports, tightened locknuts or set screws where provided, and a rear cleat or anti-rotation clamp secured to the wall structure.
- Load gradually: test at roughly 25 percent, 50 percent, and then the intended load. Stop if the board deflects excessively, a flange pulls away, a fastener moves, or the pipe rotates.