
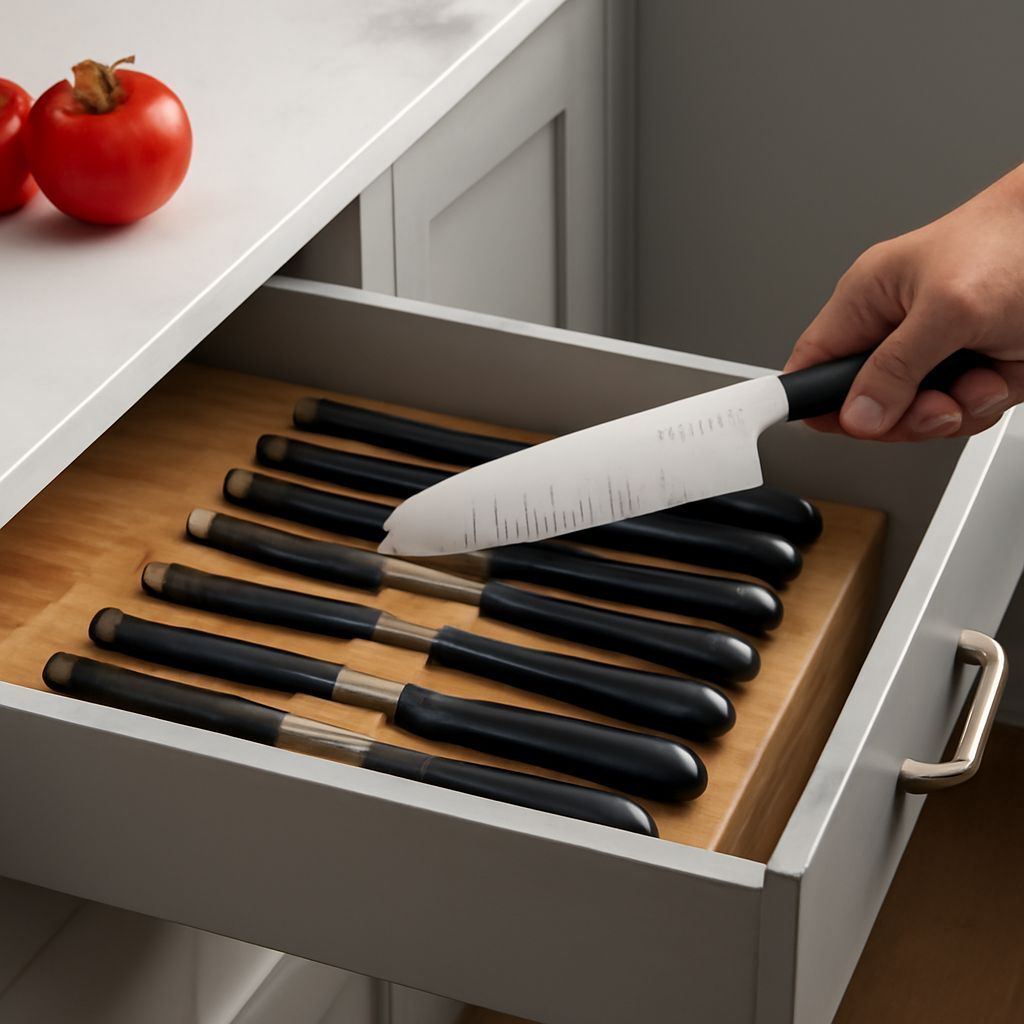
Choose an in-drawer knife block by measuring the drawer’s clear interior and your longest, thickest knife first. The safest insert keeps every blade fully contained, leaves handles easy to grasp, and allows the drawer to close without pressure.
Compare angled, horizontal, and modular designs against those measurements. Then check slot count, blade contact, cleaning needs, and anti-slip fit before loading your knives.
Compare In-Drawer Knife Block Types: Angled, Horizontal, and Modular
Slot orientation changes both accessibility and the space required inside the drawer.
- Angled inserts: The blades sit diagonally while handles rise toward the drawer front or back. This makes retrieval easy because you can grasp each handle without lifting neighboring knives. Angled slots usually need more drawer height and handle clearance, so check the tallest handle before buying. A good design supports the blade without exposing its edge.
- Horizontal inserts: Knives lie flat in parallel slots. They suit shallow drawers because they use less vertical space, but handles can be harder to identify and reach. Look for separate channels with smooth entry points. A blade should rest against a protective surface, not rub repeatedly against a hard slot edge.
- Modular inserts: Separate blocks, pegs, or adjustable dividers can be arranged around different knife sizes. They work well when your collection changes or includes unusually shaped blades. However, each module must stay fixed. Gaps can allow a knife to shift, and loose parts may let blades contact one another.
Think about the drawer’s movement as well as its dimensions. A full-width insert with rubber feet or a grippy base is less likely to slide when the drawer opens. A snug fit is useful, but do not force an insert into place; pressure can distort the drawer or prevent smooth closure.
Measure Internal Drawer Dimensions and Knives for a Safe Fit
Measure the drawer from the inside, at its narrowest points. External cabinet dimensions do not show the space available to an insert.
- Measure internal width: Record the side-to-side distance between the drawer walls. Check near the front, middle, and back because runners, fasteners, or tapered sides can reduce usable width.
- Measure internal depth: Measure from the inside front to the inside back. Leave room for the drawer face, rear stops, and any hardware that protrudes into the cavity.
- Measure internal height: Measure from the drawer floor to the lowest point of the drawer above. Repeat this at the front and rear if the drawer has a sloping base or uneven construction.
- Check handle projection: Measure from the insert’s slot surface to the highest point of each handle. Angled handles often project farther than expected. Include bolsters, finger guards, rivets, and curved ends.
- Test drawer closure: Place a cardboard mock-up at the planned insert size, then close the empty drawer slowly. Repeat with representative knives. Stop if the drawer catches, compresses a handle, or needs extra force.
- Measure blade lengths: Measure each blade from the handle or bolster to the tip. The longest blade determines the minimum slot length. Its tip must stop inside the insert rather than reach the drawer wall.
- Check spine thickness: Measure the thickest blade spine, including any unusual bolster. Slot openings must accept that thickness without forcing the knife or scraping its sides.
- Count the slot requirement: Count the knives you will store, not the knives you own. Include separate slots for wide chef’s knives, serrated knives, and thick utility blades when needed.
Compare the insert’s stated dimensions with your smallest measured clearance. Allow a few millimetres around the outside rather than relying on a nominal size. A slot that fits the blade but leaves the handle pressing against the drawer above is not a safe fit.
Choose a Knife Holder for a Drawer: Capacity, Material, and Grip
Choose capacity from the actual collection, then compare how each material treats the blade and handles daily use.
- Cork: Cork provides a soft contact surface and can grip blades gently, reducing harsh contact at the slot. It suits lightweight knives and compact collections. It can absorb moisture, collect crumbs, and wear around frequently used slots, so it needs careful wiping and thorough drying.
- Wood: Wood feels solid and usually supports blades well when the slots are smoothly finished. It offers good stability but is generally wipe-clean rather than washable. Never return wet knives to a wooden insert, and inspect slot edges for splinters or rough areas that could touch an edge.
- Bamboo: Bamboo gives a rigid, attractive structure and often resists everyday dents. Its performance depends on the finish and slot construction. Keep it dry, because repeated soaking or trapped moisture can cause swelling, staining, or seam damage.
- Plastic: Plastic is usually the easiest material to wipe or wash, making it practical for busy kitchens. Smooth plastic reduces snagging, but a rigid, poorly finished slot can still contact the blade edge. Choose rounded openings and a non-slip base rather than judging plastic only by its appearance.
- Modular materials: Modular systems may combine plastic dividers, rubber feet, cork pads, or wooden blocks. They offer the best adaptability, but examine every contact point. Adjustable parts should lock firmly and leave no route for blades to slide beneath or between sections.
Capacity should match both slot count and slot shape. A ten-slot insert may not hold ten knives if several channels are narrow. Check the listed blade widths, not just the number of openings. Reserve one or two spaces only if the drawer has room; unused capacity is not valuable when it makes the organizer wider or less stable.
For blade care, separate knives so edges do not touch. For retrieval, select angled slots when handles are difficult to grasp or the drawer is deep. For a shallow drawer, horizontal channels may be the better compromise. For changing collections, modular sections provide flexibility, provided they cannot move during normal drawer use.
Load and Maintain a Knife Drawer Insert: Closure and Cleaning
Install the organizer before loading every knife, then perform a complete movement and closure check.
- Set the insert on the drawer floor and push it into its final position. Confirm that feet, rails, or a full base contact the surface evenly.
- Load the longest knife first. Insert it slowly and verify that the tip stops inside the channel, the edge remains covered, and the handle does not rise into the drawer above.
- Load thick-spined and wide blades next. Never force a knife into a tight slot; use a larger channel or a separate section instead.
- Place handles in the direction intended by the design. Keep adjacent handles separated enough to grasp one without pulling another knife forward.
- Open and close the drawer several times. Remove any knife that catches, shifts, touches another blade, or stops the drawer from closing fully.
Clean the insert according to its material. Remove knives and loose crumbs before wiping. Plastic can often be washed if its care instructions allow it; dry it before replacing the knives. Wipe wood, bamboo, and cork with a lightly damp cloth, then dry them completely. Avoid soaking these materials. For modular designs, separate removable parts so debris cannot remain beneath dividers or feet.
Inspect the organizer regularly for cracked plastic, swollen wood, compressed cork, loose modules, or rough slot edges. Replace or reposition an insert if a blade edge becomes exposed, if knives begin touching, or if the organizer slides when the drawer moves. The finished setup should hold each knife securely, keep the sharp edge enclosed, and let the drawer open and close without resistance.