
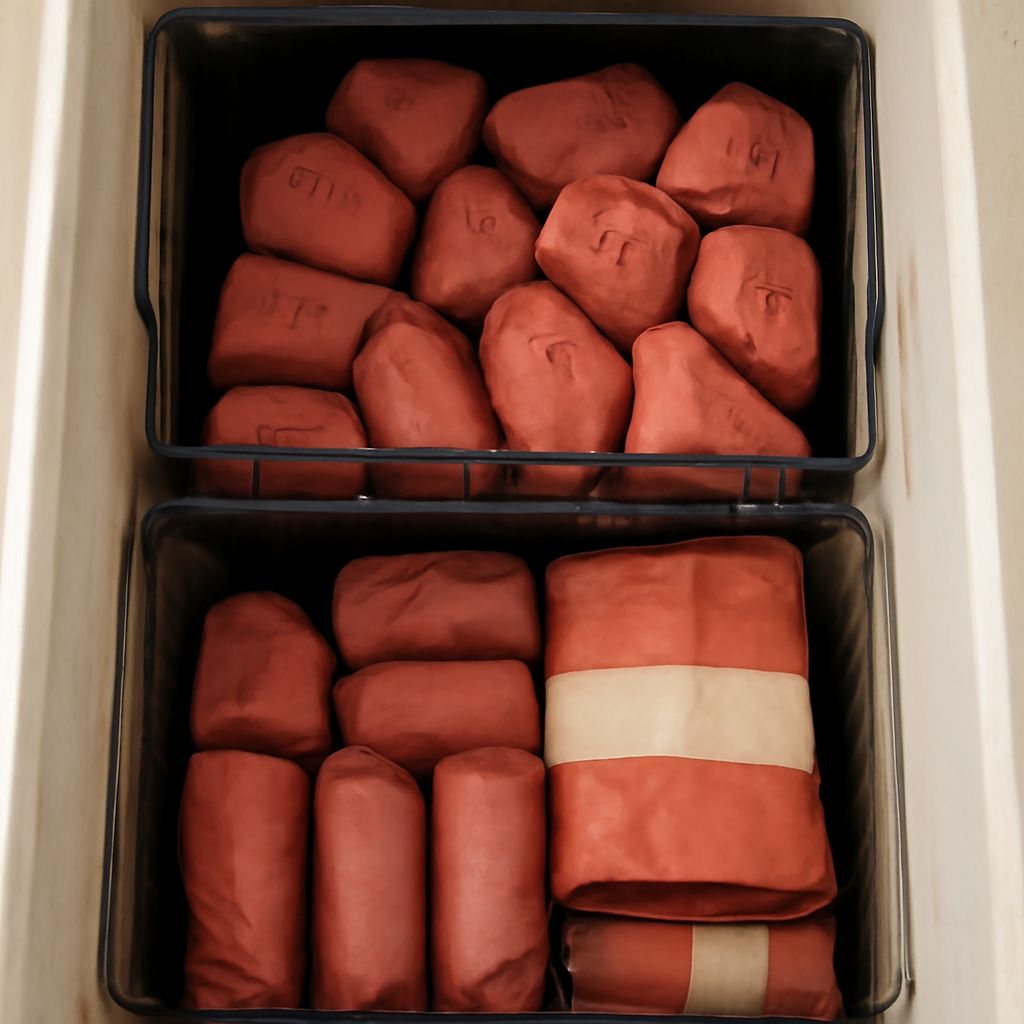
To learn how to organize a chest freezer, reset it in one controlled pass: stage food cold, inspect every package, group by use, and rebuild the contents in lift-out units. This keeps bottom food accessible without creating permanent layers.
A simple map shows how to organize chest freezer contents, while labels and a dated inventory prevent forgotten packages. To organize chest freezer storage, use containers that fit the freezer’s narrowest points and leave the lid, drain, and airflow clear.
How to Organize a Chest Freezer: Reset and Inventory
Gather a cooler with ice, freezer-safe baskets or bags, labels, a marker, and a notepad. Keep the freezer closed until everything is ready.
- Move food in batches to the cooler or a second freezer. Work quickly, and close the lid between batches.
- Remove baskets and packages, then wipe away crumbs, leaks, and loose frost with a dry or lightly damp cloth.
- Record each item, quantity, portion size, freeze date, and intended zone. Note foods you use frequently.
- Sort by food type, such as meat, prepared meals, vegetables, fruit, baking ingredients, and breakfast foods. Within each group, separate family-size portions from single portions.
Make a decision as you sort. Discard food with unknown contents, damaged packaging, signs of spoilage, or complete thawing followed by warming. Use soon items that are oldest, poorly sealed, or mildly freezer-burned but remain solidly frozen. Freezer burn affects quality more than safety, so trim affected areas and plan those foods first.
Measure the Freezer for Lift-Out Containers
Chest freezers often taper from a wide opening to a narrower bottom. Measure before buying containers:
- Measure the interior length and width at the top and at the bottom. Use the smallest usable measurement when choosing a basket.
- Measure depth from the bottom to the underside of the lid. Include the lid’s inner shelf, light, hinges, or insulation bulges.
- Measure the compressor hump separately, including its width, length, and height. Treat it as its own zone rather than forcing a large basket over it.
- Locate the drain and leave enough space to reach it during defrosting. Check for interior vents or areas that must remain unobstructed for airflow.
- Measure basket length, width, height, and handle clearance. Confirm that a loaded basket can lift straight up without striking the lid.
Choose several manageable baskets instead of one deep container. Open lift-out baskets suit boxed food and packaged meat. Freezer-safe bags work well for flat portions, soups, and sauces; freeze them flat first, then file them vertically. Leave enough room to grip each container, and avoid packing food tightly against vents or the walls.
Organize a Chest Freezer With Vertical Zones
Build zones around retrieval frequency. Every zone should be a basket, handled bag group, or other unit that lifts out as one piece. Nothing should be stored beneath another group unless the upper group moves completely out of the way.
- Front zone: Keep frequently used breakfasts, vegetables, snacks, and small portions here.
- Center zones: Store regular-use meat, prepared meals, and family-size packages in labeled baskets.
- Rear zone: Place backup stock, seasonal foods, and infrequently used ingredients in lift-out containers.
- Compressor-hump zone: Use this awkward space for flat bags, ice packs, or short items that can be removed without disturbing the main baskets.
- Bottom zone: Use the floor for sturdy, heavy baskets or reserve groups, never loose food buried under other supplies.
Load each basket by category, then by portion and date. Stand flat bags like files, with labels facing upward or outward. Place older packages at the front of each basket and newer ones behind them. Keep a small gap around the freezer’s airflow paths, and test that the lid closes fully without pressing on containers.
Draw a quick map on paper or on a label inside the lid. Mark zones by position, such as “front left: breakfasts,” “center: meals,” and “rear right: bulk meat.” Update the map when a category moves.
Label, Map, Rotate, and Maintain Stock
Label every bag or package with the food name, portion size, and freeze date. Add cooking instructions when useful, such as “two servings” or “thaw for soup.” A visible date makes first-in, first-out rotation simple.
- When adding food, pull out the correct basket rather than placing new items on top of loose packages.
- Move older food forward and place the new food behind it.
- Update the inventory immediately with the quantity and zone.
- When a basket is nearly empty, consolidate it instead of creating a new scattered group.
Do a two-minute weekly check: confirm the lid seals, return misplaced items, remove empty packaging, check for spills, and review food that should be used soon. During a monthly check, inspect frost buildup, basket handles, labels, drain access, and airflow clearance. Defrost when frost reduces usable space or interferes with the lid seal, following the freezer manufacturer’s instructions.