
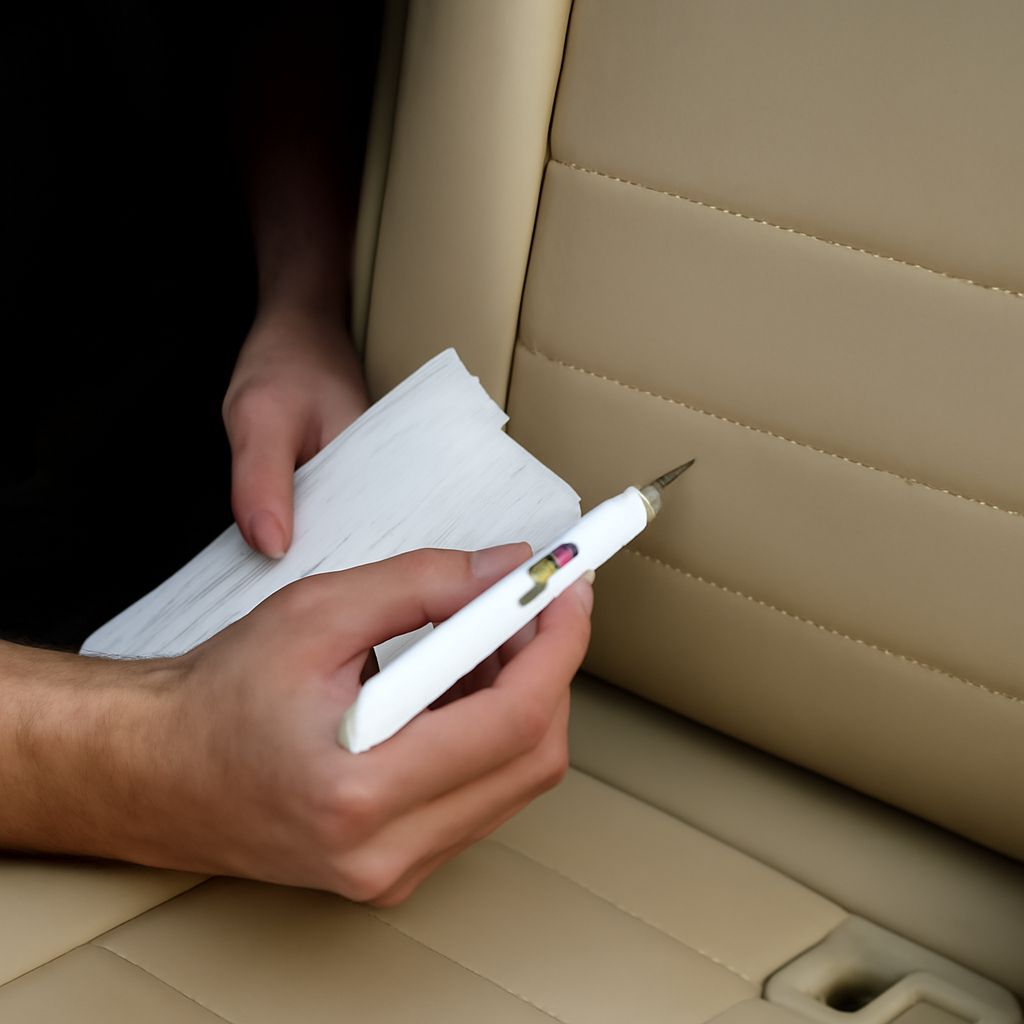
To learn how to get ink off leather without damaging its finish, work slowly and use the least aggressive method first. Blot fresh ink, test an unseen area, and keep every cleaning tool barely damp.
To get ink out of leather safely, identify the leather type before applying cleaner. Finished leather may tolerate a controlled solvent treatment, while aniline leather, suede, and nubuck can stain or discolor quickly.
How to Get Ink Off Leather: Identify the Finish and Mark
Start by inspecting the item in bright, indirect light. Check the surface, the ink mark, and the surrounding finish before touching the stain.
- Finished or pigmented leather: This usually has an even color and a smooth, satin, or lightly glossy surface. A protective topcoat makes it more tolerant of careful cleaning. Sofas, car interiors, handbags, and many shoes use this finish.
- Aniline leather: This has visible pores, natural color variation, and little or no protective coating. A drop of water may darken the surface immediately. Ink can penetrate rather than sit on top.
- Suede or nubuck: These surfaces have a soft, raised nap instead of a smooth topcoat. They require products made specifically for suede or nubuck.
- Synthetic leather: Polyurethane and PVC may look like finished leather but have a plastic coating over fabric or another backing. Solvents can make the surface sticky, cloudy, or cracked.
Next, determine whether the mark is fresh or set. Hold a clean, dry white cloth against the edge for one second. If ink transfers easily, lift it with gentle pressure rather than wiping. Do not spread a wet mark across the grain.
Look for stitching, piping, perforations, and adjoining fabric. Ink can collect in these areas, where liquid spreads underneath the surface. If the mark is large, old, on an expensive item, or close to a seam, professional leather cleaning is the lower-risk option.
Test the Finish Before Treatment: Finished, Aniline, Suede or Nubuck, and Synthetic Leather
Test every product on a hidden section, such as beneath a cushion, inside a bag flap, or near a shoe tongue. Use the same number of passes and the same drying time you plan to use on the mark.
- Apply a tiny amount to a white cotton swab or cloth. Never pour cleaner directly onto leather.
- Dab a spot about 6 millimeters wide, then wait at least 10 minutes for it to dry.
- Check the cloth and the test area for dye, topcoat, stickiness, roughness, gloss changes, or darkening.
- Stop if the leather color appears on the cloth, the surface becomes tacky, or the finish looks lighter or shinier.
For finished leather, begin with a pH-neutral leather cleaner or a solution of one drop of mild soap in 240 milliliters of distilled water. Dampen, then wring the cloth until it feels almost dry. The surface should not become wet enough to form a bead or soak through.
Aniline leather needs special caution. Do not assume a finished-leather ink method is safe for it. Water, soap, and alcohol may leave a dark halo or permanently move the dye. If the test changes the color at all, stop and use a leather professional.
Do not use finished-leather solvent methods on suede or nubuck. Brush the nap gently with a suede brush, then use only a suede- or nubuck-specific ink product whose label permits the treatment. Test it in a hidden area first. For valuable or pale suede, professional treatment is safer than repeated home attempts.
Synthetic leather should also be tested separately. Start with the barely damp mild-soap cloth. Avoid acetone, nail-polish remover, bleach, and unapproved alcohol products, which can dissolve or haze the plastic coating.
Remove Ballpoint Ink from Leather in Controlled Stages
Once a finished leather test passes, remove ballpoint ink from leather in short, controlled rounds. Keep a dry white towel, fresh cotton swabs, and your approved cleaner beside you.
- Blot the surface: If the ink is fresh, press a dry white cloth straight down for one or two seconds. Lift vertically. Repeat with a clean section until no wet ink transfers. Never rub.
- Clean around the mark: Use the barely damp mild-soap cloth to remove surface grime around the stain. Work from the outside toward the mark so dirt does not migrate into it. Immediately pat the area dry.
- Choose a targeted treatment: A leather ink remover approved for finished leather is the preferred option. If the product instructions permit isopropyl alcohol, use a small amount of 70% solution on a cotton swab only after the spot test passes. Do not use household solvents casually.
- Dab from the edge inward: Touch the swab to the outer edge of the ink, then lift it straight off. Move a few millimeters toward the center on the next pass. This keeps dissolved ink from spreading into clean leather.
- Change tools frequently: Rotate to a clean swab tip after every one or two dabs. Replace the swab as soon as it shows ink. A loaded swab redeposits the stain.
- Dry between rounds: After 10 to 20 seconds of dabbing, press a dry white cloth over the area and let it air-dry for several minutes. Inspect before applying more product.
Limit the first treatment to two or three short rounds. If the mark is fading and the leather remains unchanged, repeat only after the surface has fully dried. A small residual shadow is safer than removing the topcoat while chasing complete removal.
For a pen line, work in sections no larger than the original mark. Do not enlarge the damp area to create an even-looking patch. If ink has entered perforations or a grain recess, use a pointed cotton swab with minimal product; never force liquid into the holes.
During treatment, check the white cloth after each pass. Ink transfer is expected, but leather dye or a clear, gummy topcoat is a warning. Stop immediately if either appears. Also stop if the area turns lighter, develops a ring, feels sticky, or becomes noticeably smoother than the surrounding leather.
Dry, Condition, and Assess the Result
Let the treated area air-dry at room temperature. Keep it away from hair dryers, radiators, direct sun, and heaters, which can tighten or crack leather. Drying may take 30 minutes to several hours, depending on the product and the leather’s absorbency.
When completely dry, compare the area with the surrounding surface in the same light. Check four things:
- Has the ink stopped transferring to a dry white cloth?
- Is the color and sheen consistent with the surrounding leather?
- Is the surface still smooth, flexible, and non-sticky?
- Has a dark ring, pale patch, or softened topcoat appeared?
Apply a small amount of leather conditioner only if the manufacturer recommends it for that finish. Spread a thin, even layer over the cleaned section and, when appropriate, the surrounding panel to reduce a visible sheen difference. Do not condition suede or nubuck with a smooth-leather conditioner.
If the stain remains but the finish is intact, leave it rather than escalating to stronger chemicals. If the finish transferred, the leather changed color, or the ink spread beneath the surface, stop further cleaning and have the item assessed by a leather specialist. That is the safest way to preserve the remaining ink off leather treatment area.