
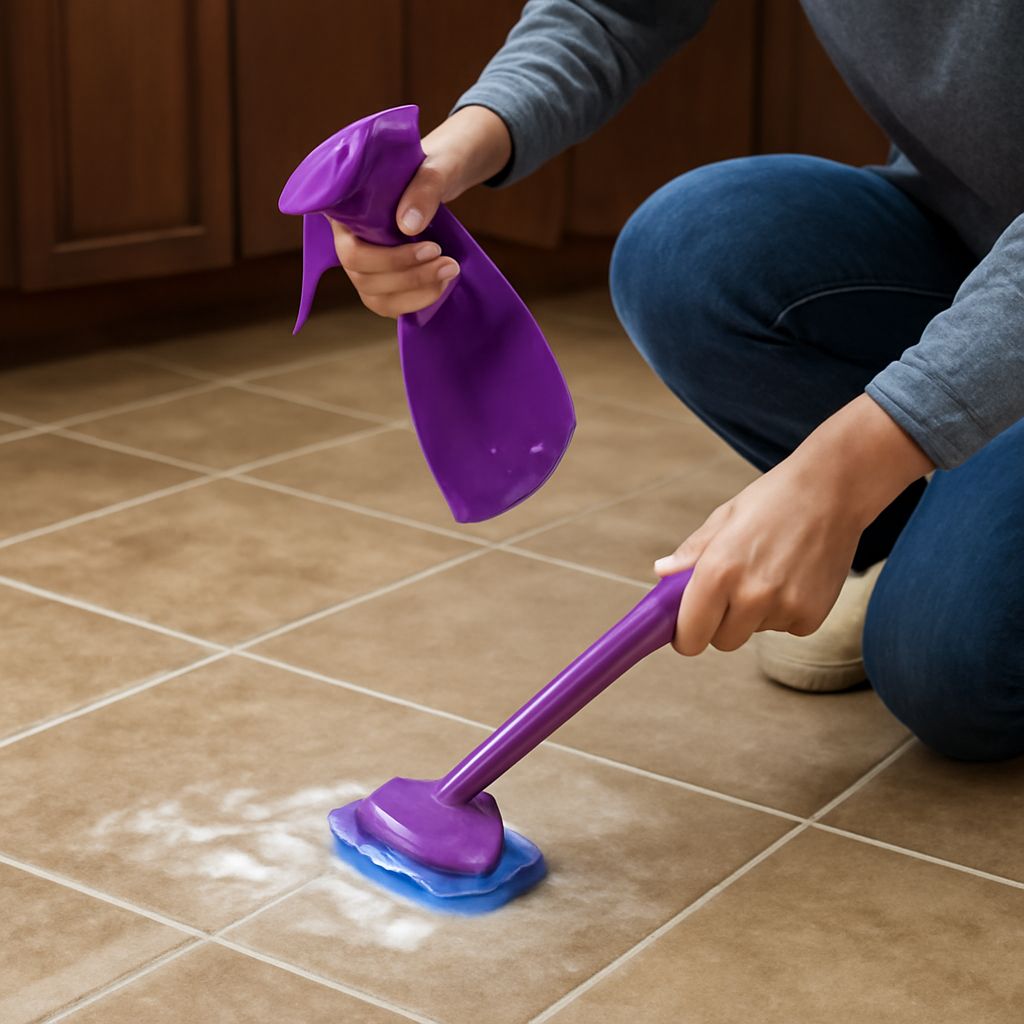
A homemade floor cleaning solution for tile or vinyl needs very little detergent. For a reliable starting batch, mix 2 cups of warm water with 1/4 teaspoon of clear, unscented dish detergent. More soap usually creates a sticky film, not a cleaner floor.
Use separate formulas for glazed ceramic or porcelain tile, grout, and resilient vinyl. Test every mixture in a hidden area first, especially on printed, textured, sealed, or older flooring.
Homemade Floor Cleaning Solution: Identify Ceramic or Porcelain Tile, Grout, or Vinyl—Not Stone
- Glazed ceramic or porcelain tile: These hard, nonporous surfaces can use a dilute detergent solution. A small amount of vinegar is also suitable for the tile surface when the manufacturer permits it.
- Grout: Cement-based grout is more porous than tile. Avoid vinegar on cement grout because repeated acid exposure can weaken or dull it. Use the mild detergent formula, scrub gently, and rinse when soil or film remains.
- Resilient vinyl: Use lukewarm water and minimal detergent. Do not flood seams or edges. Skip abrasive powders, solvents, wax, and acidic mixtures unless the flooring manufacturer specifically approves them.
- Natural stone: Do not treat marble, limestone, travertine, slate, or other natural stone as ceramic tile or vinyl. These recipes are not stone-care formulas.
Homemade Tile Floor Cleaner: Exact Small-Batch Recipes, Yields, and Soil Levels
Make the 2-cup batch first. It is large enough to mop a small test area but small enough to discard if the surface reacts poorly. Use water at 100–110°F (38–43°C), which helps dissolve detergent without making the floor dangerously hot.
Everyday glazed-tile cleaner: Add 2 cups of warm water, 1 tablespoon of distilled white vinegar, and 1/4 teaspoon of clear, unscented dish detergent. Add water first, vinegar second, and detergent last. Stir gently. The yield is 2 cups. Label the container with the mixing date and discard after 7 days. Use this only on glazed ceramic or porcelain tile, not grout.
Grease-cutting tile cleaner: Combine 2 cups of warm water with 1/2 teaspoon of clear, unscented dish detergent. The yield is 2 cups. Label it with the mixing date and use within 7 days. This higher-detergent formula is for cooking grease, tracked-in soil, or a floor that has not been cleaned recently. Plan on a plain-water rinse if the surface feels slick after drying.
Grout-safe cleaner: Mix 2 cups of warm water with 1/4 teaspoon of clear, unscented dish detergent. The yield is 2 cups. Label it and use within 7 days. Apply with a damp microfiber cloth or soft grout brush. Work in small sections rather than saturating the joints.
After the small batch passes its spot test, scale the formulas to 1 gallon of water, or 16 cups. Use 1/2 cup vinegar and 2 teaspoons detergent for glazed tile, 4 teaspoons detergent for greasy tile, or 2 teaspoons detergent for grout. Mix in the same order and make bucket quantities for the same day only.
Homemade Vinyl Floor Cleaner: Exact Small-Batch Recipes, Yields, and Soil Levels
Vinyl generally needs less heat and less agitation than tile. Use water at 90–100°F (32–38°C), and wring the mop until it is damp rather than wet.
Everyday vinyl cleaner: Mix 2 cups of lukewarm water with 1/4 teaspoon of clear, unscented dish detergent. Add the water first, then detergent, and stir without creating foam. The yield is 2 cups. Label the bottle with the mixing date and use within 7 days.
Greasy vinyl cleaner: Combine 2 cups of lukewarm water with 1/2 teaspoon of clear, unscented dish detergent. The yield is 2 cups. Label it with the mixing date and discard after 7 days. Use it for kitchen grease or ground-in traffic soil, then rinse with fresh plain water if the floor dries tacky.
For a passed test batch, use 2 teaspoons of detergent per gallon of water for routine vinyl or 4 teaspoons per gallon for greasy vinyl. Do not add vinegar to these vinyl formulas. Store homemade mixtures sealed, away from heat and sunlight, and discard any batch that develops an unusual odor, cloudiness, or floating particles.
Homemade No-Rinse Floor Cleaner: Water Temperature, Mixing Order, Mopping, and Drying
A homemade no-rinse floor cleaner is appropriate only for light soil when the detergent is measured correctly. It is not truly no-rinse if the floor is greasy, visibly streaked, heavily soiled, or covered with excess solution.
- Remove grit first with a vacuum or soft broom. Grit can scratch vinyl and drag across tile during mopping.
- Measure the water into a clean bucket or bottle. Add vinegar next only for the glazed-tile recipe. Add detergent last, then stir slowly to limit foam.
- Dip a microfiber mop into the mixture and wring it thoroughly. The mop should leave a thin damp trail, not puddles.
- Clean a section of about 4 square feet at a time. Rinse or replace the mop head when it looks gray, and change the solution when it becomes dirty.
- Keep vinyl seams and edges from staying wet. On tile, avoid leaving standing water in grout joints.
- Allow the surface to air-dry for about 5–10 minutes, or dry it with a clean microfiber towel. A correctly diluted floor should feel clean, not sticky, after drying.
Do not combine vinegar with bleach, ammonia, or another cleaning chemical. Even mild ingredients can create an unsafe mixture when combined.
Homemade Tile Cleaner: Storage Periods, Spot Tests, Residue Checks, and Rinse Decisions
Before mopping, apply one teaspoon of the chosen recipe to a hidden 2-by-2-inch area. Leave it for 5 minutes, wipe it away, and let the spot dry completely. Check for color change, dullness, softened finish, swelling, or a sticky feel. Do not use the mixture if any of these appear.
Perform a residue check after the test area dries. Wipe it with a clean, damp white microfiber cloth. A cloudy streak, slippery feel, or visible line means the formula contains too much detergent for that surface. Remake it with half as much detergent, or use plain water to remove the existing film.
- For grease: Use the 1/2-teaspoon detergent batch, make two light passes, and follow with a plain-water rinse.
- For haze or streaks: Mop once with clean warm water, wring the mop well, and dry the floor. Reduce detergent during the next cleaning.
- For grout: Use the grout-safe formula and a soft brush. Rinse with plain water whenever the joints look cloudy or feel soapy.
- For excess cleaner: A plain-water rinse is necessary. Use fresh water and a clean microfiber mop, then make a final dry pass.
Low-residue does not mean residue-free under every condition. Rinse whenever soil is heavy, detergent was overdosed, the floor dries slowly, or the finished surface feels tacky rather than clean.