
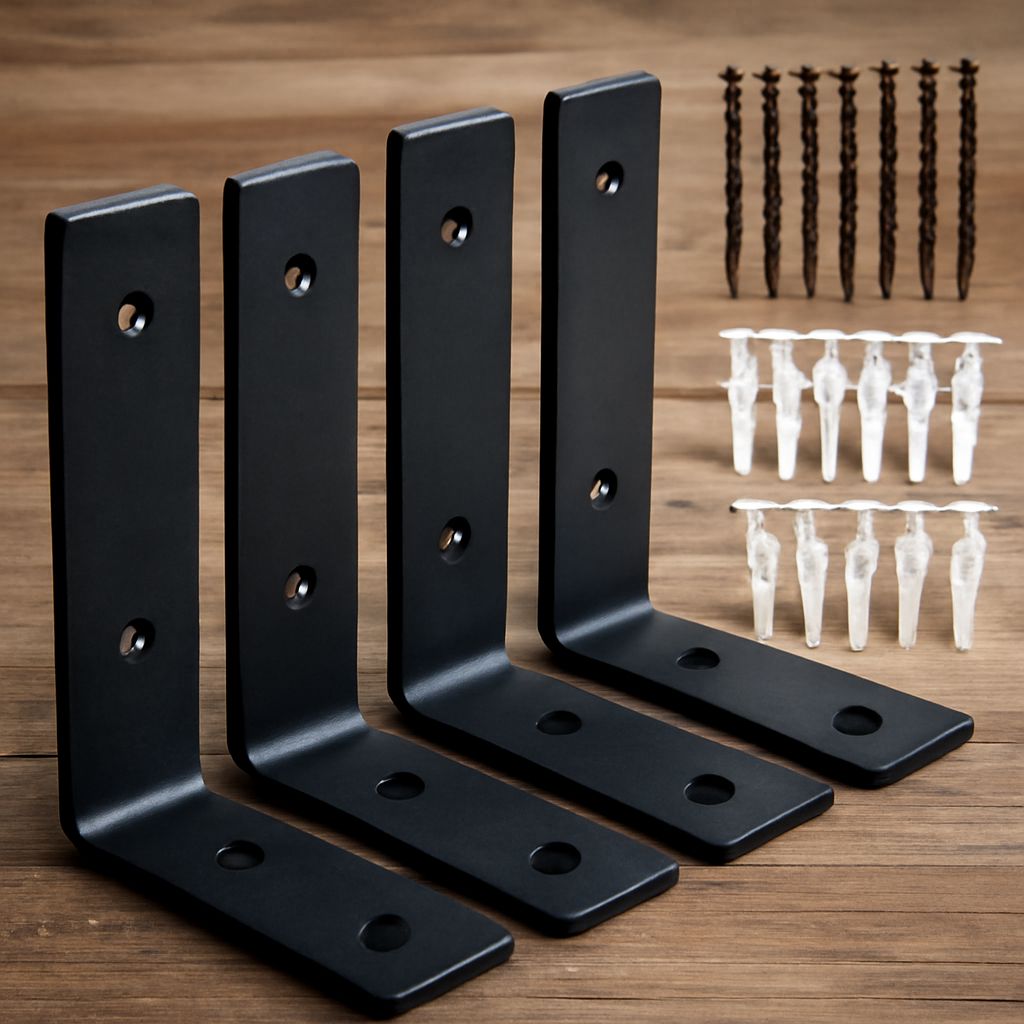
Heavy-duty shelf brackets must be selected as part of a complete load path. The shelf, bracket arm, wall fasteners, and studs or masonry must work together. A product rating alone does not prove that a finished shelf can safely carry your storage.
For a useful starting layout, place brackets 400–600 mm apart, position the outer brackets within about 75–150 mm of each end, and choose an arm at least two-thirds as deep as the shelf. Reduce the spacing or increase shelf thickness when loads are concentrated, deep, or unusually heavy.
Heavy-Duty Shelf Brackets: Calculate Shelf Load and Deflection Before Spacing
Start with the total load, not the bracket. Add the shelf’s own weight to everything it will carry. Then distinguish between a distributed load, spread across the shelf, and a point load, concentrated in one location.
- A distributed load, such as evenly stacked boxes, shares force across several brackets.
- A point load, such as a full tool case or aquarium, creates greater bending and may sit between brackets.
- A load near the front edge produces more leverage than the same load pushed against the wall.
Shelf length, depth, thickness, and material all affect deflection. A deep shelf has more leverage on the bracket and wall. A thin MDF or particleboard shelf may sag between supports even when the fasteners remain secure. Solid timber, plywood, and engineered panels behave differently, so do not transfer a load assumption from one material to another.
For moderate heavy storage, a shelf around 25–40 mm thick often provides a better starting point than a thin board. The correct thickness still depends on the material, span, depth, and load. If the shelf bows visibly, add a bracket, shorten the span, use a thicker or stiffer shelf, or reduce the load.
Calculate the approximate linear load by dividing the combined shelf and contents weight by the shelf length. Then check the worst case: the heaviest item in its actual position, including any front overhang. A shelf may pass an evenly distributed test but fail when one dense item is placed at mid-span.
Choose a Heavy-Duty Shelf Bracket: Compare Reinforced, Gusseted, Industrial, Folding, and Structural Designs
The bracket arm supports the shelf’s underside. Its length should normally reach at least two-thirds of the shelf depth; for deep or heavy shelves, three-quarters is a safer design starting point. A short arm increases the bending force transferred to the vertical leg and wall fasteners.
The vertical leg attaches to the wall. Prefer a leg long enough for two or more fasteners with meaningful vertical separation. This spacing helps resist rotation. The gusset is the diagonal or triangular brace between the arm and vertical leg. It carries compression and reduces arm deflection, but it cannot compensate for weak wall attachment or an undersized shelf.
- Reinforced angle brackets: Suitable for moderate loads when they have thick steel, a substantial vertical leg, and several fixing holes.
- Gusseted brackets: A strong general choice for deep timber or plywood shelves because the brace limits downward movement.
- Industrial brackets: Useful for workshops, storage rooms, and long shelves when their steel section and fixing pattern suit the load.
- Folding brackets: Convenient where the shelf must collapse, but use them only when the locking mechanism is engaged and the manufacturer permits the intended load.
- Structural brackets: Appropriate for very heavy, deep, or high-consequence storage. These may use engineered steel angles, channel systems, or purpose-designed supports tied directly to framing or masonry.
A heavy-duty shelf bracket rating is meaningful only with its stated shelf depth, bracket spacing, wall type, fastener size, embedment, and load position. Treat the rating as a system value. If any part of your installation differs, use a lower working load or obtain a design specific to your conditions.
Heavy-Duty Shelving Brackets: Plan Stud or Masonry Attachment and Spacing
Identify the wall substrate before laying out the shelf. Solid timber studs can accept structural screws with adequate embedment. Concrete and sound solid brick require masonry anchors matched to the substrate. Hollow block, old brick, plasterboard, and mortar joints need different solutions. Do not rely on ordinary drywall plugs for a heavily loaded shelf.
For timber framing, select structural screws long enough to pass through the bracket and wall finish while achieving the fastener’s specified effective embedment in sound wood. As a practical starting point, many installations need roughly 50 mm or more of actual penetration, but the anchor or screw specification controls. Total screw length is not the same as embedment.
For masonry, drill the correct diameter and depth, clean the hole as required, and use the anchor manufacturer’s specified edge distance and embedment. Avoid placing anchors in weak mortar unless the anchoring system is specifically designed for it. A longer anchor is not automatically stronger if the masonry is poor or the hole is oversized.
Space brackets according to the shelf material and load. Use 400–600 mm centers as an initial range for a sound, reasonably thick shelf carrying substantial distributed storage. Use closer spacing for thin panels, deep shelves, point loads, or items that may be moved frequently. Add support beneath the heaviest storage zone rather than spacing every bracket equally by habit.
Keep the end overhang equal on both sides. For heavy storage, place the first and last bracket roughly 75–150 mm from each shelf end. A larger overhang increases bending at the shelf end and twists the outer bracket. If the design requires a longer overhang, treat it as a separate cantilever and reduce the load accordingly.
Shelf Brackets: Install, Fix the Shelf, and Test Progressively
- Mark the layout. Mark the shelf height, bracket centerlines, stud positions, and equal end overhang. Use a long level or laser, then mark every fixing hole that will be used.
- Drill pilots or install anchors. Drill pilot holes into timber at the screw core diameter recommended for the fastener. For masonry, use the specified bit, depth, cleaning method, and anchor type. Keep holes square to the wall.
- Fasten the vertical legs. Install the upper or primary fasteners first, then check the bracket position. Add the remaining fasteners and tighten firmly without crushing plasterboard, deforming thin steel, or stripping the substrate.
- Level the bracket arms. Check each arm across its width and compare adjacent brackets. Correct errors before fixing the shelf; tightening a crooked bracket can lock in a slope or twist.
- Fix the shelf to the arms. Use screws through the arm or its fixing holes, selecting a length that gives secure thread engagement without breaking through the shelf surface. Predrill near timber ends and avoid over-tightening.
- Load gradually. Test the empty shelf first, then add about 25%, 50%, 75%, and finally the intended load. Place items in their normal positions and pause at each stage.
After every stage, check for shelf sag, bracket rotation, loose screws, pulled anchors, wall cracking, or movement at the end brackets. Stop if any fastener shifts, the wall crushes, or deflection increases sharply. Redistribute the load, add support, or reduce the working load before continuing. Never use a person as a test weight or apply impact loading.