
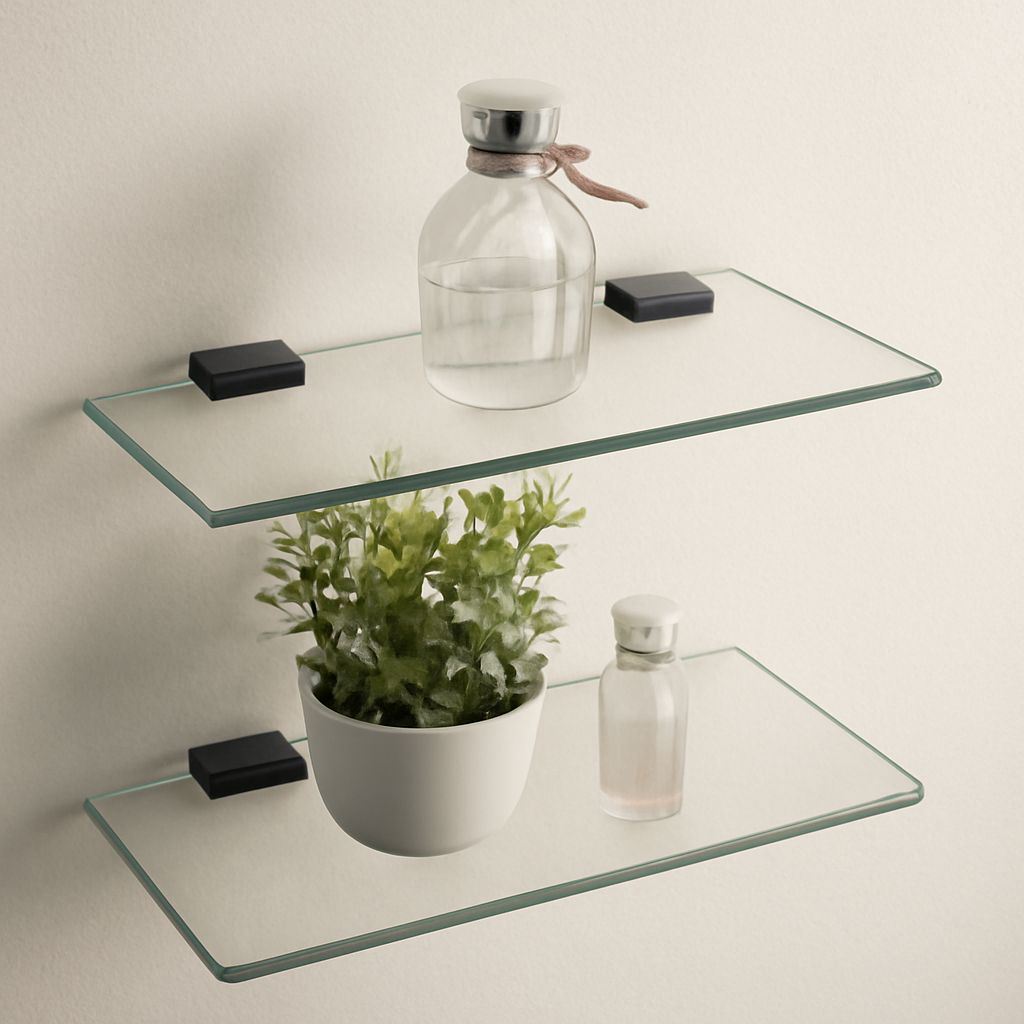
Glass shelf brackets are safest when their clamp range, pad material, load rating, and wall attachment match the shelf. For most wall-mounted display shelves, choose padded supports that fit the glass thickness exactly, extend well under the shelf depth, and sit close enough together to limit flexing.
Confirm the shelf’s actual thickness, width, depth, edge condition, and tempered status before buying hardware. Then match the bracket style to the load and decide whether the glass is fully supported or partly cantilevered.
How to Choose Glass Shelf Brackets for Your Load
Start with the total load, not the appearance of the hardware. Include the glass, objects, containers, and any force caused by placing items on the shelf. A shelf holding toiletries or books needs more support than one displaying lightweight ornaments.
- Light display loads: Padded clips or small decorative supports may work on short, shallow shelves.
- Moderate loads: Use adjustable clamps or a rail system with a stated load rating and multiple attachment points.
- Heavy or deep shelves: Choose a deeper support arm, closer bracket spacing, and wall fasteners that reach a stud or suitable masonry anchor.
Check whether the manufacturer’s rating applies to one bracket, a pair, or the complete system. A rating also depends on spacing, wall material, shelf depth, and how far the load sits from the wall. Do not assume a thick-looking metal bracket automatically supports a heavy glass shelf.
The shelf should rest on silicone, rubber, EPDM, or another purpose-made glazing pad. Metal screws, set-screw tips, and bracket edges must never bear directly on unprotected glass. If a bracket includes a retaining lip, that lip also needs a protective pad or sleeve where it contacts the glass.
Types of Brackets for Glass Shelves: Clip, Clamp, Rail, Pin, and Decorative
Different brackets for glass shelves suit different combinations of access, appearance, and load.
- Clip brackets: These compact supports hold the glass in a shallow channel or between padded faces. They suit light-duty shelves and clean, low-profile installations. Confirm that the clip accepts the exact glass thickness.
- Clamp brackets: Clamps use opposing jaws, pads, or set screws to retain the glass. They provide better resistance to sliding, but adjustment must be even and gentle. Never use a clamp whose range barely reaches the glass.
- Rail brackets: A continuous rail distributes force across several attachment points. Rails are useful for longer shelves, repeated shelving, or walls where a broad mounting line is preferable.
- Pin brackets: Pins can support a rear edge or fit into a purpose-built system. Use them only with compatible glass and preformed holes or slots. Tempered glass cannot be drilled or modified after tempering.
- Decorative brackets: These make the support part of the design, often with visible scrolls, finishes, or a front retaining lip. Check their actual arm depth and load rating rather than choosing by style alone.
Adjustable glass shelf brackets are convenient when the glass thickness varies slightly, but adjustment is not a substitute for correct sizing. The pads should contact both faces evenly, with enough adjustment left to secure the shelf without crushing it.
Match a Glass Shelf Bracket to Thickness, Depth, and Edge Support
Measure the glass with calipers or a reliable ruler. Common shelf thicknesses include 6 mm (1/4 inch), 8 mm (5/16 inch), and 10 mm (3/8 inch), but the nominal size may differ from the actual measurement. Select a glass shelf bracket with a clamp range that clearly includes the measured thickness.
Check the edge before installation. Use glass with polished, rounded, or properly finished edges. Reject pieces with chips, deep scratches, corner damage, or star-shaped cracks, especially near a bracket. A clamp can concentrate force at an existing defect.
Tempered glass is stronger in normal use but cannot be cut, drilled, or edge-worked after tempering. If a pin, bolt, or through-fastener requires holes, order the glass predrilled and specify the hardware dimensions beforehand. Do not enlarge a hole or drill tempered glass onsite.
Match the support arm to the shelf depth. For a conventional lower support arm, aim for support under at least two-thirds of the shelf depth. A shallow arm under a deep shelf leaves the front carrying excessive leverage.
Distinguish a supported shelf from a cantilevered shelf. When a broad lower arm supports much of the depth, the glass is primarily supported. When only a rear edge, pin, or narrow clamp carries the shelf, the front projects as a cantilever. Reduce the load, shorten the projection, or add closer and deeper supports in that situation.
A front lip can stop objects from sliding, but it should be padded and low enough to avoid point pressure. It is a retaining feature, not a replacement for adequate support beneath the glass.
Plan Spacing, Shelf Width, and Wall Attachment
Draw the shelf’s level line before drilling. Mark the bracket centers on the wall and transfer those positions to the glass or its mounting rail. For a typical light display shelf, place the outer supports about 3 to 6 inches from each end. Add an intermediate support when the shelf is long, deep, or heavily loaded.
As a starting layout, keep brackets roughly 16 to 24 inches apart for ordinary display use, then follow the support manufacturer’s maximum span. Long shelves may need closer spacing. Keep unsupported overhang beyond the outer brackets modest, commonly no more than 3 to 6 inches unless the system specifically rates a larger projection.
Consider width and depth together. A wide but shallow shelf may need fewer supports than a shorter, deep shelf carrying the same weight. Place objects near the support line rather than concentrating heavy items at the front edge.
Identify the substrate at every attachment point:
- Studs and solid wood: Use appropriately sized structural screws, with the bracket sitting flat against the wall.
- Masonry: Use anchors and screws rated for the block, brick, or concrete, and follow the anchor’s hole size and embedment requirements.
- Hollow drywall: Use a suitable toggle or hollow-wall anchor rated for the combined load. A small plastic plug in drywall is not adequate for a loaded glass shelf.
Verify that the fastener head does not interfere with the bracket, clamp, or glass. Use every required mounting hole, because omitting one can twist the support and create uneven pressure.
Mount Adjustable Glass Shelf Brackets with Pads and Clamp Checks
- Lay out the level line. Use a long level or laser and mark the bracket centers. Measure from a fixed reference point so the supports remain aligned.
- Prepare the substrate. Locate studs or select correctly rated anchors. Drill to the specified diameter and depth, remove dust from masonry holes, and install each anchor fully.
- Attach the brackets. Tighten the wall fasteners until the bracket is secure and flat. Do not use a fastener that bottoms out before clamping the bracket to the wall.
- Install the pads. Fit every supplied silicone, rubber, or glazing pad into its channel or contact point. Replace missing, hardened, or damaged pads before seating the glass.
- Seat the shelf. Lower the glass onto the supports without dragging it across metal. Center the shelf and confirm that the intended overhang is equal at both ends.
- Adjust the clamp. Tighten opposing screws gradually and alternately. Stop when the pads hold the glass firmly; do not force the screw against the glass or use extra leverage.
- Check movement. Apply gentle hand pressure near the front and each end. The shelf should not slide, rock, twist, or rattle. A rattle usually indicates a missing pad, uneven clamp pressure, or a loose wall fastener.
- Load gradually. Place a light item near the support line first, then add weight in stages. Stop if the shelf flexes unusually, the bracket shifts, the pads creep, or any sound develops.
Recheck the level, bracket tightness, and pad contact after the first load and again after several days of use. The glass should remain centered, fully padded, and free from direct contact with every metal edge or screw.