
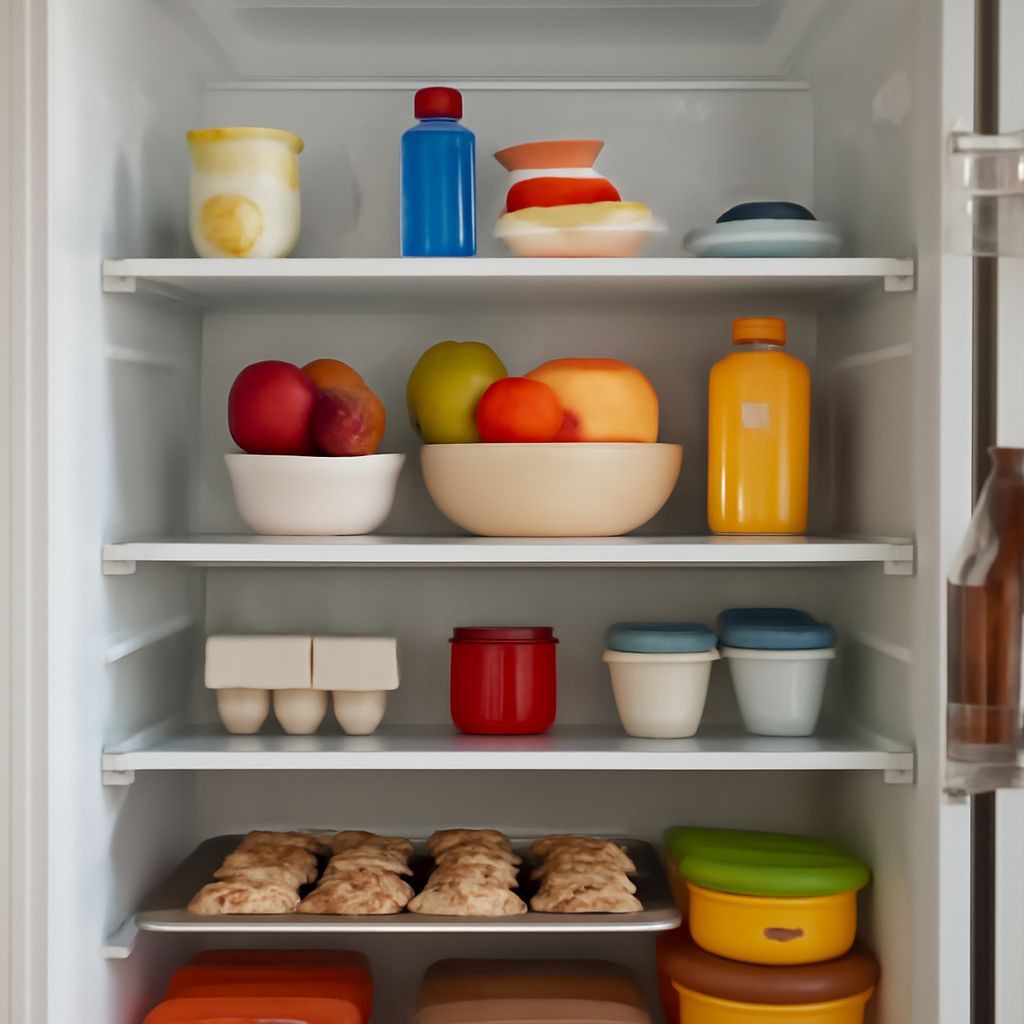
Choose a replacement by refrigerator model and exact shelf position first. A shelf with similar outside dimensions may still have different tabs, hooks, supports, trim, or temperature-zone requirements.
Record the model and serial number before removing the part. Then identify whether you need the complete shelf, a glass insert, a frame, or a refrigerator door component.
Start With Your Refrigerator Shelf: Model, Serial, and Exact Position
Find the model label inside the fresh-food compartment, around the door frame, behind a crisper drawer, or on the cabinet wall. Record the full model number, serial number, and the shelf’s exact position.
- Note the shelf location, such as upper right, center, above the crisper drawers, or freezer door.
- Record the temperature zone: fresh food, deli drawer, crisper area, freezer, or door.
- Search the manufacturer’s parts diagram using the full model number and position.
- Check whether the listing describes a complete assembly or only an insert, frame, clip, rail, or trim piece.
Model information is more reliable than appearance. Even shelves from the same product series can use different support points or locking features.
Identify the Fridge Shelf: Full, Split, Sliding, or Cantilever
A full shelf spans most of the compartment. A split shelf uses two sections, often allowing taller containers in front or below. A sliding shelf moves on rails or telescoping tracks, while a cantilever shelf rests on rear supports and may lift out from front brackets.
Look closely at the parts before ordering:
- Glass insert: the removable tempered panel that sits inside a surrounding frame.
- Frame: the plastic or metal perimeter supporting the glass and connecting to the cabinet supports.
- Clips and rails: locking or sliding hardware that controls movement and prevents lifting.
- Trim: a front, rear, or side strip that may protect the glass or finish the shelf edge.
- Crisper cover: a reinforced cover above produce drawers, sometimes mistaken for an ordinary shelf.
- Freezer shelf: a shelf designed for colder conditions, often using wire or a special frame.
Do not substitute a crisper cover or freezer shelf for a standard compartment shelf. Their support design and load requirements can differ.
Measure Width, Depth, Thickness, Tabs, Hooks, and Support Points
Remove loose food and measure the shelf on a flat surface. Measure the glass insert and frame separately when either part might be sold independently.
- Measure width from the widest left-to-right points.
- Measure depth from the rear edge to the front edge, including trim only when it is part of the replacement.
- Measure glass thickness with calipers, or compare it with the original specification.
- Count and measure tabs, hooks, notches, holes, and side guides.
- Record every support point, including rear pins, front brackets, rails, rollers, and retaining clips.
- Note the removal direction and whether the shelf tilts, slides, lifts, or disengages from a track.
Measure the usable shelf surface separately from the outside frame dimensions. A replacement can match width and depth but fail because its rear hooks, front stops, or thickness are different.
Compare Glass Inserts, Frames, Clips, Rails, Trim, and Load Ratings
Compare the replacement against your notes and the manufacturer’s parts diagram. Confirm the exact model, shelf position, component type, dimensions, support layout, and finish.
Check the stated load rating, especially for wide glass shelves, sliding shelves, and cantilever designs. The load includes containers, not just the shelf itself. A glass insert may fit the frame but still be unsuitable if it is thinner, lacks edge protection, or does not meet the original rating.
Replace damaged clips, rails, or trim rather than forcing the old hardware to fit. Cracked frames, bent supports, chipped glass, and loose retaining parts can make a correctly sized shelf unstable.
Match the Crisper Cover, Freezer Shelf, Fridge Door Shelf, Door Bin, and Bottle Retainer
A fridge door shelf is usually a door bin, not a cabinet shelf. Door bins may include a front retainer, bottle retainer, divider, or separate mounting hooks. Match the bin to its door position and confirm the hook spacing before ordering.
Use the same identification process for a crisper cover or freezer shelf: record the model, exact position, width, depth, thickness, tabs, hooks, supports, trim, and temperature zone. Do not assume two refrigerator shelves are compatible because their outside dimensions are similar.
To remove a shelf, empty it first and follow its movement path. Lift the front when the shelf uses rear hooks; slide it forward when it runs on rails; or tilt one side only when the frame requires clearance. Never twist a glass panel against the cabinet.
For installation, engage the rear supports first, lower the front into its brackets, and confirm every clip or rail is locked. Slide a moving shelf several times and check that a cantilever shelf does not rock. Replace the shelf if it flexes, catches, or sits unevenly.
Load the shelf gradually. Keep heavy containers near supported areas, stay within the listed load rating, and keep bottles from pressing against a door retainer. Confirm that drawers, doors, and airflow paths open freely in the assigned temperature zone.