
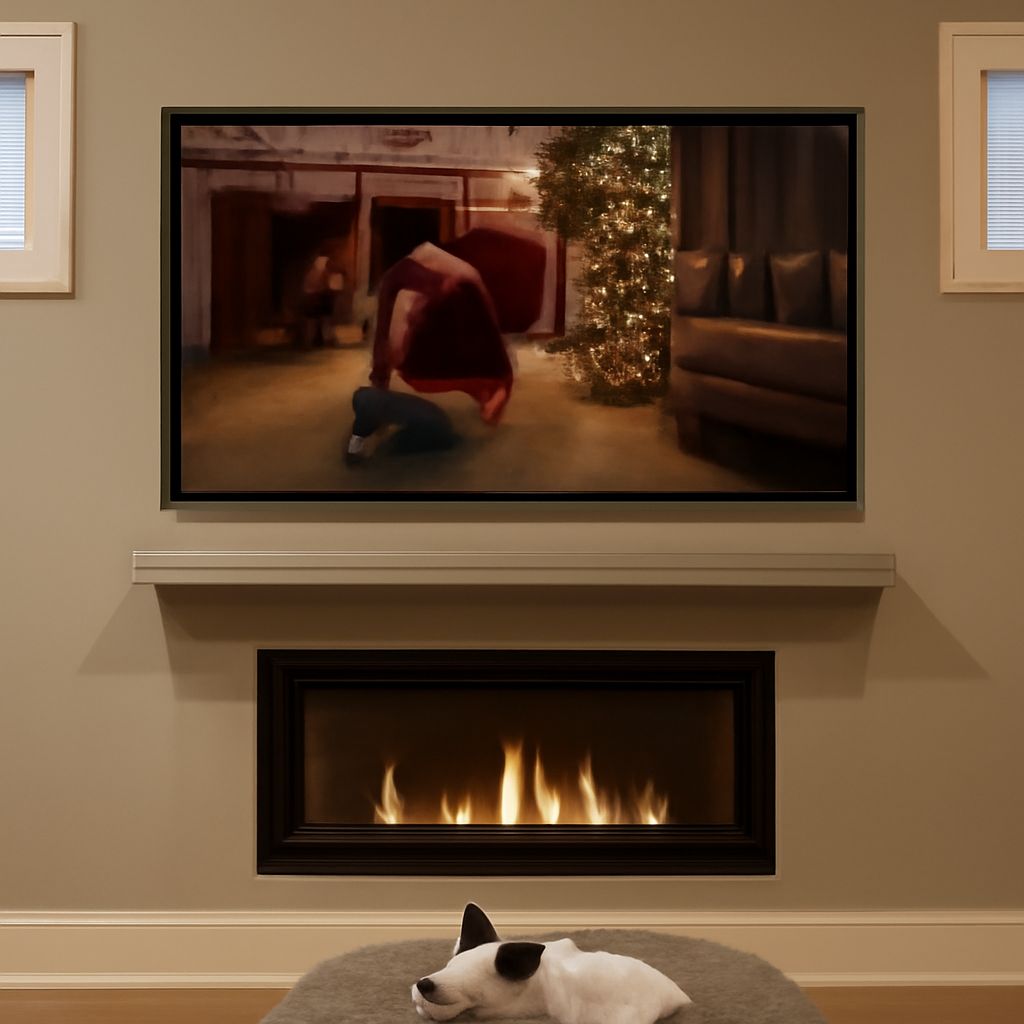
A floating mantel is usually sized at 6 to 12 inches longer than the fireplace opening, 8 to 12 inches deep, and 3 to 6 inches thick. Confirm required clearances first, then match the shelf construction and hidden support to the wall and display load.
The best floating mantel shelf looks proportional because its length, depth, and thickness relate to the firebox, surround, ceiling, and nearby furniture. Installation also depends on whether the wall contains studs, masonry, tile, wiring, or a television mount.
Floating Mantel Styles: Hollow Box or Solid Beam
A hollow-box mantel uses a lightweight three-sided shell that slides over a wood cleat or steel bracket. It can resemble a thick timber while reducing wall load. This format works well for painted MDF, plywood, hardwood veneer, and many manufactured fireplace mantel shelves.
A solid-beam mantel is cut from one substantial piece of timber or stone. It provides authentic weight, deeper character, and excellent impact resistance, but it demands stronger support. A solid beam may require steel plates, threaded rods, or a welded bracket system anchored directly into studs or masonry.
Choose the construction based on the intended load, not appearance alone. Decorative objects may need only light-duty support. Books, large ceramics, seasonal displays, or a soundbar create a greater load and more leverage at the front edge. Check the mantel and hardware ratings together; the weakest component controls the safe capacity.
Consider the finish before ordering. A painted hollow box can be scribed and caulked neatly against an uneven wall. A stained solid beam usually needs more precise fitting because filler and paint cannot disguise mismatched grain or large gaps.
Size and Position the Floating Mantel Shelf
Measure the fireplace opening, surround, wall width, and any adjacent trim. A common starting point is an overall shelf length 6 to 12 inches wider than the opening, giving 3 to 6 inches of overhang on each side. Increase the length when the wall is broad or the surround is substantial; reduce it when the design is deliberately minimal.
Use an 8- to 12-inch depth for most living rooms. A shallower shelf suits a narrow passage or small room. A deeper shelf gives displays more stability but projects farther into the room and increases the force applied to its hidden brackets. Keep the front edge from interfering with seating, doors, or walking paths.
Thickness affects visual weight. A 3-inch shelf looks light and contemporary, while a 5- or 6-inch shelf suits a rustic surround or tall ceiling. Keep the thickness visually consistent with the fireplace trim. A slim shelf above a heavy stone surround may look undersized, while an oversized beam can dominate a small room.
Set the height from the fireplace manual, not from appearance alone. Combustible mantel clearances vary by appliance, fuel type, projection, and surrounding material. A deeper shelf generally requires more vertical separation from the firebox. Mark the required clearance before finalizing the shelf position.
Check the television and wiring at this stage. A television above the fireplace may need a separate mounting height, recessed outlet, cable route, or heat-management plan. Do not drill into concealed wiring, plumbing, or a flue. A mantel that blocks the screen, cable path, or service access is poorly positioned even when it is level.
Plan Hidden Support for a Floating Fireplace Mantel
Inspect the wall before selecting hardware. Drywall over wood framing needs fasteners that enter studs. Plaster may require careful drilling and a solid structural point behind the finish. Brick, block, and stone need masonry anchors or a bracket designed for that specific material. Hollow-wall anchors alone are not suitable for a heavy floating fireplace mantel.
Locate every available stud with a stud finder, small exploratory hole, or accessible framing reference. Mark their centers on painter’s tape. For masonry, identify sound joints or solid blocks and avoid loose mortar, cracked stone, and hollow areas unless the anchor system is specifically rated for them.
For a hollow-box shelf, install a full-length wood ledger or steel mounting plate. Fasten it at multiple structural points, keeping screws long enough to penetrate the framing or masonry by the hardware manufacturer’s required depth. A short cleat attached only to drywall can pull away under a modest front load.
For a solid beam, use a rated bracket, concealed knife plate, or threaded-rod system. Support should extend far enough into the beam to resist downward force and front-edge leverage. Space brackets according to the beam’s weight and the manufacturer’s instructions. Add support near both ends rather than concentrating all force at the center.
Plan for irregular surfaces. Tile, stone, brick, and textured plaster rarely create a perfectly flat mounting plane. Decide whether the shelf will sit over the finish, stop at a trim line, or be scribed to the surface. Leave room for the shelf to slide onto its support without catching on high spots.
Mount and Finish the Mantel Shelf
- Make a template. Cut a cardboard or thin-plywood template to the shelf’s length and depth. Hold it at the proposed height to check fireplace clearances, television sightlines, trim conflicts, and side overhangs.
- Mark a level line. Transfer the approved height to the wall with a long level or laser. Measure from the finished floor and fireplace opening, then recheck both ends. Floors and surrounds can be out of level, so do not rely on nearby trim.
- Prepare the wall. Remove loose paint, trim, or thick adhesive where the support will sit. For tile or stone, drill with the correct bit and avoid excessive pressure that could crack the surface. Confirm that each marked fastening point is structural.
- Fasten the support. Hold the cleat or bracket on the level line and drill all pilot holes first. Install the specified structural screws or masonry anchors, keeping the support tight to the wall. Check level again before fully tightening every fastener.
- Test the fit. Dry-fit the mantel. If the wall is uneven, scribe the back edge with a compass or block, cut to the line, and test again. Do not force the shelf against a high spot; that can twist the box or open its joints.
- Slide on the shelf. For a hollow box, apply the manufacturer’s recommended adhesive only after the fit is confirmed. Slide the shelf fully over the cleat or bracket while keeping its top level. A helper should support long or heavy pieces during this step.
- Lock the mantel in place. Install underside screws, side locks, set screws, or other specified retainers. Use the correct pilot size and avoid fasteners that could puncture the front or top surface. Recheck level after tightening because one over-tightened screw can pull the shelf downward.
- Finish the gaps. Use paintable acrylic caulk for small gaps against painted walls. Stain-grade shelves need a fitted return, matching trim, or carefully scribed edge rather than a visible bead of caulk. Fill screw holes with the product suited to the finish, then sand and touch up.
- Load-test gradually. After adhesives and finishes have cured, place a light load near the center and inspect the shelf for movement. Add weight in stages, including a cautious front-edge check, without exceeding the hardware or mantel rating. Stop if the shelf tilts, flexes, separates from the wall, or makes cracking sounds.
Keep the final display within the planned load and avoid climbing, leaning, or hanging objects from the mantel shelf. The finished installation should remain level, tight to its support, and clear of the fireplace’s required heat zone.