
Drawer boxes fit when their outside dimensions come from the cabinet’s smallest clear opening, the specified slide hardware, and any front or rear obstructions. Measure before choosing between premade drawer boxes and a build-it-yourself option.
For kitchen cabinet drawer boxes, calculate width, depth, and height separately. Confirm whether the supplier lists outside dimensions or inside dimensions, then dry-fit the box with the slides before attaching the drawer front.
Drawer boxes: assembled, ready-to-assemble, wood, plywood, or metal
Compare materials and joinery
Assembled solid-wood boxes are convenient and typically use dovetail, rabbet, dado, or dowel joints. A maple or birch hardwood box suits frequent-use kitchen drawers and offers a finished appearance inside the cabinet.
Plywood boxes resist seasonal movement and moisture better than many particleboard options. Look for multi-ply birch plywood with glued and screwed, doweled, or dadoed joints. Melamine-coated particleboard is economical and easy to clean, but exposed edges and unsupported bottoms need careful protection from moisture.
Metal drawer boxes use thin steel or aluminum sides, often with an integrated slide system. They provide a clean, modern appearance and can offer useful adjustment features. Their internal dimensions may be smaller than their outside dimensions, so order from the manufacturer’s dimension chart rather than estimating from the cabinet opening.
Specify bottom thickness, side height, and finish
Choose the bottom thickness according to the load and slide requirements. A thin bottom may suit utensils, while heavier cookware needs a stronger panel and reinforced joint. A thicker bottom also changes the box’s internal height and may not fit an undermount slide’s required groove or clearance.
Side height affects storage capacity and slide compatibility. Low sides work for shallow utility drawers; taller sides suit pots, pans, and pull-outs. Check the slide’s maximum side height and the cabinet’s vertical obstructions before selecting a deep box.
Specify the finish as well as the material. Clear-coated wood protects against spills while retaining the grain. Painted, laminated, or powder-coated surfaces are easier to coordinate with a cabinet interior. Confirm that the finish does not increase the ordered outside dimensions beyond the stated tolerance.
Choose a scoop or handle and front attachment
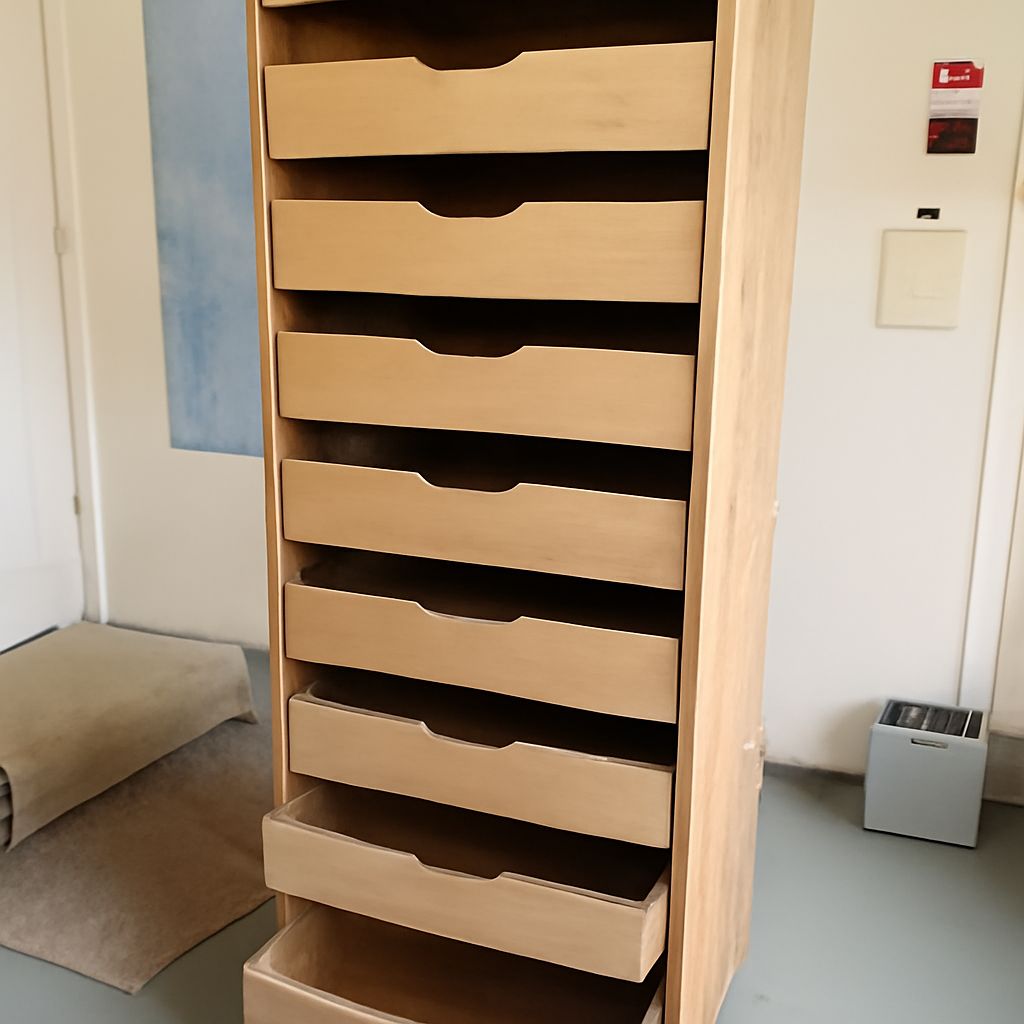
A scoop is a recessed cutout in the top edge of the drawer front or box. It supports a handle-free design but reduces the uninterrupted front edge. A separate pull provides stronger, more familiar operation and leaves the box front intact.
Most drawer boxes receive a separate decorative drawer front. The front may be overlay, partial overlay, or inset, depending on the cabinet face style. Confirm the attachment method, screw locations, front-adjustment range, and recommended screw length. The screws must hold securely without penetrating the visible face.
When a drawer box kit is practical
Cabinet drawer kits are useful when you want standard parts, matching slides, and a lower shipping cost than a fully assembled box. A drawer box kit may include four sides, a bottom, fasteners, slides, and front-mounting hardware, or only the box components.
Check whether the kit requires glue, special drilling, a routered bottom groove, or a particular slide. Also verify whether its dimensions describe the finished box, the cut parts, or the usable interior. Choose an assembled box when speed and consistency matter; choose a kit when you can assemble and adjust the parts accurately.
Measure kitchen cabinet drawer boxes from the clear opening
Record clear-opening width, height, and depth
Remove the existing drawer and measure the opening, not the old drawer. Record the clear width between the left and right cabinet members at the front, middle, and rear. Use the smallest measurement. A face-frame cabinet may have less space behind the front frame than inside the cabinet, so measure both areas.
Measure clear height from the lowest obstruction to the highest obstruction at the left, center, and right. Record the smallest height. Measure depth from the slide’s front mounting plane to the first rear obstruction, such as the cabinet back, plumbing, an outlet, or a shelf support.
Write down the cabinet face style, opening dimensions, slide type, and every obstruction on a measurement worksheet. Note whether the door, hinges, center stile, or face frame enters the drawer’s travel path.
Measure depth setbacks and cabinet obstructions
Do not measure depth from the cabinet’s exterior back. Measure the usable path available to the drawer. A back panel, corner cabinet, sink plumbing, or recessed face frame can shorten that path.
Mark the front and rear setback needed by the slide. Some slides sit behind the cabinet face; others require a specific front gap or mounting bracket. If the cabinet is shallower on one side, use the shorter usable depth and check the slide’s minimum length.
Check the opening for squareness
Measure the opening diagonally from upper left to lower right, then from upper right to lower left. If the diagonal measurements differ, the opening is out of square. Check the cabinet sides and mounting surfaces with a level and straightedge.
Small differences can affect smooth travel, especially with undermount or synchronized slides. Do not make the box arbitrarily narrower to hide a severe problem. Correct the obstruction or mounting surface when possible, then use the revised smallest clear measurements.
Compare premade drawer boxes with slide requirements
Use slide-specific width clearances, not a fixed deduction
The final box width equals the smallest clear opening minus the slide system’s total required side clearance and any spacer thickness. The slide manufacturer’s installation guide controls this calculation.
For example, a typical side-mount ball-bearing slide may require 1/2 inch between the box and cabinet on each side, producing a 1-inch total clearance. That is an example for that specified slide type, not a universal drawer-box deduction. Other side-mount slides, center-mount slides, and undermount systems use different clearances and box dimensions.
For undermount slides, follow the stated box-width formula, bottom thickness, side profile, and clip locations. A box that fits the opening can still fail if its bottom, rear notch, or side height does not match the hardware.
Set box depth from slide length and setbacks
Choose a box depth that fits the slide’s nominal length and the cabinet’s unobstructed depth. The usable cabinet depth must accommodate the slide, its front setback, and its rear clearance. If the cabinet is shorter than the selected slide, choose a shorter slide rather than forcing the box against the back.
Order the box depth according to the slide manufacturer’s definition. Some suppliers match box depth to slide length; others specify a small difference for mounting brackets or rear clearance. Confirm whether the listed depth includes the front, rear, or both.
Confirm slide mounting and full travel
Identify whether the slide mounts to the box sides, centerline, underside, or bottom. Side-mount slides need parallel cabinet members and enough outside box width for their clearances. Center-mount slides need a suitable bottom and a centered mounting path. Undermount slides may require exact bottom thickness, rear clips, and drilled mounting holes.
Check the slide’s load rating, closed length, extension, and required mounting setback. Full-extension travel is useful only when the slide can open without hitting a face frame, hinge, door, or adjacent drawer.
Order and test-fit a cabinet drawer kit
Build the order from the measurement worksheet
- Record the smallest clear opening width, height, and usable depth.
- Identify the exact slide model and copy its width clearance and mounting requirements.
- Calculate the finished outside box width, depth, and height using those specifications.
- Select material, joinery, bottom thickness, side height, finish, scoop or handle style, and front attachment.
- Confirm the supplier’s dimension terminology before ordering the drawer box kit.
For a custom assembled order, submit the finished outside dimensions and slide model. For a kit, verify the cut-list dimensions and hardware included. Ask whether the drawer front is supplied separately and whether the box is predrilled for the selected slides.
Assemble, install, and dry-fit the box
Assemble the box on a flat surface. Check that every joint is fully seated and that the bottom is captured securely. Measure both diagonals; equal measurements indicate a square box. Do not install a visibly twisted box and expect the slides to correct it.
Install the cabinet members at the manufacturer’s setback, keeping them level, parallel, and at matching heights. Attach the box members or undermount clips in their specified locations. Install the box without its decorative front and operate it empty.
During the dry fit, check side gaps, top clearance, rear clearance, and full extension. The box should move without scraping, binding, lifting, or dropping. Add the expected load and test it again. If travel changes under load, inspect slide alignment before modifying the box.
Attach the drawer front and check final travel
Center the drawer front over the opening according to the cabinet’s overlay or inset layout. Hold it with clamps or temporary tape, open the box, and drive the mounting screws from inside. Use the slide or front-adjustment features to set even reveals.
Open and close the completed drawer several times. Check that the front clears neighboring doors, hinges, and drawer fronts, the handle or scoop is comfortable to use, and the slides reach their intended travel without contact.