
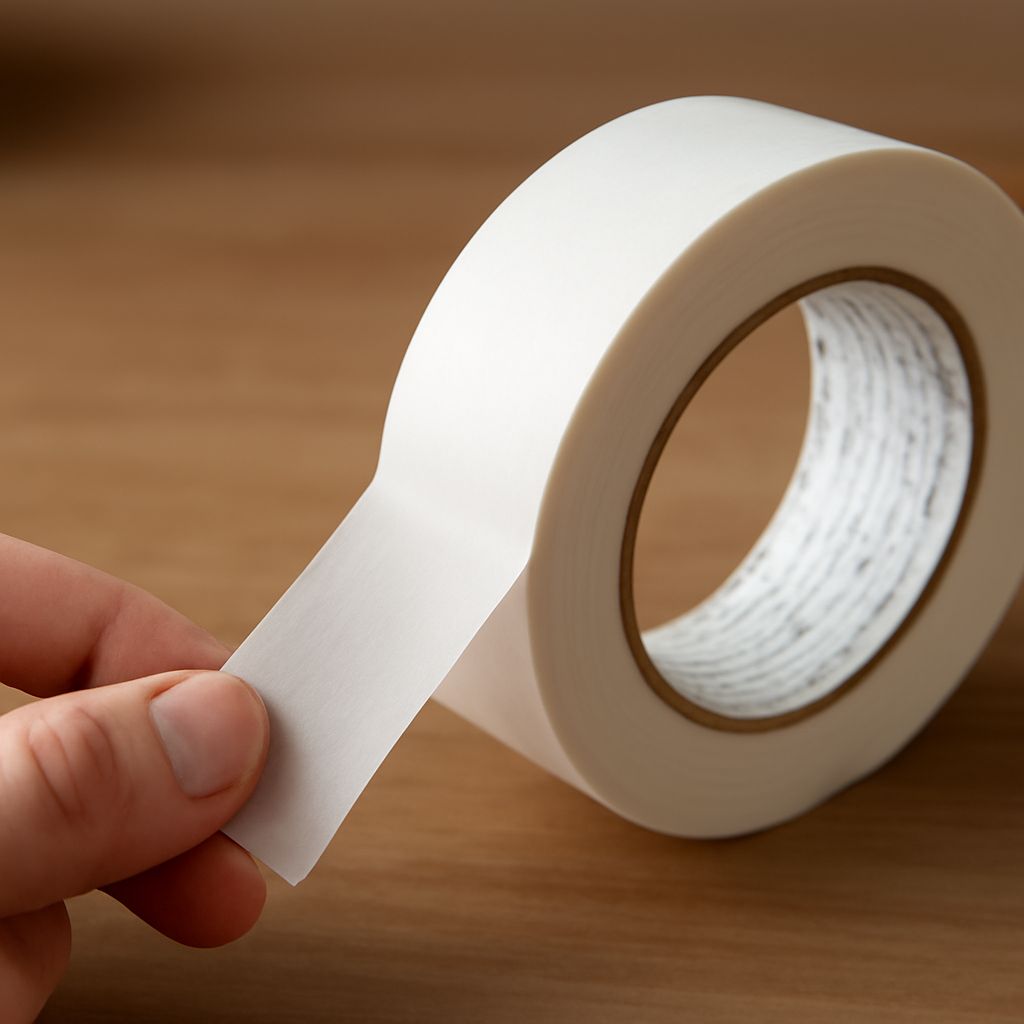
Double-sided mounting tape creates a clean, drill-free attachment when its adhesive, carrier, thickness, and removal behavior match the job. Choose thin tape for smooth, lightweight attachments; foam for uneven surfaces; gel for temporary, reusable bonds; and removable strips when clean release matters most.
A reliable bond also depends on surface preparation, sufficient tape area, firm pressure, and curing time. The strongest tape is not automatically the right choice: a permanent product can damage paint, while a removable product may fail under sustained or moving loads.
Double-Sided Mounting Tape Types
- Thin film or tissue tape: These low-profile tapes suit smooth, close-fitting materials such as paper, photos, nameplates, trim, and lightweight plastic. Film carriers usually resist moisture better and hold their shape, while tissue carriers conform more easily to minor surface variation. They need close contact and are a poor choice for large gaps or rough walls.
- Foam mounting tape: Foam adds thickness, cushioning, and gap-filling ability. It works well for wall signs, hooks, trim, mirrors, and other items that do not sit perfectly flat. Closed-cell foam generally handles moisture better than open-cell foam. Check whether the product is designed for indoor, outdoor, permanent, or removable use.
- Reusable gel tape: Clear gel tape is intended for temporary, lightweight attachments on smooth, nonporous surfaces such as glass, glazed tile, and finished metal. It can often be removed, washed, and reused according to the product instructions. Dust, porous paint, rough texture, and excessive heat quickly reduce its grip.
- Removable strips: These products are engineered for clean release, often with a pull tab that stretches the adhesive away from the surface. They are useful for lightweight frames, organizers, and decorations. They are not interchangeable with permanent mounting tape, and they should not carry loads that pull outward or move repeatedly.
Adhesive chemistry matters as much as the carrier. Acrylic adhesives typically provide durable aging and temperature performance, but many need time to build strength. Rubber-based adhesives often offer strong initial tack but may have narrower temperature or outdoor limits. Always check the tape’s technical instructions for the intended surface and environment.
Choose double-stick tape by surface and load
Start with the surface, then match the tape to the load. High-surface-energy materials, including glass, bare metal, glazed ceramic, and many painted surfaces, usually allow adhesive to spread and bond effectively. Low-surface-energy plastics, such as polyethylene and polypropylene, are more difficult. Silicone, dusty masonry, powdery paint, and heavily textured surfaces also need special consideration or a compatible primer.
- For smooth, lightweight objects: Use thin film or tissue tape when the surfaces meet closely and a low-profile finish is important.
- For uneven or slightly flexible surfaces: Use foam tape that can bridge small gaps without losing contact.
- For temporary, light-duty items: Choose reusable gel tape or removable strips, but only on surfaces listed by the manufacturer.
- For permanent fixtures: Select a rated mounting tape with an adhesive suited to the surface, temperature, humidity, and expected service life.
Evaluate how the force acts on the bond. Tape handles shear, where the load slides down the surface, better than peel, where the item pulls away from one edge. A wall-mounted object with a projecting depth also creates leverage, increasing peel force. Use continuous vertical strips or broad contact areas, distribute the load evenly, and avoid relying on a few small tabs.
Base the tape area on the manufacturer’s load rating, not on a general rule such as “more tape is always enough.” Include a safety margin for vibration, impact, temperature changes, and accidental knocks. Heavy, valuable, overhead, or safety-critical objects may require mechanical fasteners instead. Do not use removable craft tape where permanent structural mounting tape is specified, or assume that a permanent tape can be removed without surface damage.
Consider the environment before buying. Heat can soften some adhesives, cold can reduce initial tack, and moisture can weaken an unsuitable bond. Outdoor exposure adds rain, ultraviolet light, and larger temperature swings. For painted walls, confirm that the paint is fully cured and firmly attached; tape can remove weak paint even when the adhesive itself performs properly.
Apply double-sided sticky tape correctly
- Inspect the surfaces. They must be dry, sound, and free from dust, oil, wax, loose paint, and cleaning residue. Repair or avoid flaking surfaces. Do not bond over damp masonry or uncured paint.
- Clean carefully. Wipe smooth surfaces with a lint-free cloth and an appropriate cleaner. Isopropyl alcohol can remove many oily residues, but test it first on painted, coated, or plastic surfaces. Allow the surface to dry completely. Do not touch the cleaned area with your fingers.
- Test placement. Hold the item in its final position and mark the edges. For a removable product, test a small piece in an inconspicuous location. Leave it long enough to reveal possible paint lifting, staining, or poor adhesion before committing to the full attachment.
- Plan the tape area. Cut strips to fit the load-bearing zones. Use long, parallel strips or a continuous perimeter rather than isolated dots. Cover enough area to meet the product’s rating, while keeping tape away from edges where it could be seen or squeezed out. Round sharp tape corners to reduce lifting.
- Apply without stretching. Place the tape on one surface, pressing from one end to the other to avoid wrinkles and air pockets. For foam tape, press the adhesive side onto the substrate first, then remove the liner without touching the exposed adhesive.
- Align and press the item into place. Check the position before contact if the tape grabs immediately. Apply firm, even pressure across every strip, especially along the edges. Many products need roughly 30 to 60 seconds of pressure, but follow the tape’s instructions when they differ.
- Allow the bond to cure. Initial tack does not equal full strength. Many acrylic mounting tapes require 24 to 72 hours at room temperature. Keep the item supported and free from load during that period. Cold, damp, or dirty conditions can extend the required time.
- Load it in the intended direction. Keep the object close to the surface and prevent swinging, prying, or repeated peel. Recheck the bond after curing and after the first exposure to heat or humidity.
Remove two-sided tape and residue
Use the tape’s removal method first. For stretch-release strips, protect the surface with one hand and pull the tab slowly downward, parallel to the wall. Pulling outward or cutting the tab usually increases the chance of damage. Never exceed the strip’s stated removal direction.
For permanent foam or film tape, warm the bond gently with a hair dryer, keeping the heat moving. Start at a corner and peel the tape back slowly at a low angle. If the item is rigid or fragile, slide dental floss or strong thread behind the tape with a sawing motion instead of twisting the item away from the surface. A plastic scraper can lift remaining foam without gouging many finishes.
Remove residue with a small amount of adhesive remover or isopropyl alcohol only after testing an hidden or inconspicuous area. Work gradually with a soft cloth, then wash away cleaner residue as appropriate for the surface. Avoid metal blades, abrasive pads, and strong solvents on painted walls, plastics, varnish, and delicate coatings. If the substrate begins to soften, discolor, or lift, stop and use a gentler method.