
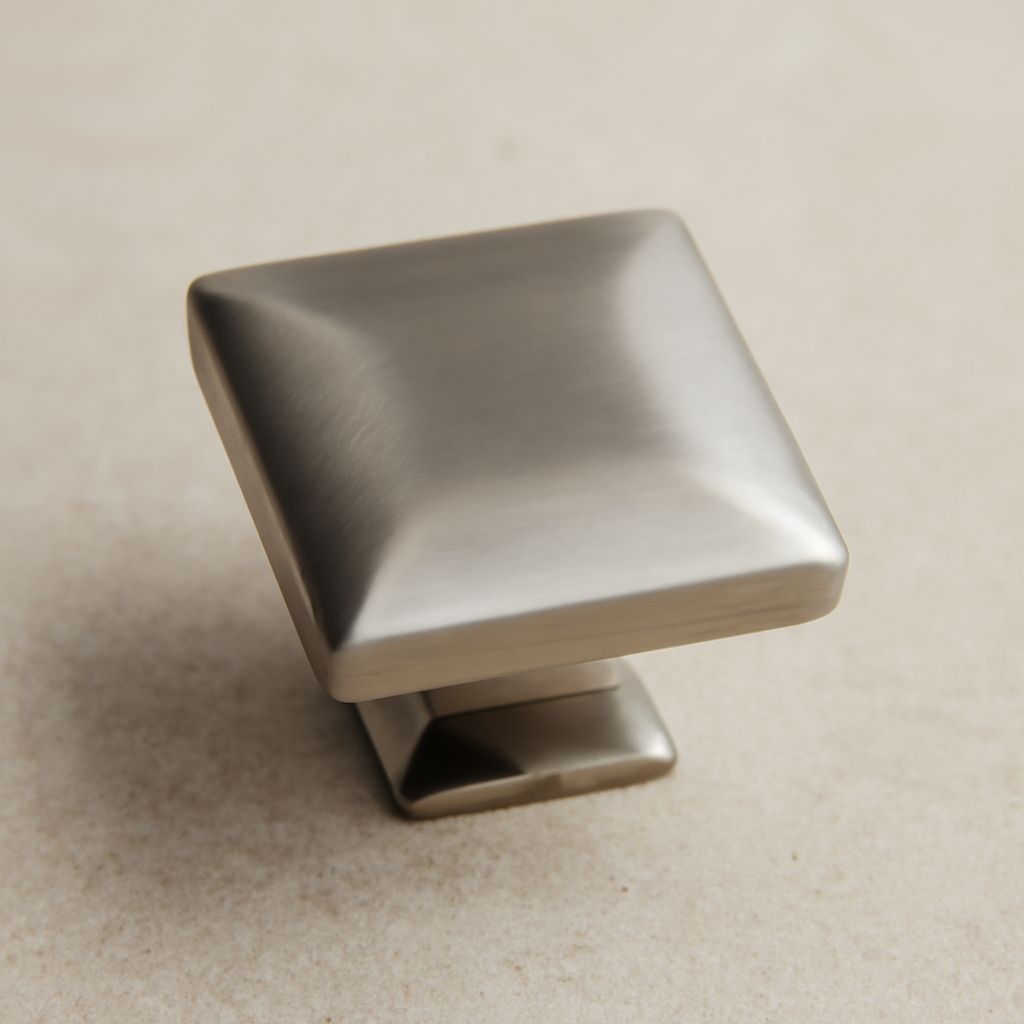
Discount cabinet knobs can reduce a remodel budget, but the lowest price is not always the lowest installed cost. Wrong hole spacing, incompatible screws, inconsistent finishes, or missing pieces can force a second order or new drilling.
Measure every door and drawer first. Then compare the complete cost of hardware, screws, samples, shipping, spares, and installation changes. This approach makes affordable cabinet handles genuinely affordable instead of merely inexpensive per piece.
Discount cabinet knobs: measure single-hole knobs versus pulls, center-to-center spacing, backplates, projection, grip, and drawer thickness
Start by identifying whether each location needs a knob or a pull. A single-hole knob uses one mounting hole. A pull uses two or more holes, so its center-to-center spacing must match the existing holes. Measure from the center of one hole to the center of the next, not from the outside edges.
Common pull spacings include 3 inches, 3-3/4 inches, and 5 inches, but cabinets are not limited to standard sizes. Record each measurement in millimeters or inches, and do not assume every drawer uses the same pattern. If a replacement pull has a different spacing, you may need to drill new holes, use a backplate, or fill the old ones.
Check the backplate footprint before ordering. A backplate can hide old holes, scratches, or uneven paint, but it must cover the damaged area without extending into a neighboring edge or cabinet corner. Compare its length and width with the available door or drawer face.
Measure projection from the cabinet surface to the outermost point of the knob or handle. More projection can improve access, especially on drawers with thick fronts, but it can also catch clothing or strike nearby doors. Low-profile hardware suits narrow walkways, while deeper pulls often provide a better grip.
Grip matters as much as appearance. Check the usable opening behind a pull and the shape of its edges. A narrow opening may be difficult for larger hands, while a sharp edge can become uncomfortable during frequent use. For knobs, compare the diameter, height, and shape rather than relying on a product photo.
Finally, measure the drawer thickness and door thickness. Thick drawer fronts may require longer screws than standard cabinet doors. A screw that barely engages the hardware can loosen, while one that is too long can bottom out or damage the front. Record the thickness before comparing listings.
Choose affordable cabinet handles by total cost: material, plating, bundles, closeouts, and simple finishes
Calculate total installed cost with this formula: hardware price, plus shipping, screws, samples, replacement pieces, and any drilling or repair work. Divide that total by the number of usable pieces. A $2 handle that needs different screws and a $20 shipping charge may cost more than a $3 handle bought in a complete set.
Bundles usually offer the clearest savings when you need many identical pieces. Compare the bundle quantity with your actual count, including a few spares. A large pack is not a bargain if half the pieces remain unused or the finish cannot be reordered later.
Closeouts can work well for a complete project with a fixed quantity. They are riskier when you may need additional hardware after installation. Before choosing a closeout, confirm the exact model, size, finish, mounting pattern, and available quantity. Save the product details and order at least one or two extras while the listing remains active.
Material affects both price and durability. Zinc alloy and aluminum hardware can provide attractive shapes at a lower cost, while stainless steel and solid brass generally offer stronger long-term performance. Material names alone do not guarantee quality; inspect the stated construction and finish details.
Simple finishes often save money. Matte black, basic chrome, and standard brushed finishes are commonly available in more sizes and replacement quantities than specialty colors. Unusual bronze tones, mixed-metal treatments, and hand-finished surfaces may cost more and show greater variation between batches.
Choose a finish for the whole room rather than matching a single online photograph. Compare the finish on knobs, pulls, hinges, faucets, and appliances under the room’s lighting. A slightly lower-priced simple finish is often the safer choice when consistency matters across a large kitchen.
Inspect discount knobs for finish consistency, hollow versus solid feel, grip, and screw length
Order a sample before buying the full quantity whenever the supplier allows it. Mount the sample on an actual door or drawer, then test it at different times of day. Check whether the color works with the cabinet surface and whether the projection feels comfortable in daily use.
Inspect the surface for pinholes, scratches, bubbling, rough edges, and visible seams. Turn the piece over and examine the mounting area. The base should sit flat against the cabinet, with no burrs that could scratch the finish or prevent a stable fit.
Finish consistency is especially important with discount knobs purchased in separate listings or batches. Compare several pieces side by side, not just one sample. Look for differences in color, sheen, texture, and edge treatment. A small variation may be acceptable on separate rooms but distracting across one run of cabinets.
Compare hollow versus solid feel according to the job. Hollow handles can be lighter and less expensive, and they may work well on lightly used doors. Solid-feeling hardware often provides greater resistance to bending and a more substantial grip on busy drawers. Weight is only one clue, so also check mounting stability and material specifications.
Test every handle from its normal position. Pull straight, at an angle, and with one hand. The hardware should not flex, rock, or expose an uncomfortable edge. Knobs should provide enough surface for a secure grip without forcing fingertips against the cabinet face.
Review the included screws rather than assuming they fit. Check screw diameter, thread type, head shape, and length. Compare the screw’s usable threaded length with the cabinet thickness and the hardware base. If a pull has a deep recess, some of the screw length may be consumed before it reaches the cabinet.
Many listings include one standard screw length but require different lengths for doors and drawers. Ask whether alternate screws are available, or budget for compatible replacements. Do not force a screw that binds, spins without tightening, or protrudes through the cabinet front.
Order samples, full quantities, compatible screws, spares, and return coverage
Make a hardware schedule before placing the main order. List each cabinet location, hardware type, hole pattern, center-to-center measurement, finish, and required quantity. Add the totals by model instead of estimating from the number of cabinet doors.
Count drawers carefully. A wide drawer may need one long pull, two smaller pulls, or a different center spacing from the doors. Include pantry doors, appliance panels, islands, and decorative false fronts only when they require hardware. Mark locations that already have holes and those requiring new drilling.
Order one sample first when size, color, grip, or construction is uncertain. Confirm the sample fits the existing hole and sits flat before approving the full quantity. If new drilling is planned, test the sample on a spare door or an inconspicuous location before drilling the complete set.
For the full order, buy the required quantity plus a practical spare allowance. Two or three extra pieces may cover a damaged item, a future replacement, or an installation mistake. For a large project, keep enough matching screws with the spares rather than storing loose hardware separately.
Read the return terms before purchase. Confirm whether opened packages, installed pieces, sale items, closeouts, and custom sizes can be returned. Check the return period, restocking fee, customer-paid shipping, and process for reporting defects. Keep packaging, order records, and unused screws until every piece has been inspected.
When the shipment arrives, count all pieces before installation. Inspect each item for defects and compare the finish across the order. Photograph damage immediately and report missing or defective hardware within the stated time. Do not install a questionable piece and assume the supplier will accept it later.
Plan installation around the correct tools and templates. A drilling template helps keep pull spacing level and consistent, while a depth stop reduces the risk of drilling through a drawer front. Install one complete cabinet section first, test the screws and alignment, then continue once the fit and finish are confirmed.