
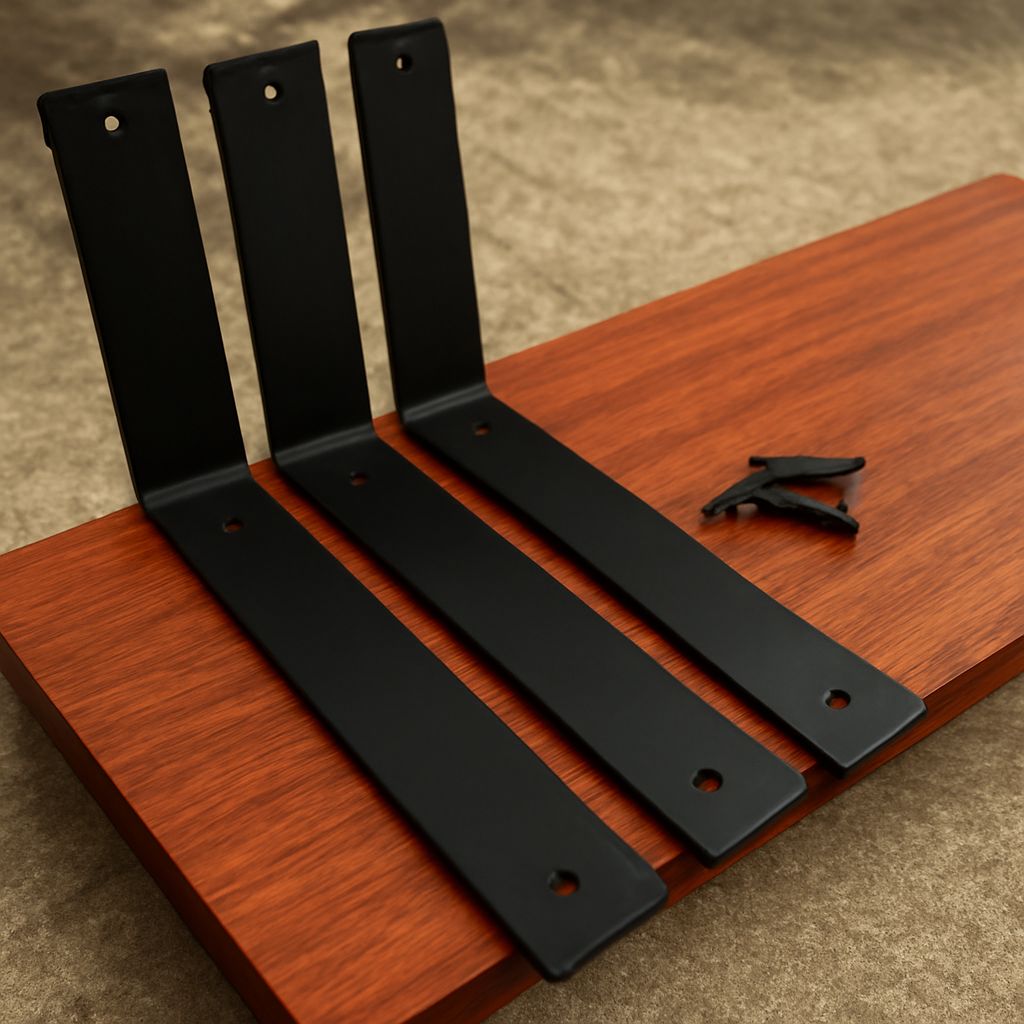
Decorative shelf brackets should look intentional without compromising support. Set the required load capacity and bracket spacing first; then choose visible geometry, ornament, color, sheen, and hardware details.
For most residential shelves, space brackets about 16 to 24 inches apart, with tighter spacing for heavy, deep, or flexible shelves. Select a bracket rated above the fully loaded shelf, and confirm that rating applies to your wall type and installation method.
Decorative Shelf Brackets: Traditional, Industrial, Minimalist, Arched, Scroll, Geometric, and Cutout Forms
Choose the bracket style after defining the shelf’s structural requirements. The main visual options suit different rooms and materials:
- Traditional: Cast or formed profiles with beading, fluting, floral details, or stepped edges work well with painted wood, crown molding, and classic interiors.
- Industrial: Thick angle iron, flat bar, visible welds, and dark finishes suit reclaimed timber, exposed brick, and utility-inspired spaces. Confirm that rough welds and sharp edges have been finished safely.
- Minimalist: Plain rectangular plates, narrow bars, and concealed-looking screw patterns keep attention on the shelf and its contents. These are useful in modern kitchens, offices, and small rooms.
- Arched: A curved gusset or open arch creates a lighter silhouette while transferring force from the shelf arm to the wall leg. It adds shape without the visual weight of a solid triangle.
- Scroll: Spirals and curled supports create a decorative focal point. Use them selectively, especially where the shelf already has strong grain, color, or ornament.
- Geometric: Triangles, diamonds, offset bars, and stepped angles complement contemporary furniture and architectural interiors.
- Cutout: Decorative openings reduce visual mass and can echo window grids, botanical shapes, or repeated room motifs. Check that the remaining metal around each opening is substantial enough for the stated load.
A decorative shelf bracket is most successful when its shape relates to the room. Match rounded brackets with curved furniture, or repeat a geometric angle found in cabinet doors and lighting. Avoid selecting ornament that blocks objects, catches clothing, or makes cleaning difficult.
Choose Modern Shelf Brackets by Shelf Thickness, Depth, Arm, Leg, Gusset, Spacing, and Load
Measure the shelf before comparing modern shelf brackets. Shelf thickness affects the bracket’s top plate, screw length, visual proportion, and resistance to sagging. A thin shelf usually looks best with a slim bracket, but it may need closer spacing or a lighter load. A thick timber shelf can carry more weight, yet its bracket must still support the actual projection from the wall.
Shelf depth is the distance from the wall to the front edge. The bracket arm is the horizontal section beneath the shelf; the leg is the vertical section fixed to the wall. For a 10- to 12-inch-deep shelf, an arm around 8 to 10 inches often gives useful support while remaining discreet. As a general proportion, support at least two-thirds of the shelf depth, unless the manufacturer specifies another arrangement.
The arm should sit securely under the shelf rather than ending far behind its center. The leg needs enough height for two or more well-spaced fasteners, with room to avoid splitting the shelf or striking a wall obstruction. A gusset, diagonal, or arch connects the arm and leg. It resists bending and transfers the shelf load into the wall fasteners, so a decorative opening should not remove too much supporting material.
Calculate the complete load: shelf weight, stored items, and any downward force from use. Do not divide the load blindly by the number of brackets. Consider the weakest bracket, screw, anchor, wall area, and shelf material. Select a system with a clear manufacturer rating above the expected load, installed in the substrate specified for that rating.
Spacing affects both strength and appearance. Use roughly 16 to 24 inches between brackets for ordinary shelves, then reduce the gap for stone, books, cookware, long spans, deep shelves, or flexible boards. Keep the outer brackets several inches inward from each end, commonly 2 to 4 inches, while checking the shelf’s span and the manufacturer’s limits.
Compare Decorative Metal Shelf Brackets: Casting, Fabrication, Durable Finishes, and Hardware Visibility
Manufacturing method changes both appearance and durability. Cast decorative metal shelf brackets can produce flowing scrolls, relief patterns, and rounded transitions that are difficult to form from flat stock. Look for clean edges, consistent wall thickness, and no visible porosity or cracks.
Fabricated brackets are cut, bent, and sometimes welded from steel, aluminum, or other metal. They offer crisp geometric shapes, custom dimensions, and a more architectural appearance. Inspect welds, bends, and cutout edges. A neat weld and rounded edge matter more than a deliberately rough industrial texture where the bracket will be touched frequently.
Finish durability depends on the metal, coating, moisture, and cleaning method. Powder coating generally gives steel a tough, even surface for indoor use, while plated or brushed finishes create a more reflective appearance. Clear-coated raw steel preserves an industrial look but may show fingerprints, scratches, or corrosion if moisture reaches the metal. In kitchens, bathrooms, and covered outdoor areas, select a finish specifically rated for that environment.
Coordinate the bracket with shelf supports, cabinet pulls, lighting, and visible fasteners. Matte black hides small marks and emphasizes bold geometry; satin brass or bronze adds warmth; polished finishes make casting details more prominent. Decide whether screw heads should disappear or contribute to the design. If visible, use matching heads with a consistent drive style. If concealed, verify that the shelf thickness allows safe countersinking or top fixing.
Align Brackets with Spacing and a Symmetrical Layout
Make a layout drawing before drilling. Mark the shelf ends, wall studs, bracket centers, and the position of nearby trim, outlets, tile joints, or cabinet lines. A symmetrical arrangement usually looks best: equal end setbacks and equal gaps between brackets.
- Measure the finished shelf and mark its centerline on the wall.
- Place the outer bracket positions several inches in from each end.
- Divide the remaining span into equal gaps, reducing them if the shelf or load requires closer support.
- Hold each bracket against the wall and check that the arm aligns with the shelf underside.
- Use a level across the bracket arms and a plumb check on each wall leg.
Do not force visual symmetry if it places a heavy bracket on unsuitable drywall. Shift the layout slightly to reach studs, or use anchors rated for the load and wall construction. Keep the shift balanced where possible, and make the final shelf edge line straight even if fasteners do not sit on an identical stud pattern.
Install Visible Brackets: Wall Fasteners, Shelf-Fixing, Touch-Up, and Load Checks
- Confirm the substrate. Locate studs, masonry, or framing behind the marked positions. Choose screws and anchors for that substrate, bracket hole size, and loaded weight. Do not rely on light-duty drywall plugs for a heavily loaded shelf.
- Mark and drill accurately. Use the bracket as a template, or transfer its holes from the layout. Drill to the anchor manufacturer’s diameter and depth. Remove dust from masonry holes before inserting anchors.
- Fix the wall legs. Start with the upper fastener, leave it slightly loose for adjustment, then install the remaining fasteners. Tighten evenly without crushing a hollow wall or distorting thin metal.
- Check alignment. Place a level across all bracket arms and compare their front edges. Correct any twist before fixing the shelf.
- Secure the shelf. Drill pilot holes through the bracket’s top plate where provided. Use screws short enough to avoid emerging through the shelf, but long enough to achieve reliable purchase. Fix every bracket that has a shelf hole.
- Touch up carefully. Remove metal swarf, clean fingerprints, and cover small coating chips with a compatible touch-up product. Do not paint over moving hardware or anchor openings.
- Perform a load check. Press down gently near the shelf front, then add the intended contents gradually. Stop if the shelf deflects, the wall leg moves, screws loosen, or the bracket twists. Recheck fasteners after loading and after the first few days of use.