
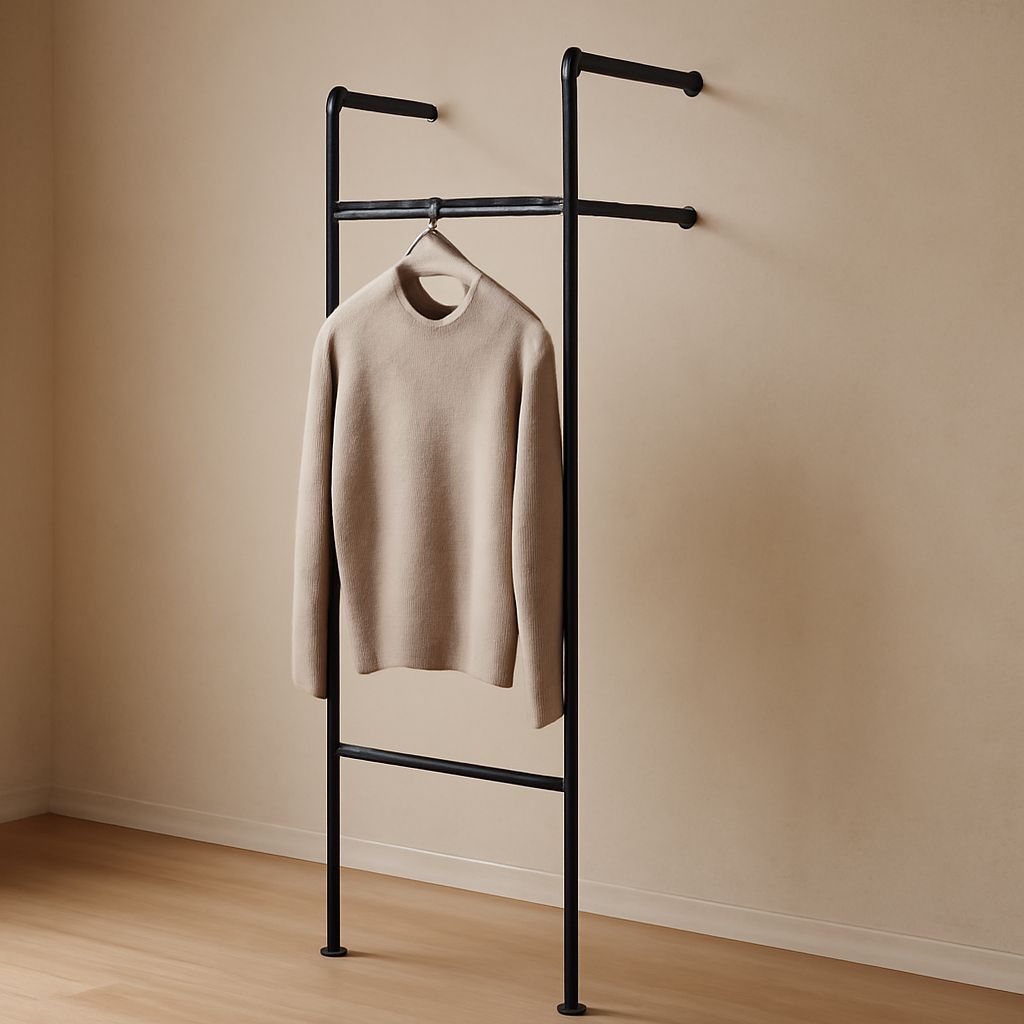
A well-chosen closet rod makes a closet feel larger, hold more, and work more smoothly. The best choice depends on span, material, load, and how much hanging space you need.
Start by matching the rod to your layout. Then measure depth and height, support the span correctly, and install it so it stays level and does not sag.
Choose the Right Closet Rod or Rail
For most closets, the right choice comes down to a round closet rod, an oval rod, or a metal closet rail. Round rods are the most common and work well for everyday hanging. Oval rods look cleaner and can resist flex better across wider spans. A closet clothes rod made from wood can suit built-ins and decorative closets, while metal is usually the better choice for strength and long-term stability.
Round vs. oval rods
A round closet rod is simple, familiar, and easy to pair with standard brackets or sockets. It fits most hangers without issue. Oval closet bars are useful when you want a slimmer profile or more stiffness across the same support points. Many systems use an oval clothing rod where the bar is longer and the load is heavier, because the shape helps reduce sag.
Hanger compatibility matters more than most people expect. Standard closet hanger hooks fit both round and oval rods, but very thick decorative hangers need more clearance. If you use matched sets of heavy wood hangers, test one before committing to the rod size.
Wood vs. metal options
Wood rods work well in closets where appearance matters and the span is modest. They are best when supported frequently and kept to lighter or medium loads. Metal closet rods and closet rails are better when you need higher capacity, a cleaner profile, or a longer unsupported run. Steel and aluminum are common; steel is usually stiffer, while aluminum is lighter and easier to cut.
If the closet will hold coats, denim, or a dense row of shirts, choose a metal closet rail or a reinforced closet rod with thicker wall construction. For a display-style closet with lighter garments, wood can be a good match if brackets are close enough.
Brackets, sockets, and hanger fit
Closet rods are only as strong as their supports. Brackets support an exposed rod from below or the sides. Sockets or rod cups hold the ends of a cut-to-fit rod inside a wall or panel. Both can work well if the support points are solid.
Check the inside diameter or profile before you buy. The rod should sit securely without twisting. Also confirm that the closet hanger hook can move freely along the bar. A closet hanger should slide easily without binding, especially in narrower reach spaces where access is tight.
Plan Height, Depth, Span, and Capacity
Good layout planning matters as much as the rod itself. The right hanging height, closet depth, and span support determine whether the closet feels usable or cramped. Before buying hardware, measure the full run and decide whether the area is for single-hang, double-hang, or long garments.
Single-hang, double-hang, and long-hang layout
Single-hang layouts are best for dresses, coats, and longer shirts. A typical single-hang closet rail is placed so garments clear the floor by several inches. Double-hang systems add a second closet clothes rod below the first and work well for shirts, folded pants, and shorter items. They almost always need careful height planning so hems do not crowd each other.
Use long-hang space for the items that need it most. Many closets benefit from mixing zones: one long-hang section, one double-hang section, and a shelf above. That mix usually gives better storage than forcing every closet rod to serve the same purpose.
Measuring depth, reach, and clearance
Standard closet depth is often planned around 24 inches, because that gives enough room for a closet hanger and clothing to hang without rubbing the door. If the closet is shallower, use slimmer hangers and check the reach from the back wall to the rod. If the space is deeper, make sure the rod does not sit so far back that clothes are hard to see or grab.
Measure from the finished wall surface, not the stud face. Leave clearance for trim, doors, and shelf lips. The goal is simple: hang freely, move easily, and avoid crushed sleeves or snagged shoulders.
Span limits and load planning
Span is the distance between support points. A longer span increases the chance of flex, even with a strong closet bar. As a rule, plan more supports as the rod gets longer or the load gets heavier. A dense section of winter coats needs more support than a light row of shirts.
Load planning should include both weight and distribution. Heavy garments clustered in the center create more sag than evenly spaced items. If you expect a heavier load, use a stiffer material, shorten the span, or add a center bracket. For very wide closets, consider a closet rail system with multiple supports instead of one long rod.
Install the Rod and Supports
A solid installation starts with finding structure, marking accurately, and fastening the supports level. Whether you use brackets, sockets, or a hybrid setup, the sequence is the same: locate support points, mark the line, fit the rod, then check the result under load.
Find studs or choose anchors
Whenever possible, fasten at least some supports into studs. Stud-mounted brackets give the best resistance to pullout and side load. If a stud is not available where you need support, use a properly rated wall anchor suited to the wall type. Do not rely on drywall alone for a heavily loaded closet rod.
In a closet with side panels or built-ins, the supports may fasten to the cabinet structure instead of the wall. That can be very strong if the panels are secure and square. The key is having a solid substrate behind every bracket or socket.
Mark level and cut to fit
Use a level to mark the rod line before drilling. A closet rod that is even slightly tilted looks wrong and can make hangers slide to one side. Mark both ends, then confirm the line across the full width.
If the rod needs trimming, measure twice and cut once. A metal closet rod should be cut cleanly with the right blade or tubing cutter. A wood closet clothes rod should be cut square and lightly smoothed at the ends. Dry-fit the rod before final fastening so you can confirm the sockets or brackets align.
Space brackets and fasten securely
Bracket spacing depends on rod material, span, and load. Short rods may need only end supports, while longer or heavier runs usually need a center bracket or more. Keep supports close enough to prevent flex, especially on wood rods and long hanging rods.
Fasten screws snugly but do not overdrive them. After the rod is installed, hang a modest load first and watch for movement. If the rod dips, twists, or pulls away from the wall, add support immediately. A secure final load check should include a few heavy items and a quick review of level and stiffness.
Configure the Closet for Better Storage
Once the rod is in place, you can improve the whole closet with better layout choices. The best systems use shelf-and-rod combinations, smart corner handling, and simple fixes for sagging or awkward spaces. Small changes often make an existing closet far more usable than replacing everything.
Shelf-and-rod combinations
A shelf above the closet rail gives you storage for bins, shoes, or folded items while keeping hanging space below. This is one of the most efficient ways to use vertical room. In double-hang closets, a shelf can also help define the top line and stiffen the overall assembly if it is well anchored.
If you are upgrading a closet, consider replacing an old single bar with a shelf-and-rod system. That setup works especially well for children’s rooms, laundry closets, and narrow reach spaces where organization needs to stay simple.
Corners and sloped ceilings
Corners need special planning because a straight closet rod rarely works well across a right angle. Use separate hanging sections, a corner connector, or a short return run rather than forcing one long bar to turn the corner. That keeps clothes accessible and reduces load stress at the bend.
Sloped ceilings also call for custom placement. Follow the ceiling line if needed, but keep enough vertical clearance for the tallest garments in that zone. In an attic closet, a shorter closet hanger path and staggered hanging heights often make the space much easier to use.
Fix sagging and improve an existing closet
If a closet rod sags, the usual fixes are straightforward: reduce span, upgrade the material, or add a center support. A sagging wood rod may need replacement with metal, while a thin metal bar may need a larger profile or extra brackets. If the supports are loose, move them into studs or upgrade the anchors.
For an awkward existing closet, start by removing the old hardware and measuring the actual usable depth and width. Then rework the layout around the garments you own most. Long coats need a different setup than shirts and pants. The best closet rods are the ones that fit the space, support the load, and make the clothing easy to reach.