
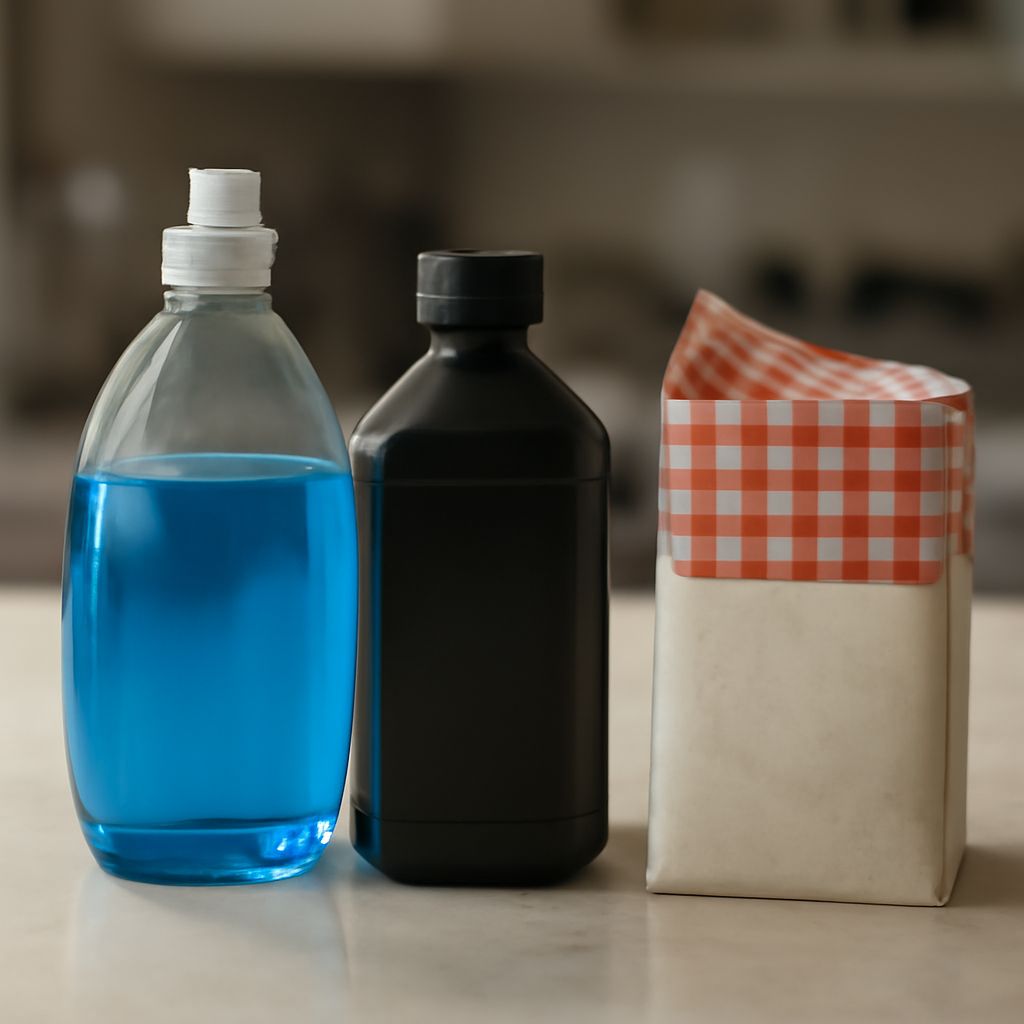
Hydrogen peroxide and baking soda work best as a simple, fresh-use cleaner for stuck-on grime. Peroxide helps loosen and lift through oxidation, while baking soda adds gentle abrasion and deodorizing power. Used together, they can handle small cleaning jobs on hard surfaces without harsh scrubbing.
The key is to mix only what you need, test the surface first, and rinse after use. A fresh paste is usually better than storing a pre-mixed batch, and sequential use can be better than combining the two when you need separate cleaning steps.
What Peroxide and Baking Soda Do
Hydrogen peroxide is a mild oxidizer. In cleaning, that means it helps break down some organic residue, like light stains, food film, and grime. It also dries without leaving a heavy residue.
Baking soda is a fine, alkaline powder with mild abrasive action. It helps scrub without the scratchiness of stronger powders, and it can reduce odors on contact. In many cases, this makes peroxide and baking soda useful for spot cleaning where you want friction plus a liquid cleaner.
Used together, baking soda peroxide becomes a paste that clings to vertical or uneven surfaces better than liquid alone. That makes it practical for sinks, grout lines, stove splatters, and other small household messes.
Use them separately when the job calls for different actions. Baking soda alone is useful for dry deodorizing or light scrubbing. Peroxide alone is useful when you want to wipe, soak, or disinfect a hard, nonporous surface according to the product label.
How to Mix and Apply a Fresh Paste
Make only a small amount right before cleaning:
- 2 tablespoons baking soda
- 1 to 2 teaspoons 3% hydrogen peroxide
Stir until you get a thick, spreadable paste. If it turns watery, add a little more baking soda. If it is too dry to spread, add peroxide a few drops at a time.
Before applying, spot test in a hidden area. Wait 5 to 10 minutes and check for dulling, whitening, or color change. If the test area looks unchanged, continue.
Apply a thin layer to the dirty spot with a cloth, sponge, or soft brush. Let it sit for 5 to 15 minutes. For heavier buildup, keep the paste damp and give it a little more time, but do not let it dry hard on the surface.
Agitate lightly with a damp sponge or soft-bristle brush. Work in small circles or short strokes. Then wipe away the residue with a clean damp cloth. Rinse with plain water if the surface allows it, especially on food-contact areas.
For a sequential method, sprinkle baking soda first, then spray or dab peroxide on top. This helps when you want the powder to grip the spot before the liquid lifts it. It can be easier to control on grout, sink rims, and around drains.
Use It on Common Surfaces
Kitchen sinks and counters: Use the paste on stainless steel sinks, laminate, or sealed counters. Scrub lightly, then rinse and dry. Avoid soaking unsealed stone or unfinished wood.
Tile and grout: Baking soda and peroxide work well on grout lines, especially for soap scum and embedded grime. Apply with an old toothbrush, wait a few minutes, scrub gently, and wipe clean.
Stovetops and backsplash splatter: The paste can soften dried-on food around burners and tile. Keep it away from open flame parts and electrical components. Wipe all residue away completely.
Shower walls and tubs: This combination can help with soap film on tile, fiberglass, and acrylic if the surface is compatible. Rinse well, since leftover paste can leave a powdery film.
Toilet exteriors and lids: Use on hard, nonporous surfaces only. Apply sparingly and avoid hinges, labels, or decorative finishes that may discolor.
Do not use baking soda peroxide on natural stone like marble, granite, or travertine unless the manufacturer approves it. The abrasive powder can dull the finish, and peroxide can affect some sealers. Also avoid unfinished wood, painted surfaces with weak coatings, and any area already showing peeling or whitening.
When to Rinse, Dry, or Stop
Rinse after cleaning when the surface touches food, skin, or frequent handling. Dry with a clean cloth to remove powdery residue and prevent streaks. Drying also makes it easier to see whether the stain lifted fully.
Stop if you notice whitening, fading, cloudiness, or a roughened finish. Those are signs the surface may not tolerate peroxide and baking soda well. Also stop if the residue keeps coming back after wiping, since that usually means too much powder or an incompatible surface finish.
If grime remains after one pass, repeat the process once rather than scrubbing harder. A fresh application is usually more effective than overworking the same paste. For persistent stains, switch to a cleaner made for that specific surface instead of increasing contact time indefinitely.