
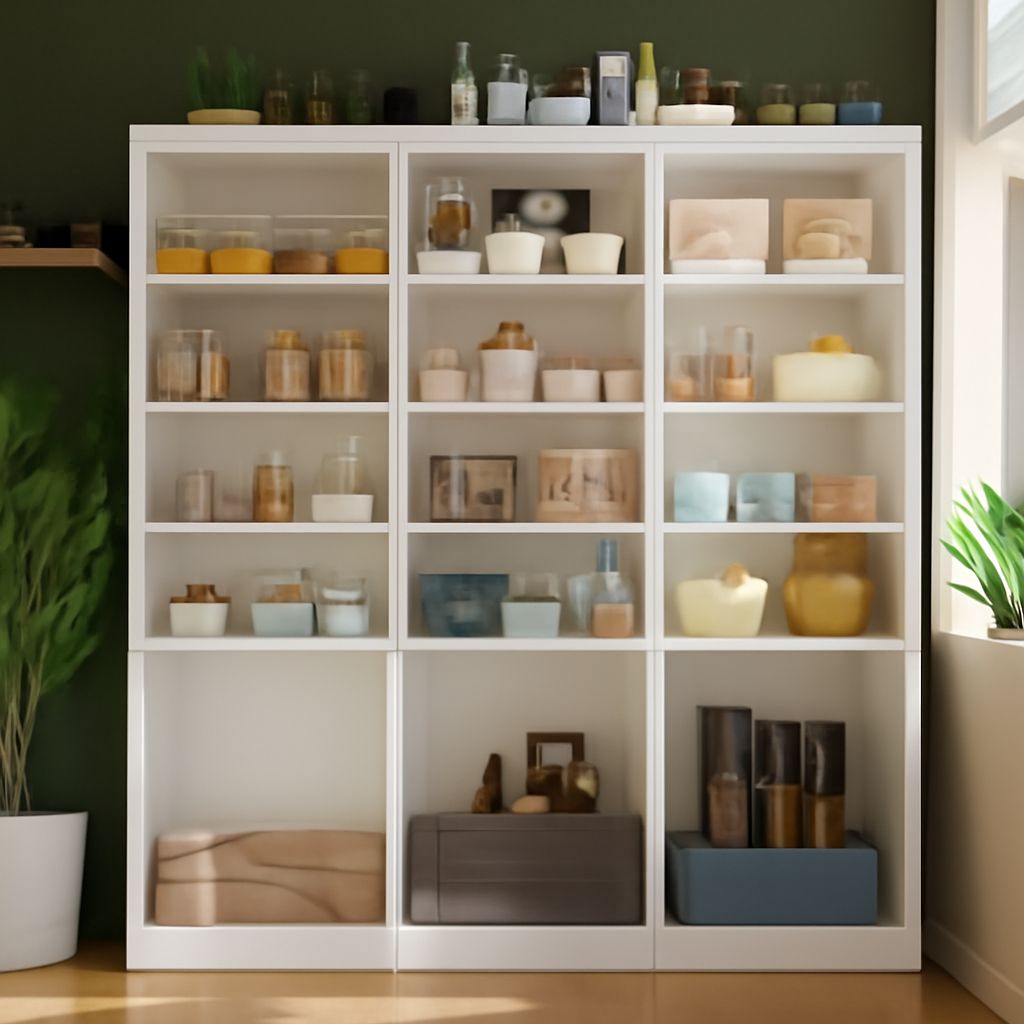
A cabinet shelf fits properly when its size matches the cabinet’s smallest clear opening, its material suits the expected load, and its supports prevent sag. Measure the opening around doors and hinges before cutting or ordering the shelf.
For most kitchens, 3/4-inch plywood, solid wood, or laminate-faced board provides a dependable shelf. Use adjustable pins for changing storage needs, or fixed cleats when the position and load will remain permanent.
Fixed versus adjustable cabinet shelving
Fixed shelves rest on cleats, dados, or permanently mounted brackets. They add strength and resist movement, making them useful for heavy cookware, appliances, and wide spans. Their drawback is access: removing a fixed shelf can be difficult, and its height cannot change.
Adjustable cabinet shelving rests on shelf pins installed in vertical holes. You can move the shelf as storage needs change or remove it for cleaning. Pin-supported shelves work well for dishes, food containers, and small appliances, provided the pins and panels can carry the load.
Choose fixed support when the shelf will hold substantial weight or span a wide opening. Choose adjustable support when you need flexible spacing. A wide adjustable shelf may still need a center support or a thicker front edge to prevent sag.
Measure the kitchen cabinet shelf opening
Measure the clear opening, not the outside cabinet dimensions. The clear opening is the usable space between the cabinet sides, below the shelf above, and behind the door or face frame.
- Open the doors fully. Check where hinges, hinge plates, door backs, and face frames enter the cabinet. Measure with the doors in their normal position, because a shelf that fits the box may strike the hardware when the door closes.
- Measure width in several places. Take measurements near the front, middle, and back. Use the smallest width. For a removable shelf, subtract about 1/16 to 1/8 inch from the total width so it can slide into place without binding.
- Measure usable depth. Measure from the back panel to the nearest front obstruction, such as a face frame, hinge, or door. Subtract a shelf setback, usually 1/2 to 1 inch, so the shelf edge sits behind the door plane and does not interfere with closing.
- Check height. Measure between the support locations above and below the proposed shelf. Leave enough vertical clearance to lift the shelf onto its pins or cleats. A tight opening may accept the shelf but prevent installation.
- Check for a square cabinet. Compare front and back widths, then compare the two depth measurements. If they differ, make a cardboard template or record the front and rear shelf widths separately.
Write the finished shelf size as width by depth, along with the material thickness. For example, an opening measuring 30 inches wide and 12 inches deep might require a shelf about 29 7/8 inches wide by 11 1/4 inches deep, depending on the hinge and door clearance.
Choose material for kitchen cabinet shelving
Material choice should reflect span, expected load, moisture exposure, and the desired finish. A short shelf holding spices needs less strength than a wide shelf holding cast-iron cookware.
- 3/4-inch plywood: Stable and strong for most cabinet shelves. Sand or cover the exposed front edge with iron-on banding, hardwood edging, or paint-grade trim.
- Solid wood: Attractive and durable, with a stiff front edge. Allow for seasonal movement when the shelf is wide, and finish all exposed surfaces to reduce moisture absorption.
- Melamine-faced particleboard: Smooth, economical, and easy to clean. It needs well-supported edges because unsupported spans can sag, and its cut edges require edge banding or another seal.
- Medium-density fiberboard: Useful for painted shelves with moderate spans. Seal every cut edge, especially near sinks, because unprotected fiberboard absorbs moisture.
Use 1/2-inch material only for short spans and light contents with closely spaced supports. For general kitchen use, 3/4 inch is a safer starting point. If the shelf is wider than about 30 to 36 inches, carries heavy items, or has supports only at the sides, add a center support, use a thicker panel, or reinforce the front edge.
Shelf sag depends on span, material, thickness, depth, and load. A shelf loaded with cans or appliances needs more support than one holding empty containers. A hardwood front strip or solid lipping increases stiffness, protects the edge, and gives a thin panel a more finished appearance.
Add pins, cleats, and shelf supports
Use supports that match both the shelf type and the cabinet construction.
- Shelf pins: Best for adjustable shelves. Common sizes include 5 mm and 1/4 inch, but match the pin to the existing holes. Use four pins for a short, light shelf and add a center support or rear support for wider or heavier shelves.
- Wood cleats: Suitable for fixed shelves. Install strips along both sides and the back, then set the shelf on top. Cleats distribute weight over a larger area than small pins.
- Metal standards and brackets: Useful when the cabinet needs a strong adjustable system. Confirm that the fasteners will not break through the cabinet side or interfere with doors, drawers, or plumbing.
Place side pins or cleats close enough to the front and back to support the shelf without crowding the hinge area. Keep supports on the same horizontal line. A rear cleat is especially useful for preventing a fixed shelf from tipping, while a center support limits sag across a broad span.
When adding pin holes, use a drilling guide or a straight template. Mark both sides from the same reference point rather than measuring each hole independently. Drill only as deep as required, and test one hole with the pin before drilling the full row.
Install shelves for kitchen cabinets
- Remove the existing shelf and hardware. Protect the cabinet finish while taking out old pins, screws, or cleats. Clean debris from the support holes and inspect the side panels for damage.
- Measure and make a cutting plan. Record the smallest clear width, usable depth, setback, and material thickness. Mark the finished front edge so the shelf cannot be installed backward.
- Cut or order the shelf. Cut with a fine-tooth blade and support the panel to limit chipping. If ordering a shelf, provide finished width, depth, thickness, edge treatment, and any notches required around hinges or obstructions.
- Finish exposed edges. Apply edge banding, hardwood trim, laminate edging, or paint-grade sealer to the front and any visible cut edges. Let adhesives or finishes cure before installation.
- Install the supports. Set adjustable pins at matching heights on both sides. For fixed shelves, fasten cleats level along the sides and back. Add a center support if the span or load creates a sag risk.
- Level the supports. Check the front-to-back and side-to-side alignment with a small level. Correct the supports before placing the shelf; shimming the shelf afterward can make it unstable.
- Perform a fit check. Place the shelf gently on its supports, then slide it fully back. Confirm that it has slight side clearance, sits flat, and remains behind the required setback.
- Test the doors and load. Close each door slowly and inspect the hinge and front edge clearance. Load the heaviest items in their intended positions, then check that the shelf stays level without visible bending or movement.