
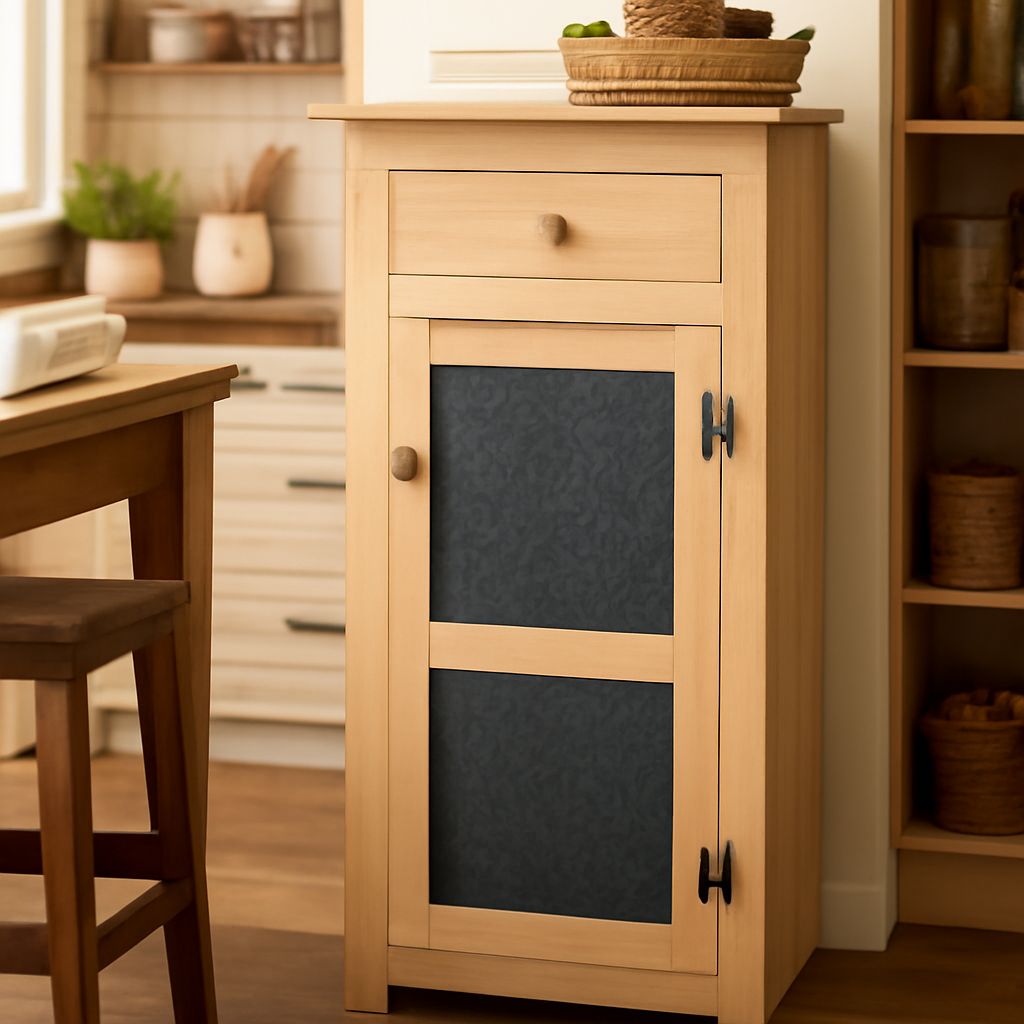
Unfinished cabinet doors can reduce project cost and give you control over color, sheen, and hardware. The best value comes from matching construction and wood to the room, measuring accurately, and including finishing supplies and labor in the total budget.
For a reliable result, order a sample first, inspect every door, finish every face and edge, allow the coating to cure, then drill and hang the doors. Affordable unfinished cabinet doors are not automatically the lowest-cost option if extensive sanding, repairs, or custom finishing is required.
Unfinished Cabinet Doors: Choose Slab or Frame, Wood, and Grade
Choose the construction before comparing prices. A slab door is a single flat panel and suits modern, simple cabinetry. A frame door has perimeter rails and stiles around a flat or raised center panel. Raised panels add detail, while flat panels offer a cleaner profile and are usually easier to paint.
- Solid wood: Strong and repairable, but it expands and contracts across the grain as humidity changes. Leave proper clearances and acclimate doors indoors before finishing.
- Veneered: A thin real-wood surface over a stable core reduces movement and can provide a more consistent appearance. Sand lightly because the veneer can be cut through.
- Clear pine: Contains fewer visible knots and gives paint or stain a calmer, more uniform appearance.
- Knotty pine: Shows prominent knots, color variation, and resin pockets. It works well for a rustic look but needs extra preparation under paint.
Confirm the door thickness, usually about 3/4 inch, and inspect the edge profile. Square edges suit slab doors; eased, round-over, or routed edges change both appearance and finishing area. Check the sanding state, joint quality, knots, splits, and resin before ordering. Custom sizes, profiles, and hinge boring may cost more, so compare the finished cost: doors, shipping, finish, primer, sandpaper, hinges, handles, and tools.
Measure Overlay or Inset Doors Before Ordering
Measure the cabinet opening, not the existing door, using a steel tape. Record width and height at several points. Use the smallest measurement if the opening is uneven, and check that cabinets are square.
- Overlay doors: Decide how much of the face frame or cabinet side the door will cover. For one door, add twice the desired overlay to the opening width and height. For two doors, subtract the planned center gap before dividing the width, then add the overlay to each door.
- Inset doors: Subtract the desired reveal from each side of the opening. A common starting reveal is 1/8 inch around the door, but verify the hinge manufacturer’s requirements and allow for out-of-square cabinets.
- Record details: Specify door thickness, edge treatment, panel style, hinge cup boring, and which edges require finishing. Confirm whether measurements are for the door itself or the complete cabinet opening.
Mark hinge locations from the top and bottom consistently. If the supplier drills 35-millimeter European hinge cups, provide the cup setback and boring distance. Otherwise, order undrilled doors and use a drilling template after finishing.
Unfinished Pine Cabinet Doors: Prepare for Paint or Stain
Let unfinished pine cabinet doors acclimate in the installation room for several days. Keep them flat and dry. Pine can move with moisture, and finishing only one side can increase cupping or uneven movement.
Inspect and fill small defects with a compatible wood filler. Sand with the grain, typically starting around 120 or 150 grit and finishing near 180 grit. Do not aggressively sand veneer, routed profiles, or soft earlywood. Remove dust with a vacuum and clean cloth; avoid saturating raw wood.
Make a sample board from the same pine and sanding process. Pine often absorbs stain unevenly, especially around end grain and soft areas. For a penetrating stain, use wood conditioner only if the stain manufacturer recommends it; conditioner is finish-dependent, not a universal step. Test the exact stain, wiping time, and topcoat on the sample.
For paint, spot-prime knots and resin pockets with a stain-blocking shellac- or oil-based primer, then apply a compatible bonding or wood primer. Inspect after drying, because resin can bleed through water-based paint. Scuff-sand raised fibers between coats.
Finish, Cure, Drill, Hang, and Adjust Every Door
Apply the chosen stain, paint, or clear finish to the front, back, edges, routed details, and hinge-side areas. This all-face finishing approach protects the wood and helps balance moisture absorption. Follow the product’s recoat instructions rather than judging dryness by touch.
- Apply stain evenly, wipe excess consistently, and let it dry fully before sealer or topcoat.
- Apply primer and paint in thin coats, sanding lightly between coats when required.
- Use a compatible sealer or clear topcoat for stained doors, and coat the edges carefully.
- Allow the final finish to cure, not merely dry. Many products need several days before hardware installation; follow the label’s full handling and cure time.
- Transfer hinge locations with a template, drill cup holes to the specified depth, and drill handle holes from the finished face using a backing block to prevent tear-out.
- Install hinges and handles, mount each door loosely, and adjust height, side-to-side position, and depth. Check consistent reveals, center gaps, and smooth closing before tightening all screws.