
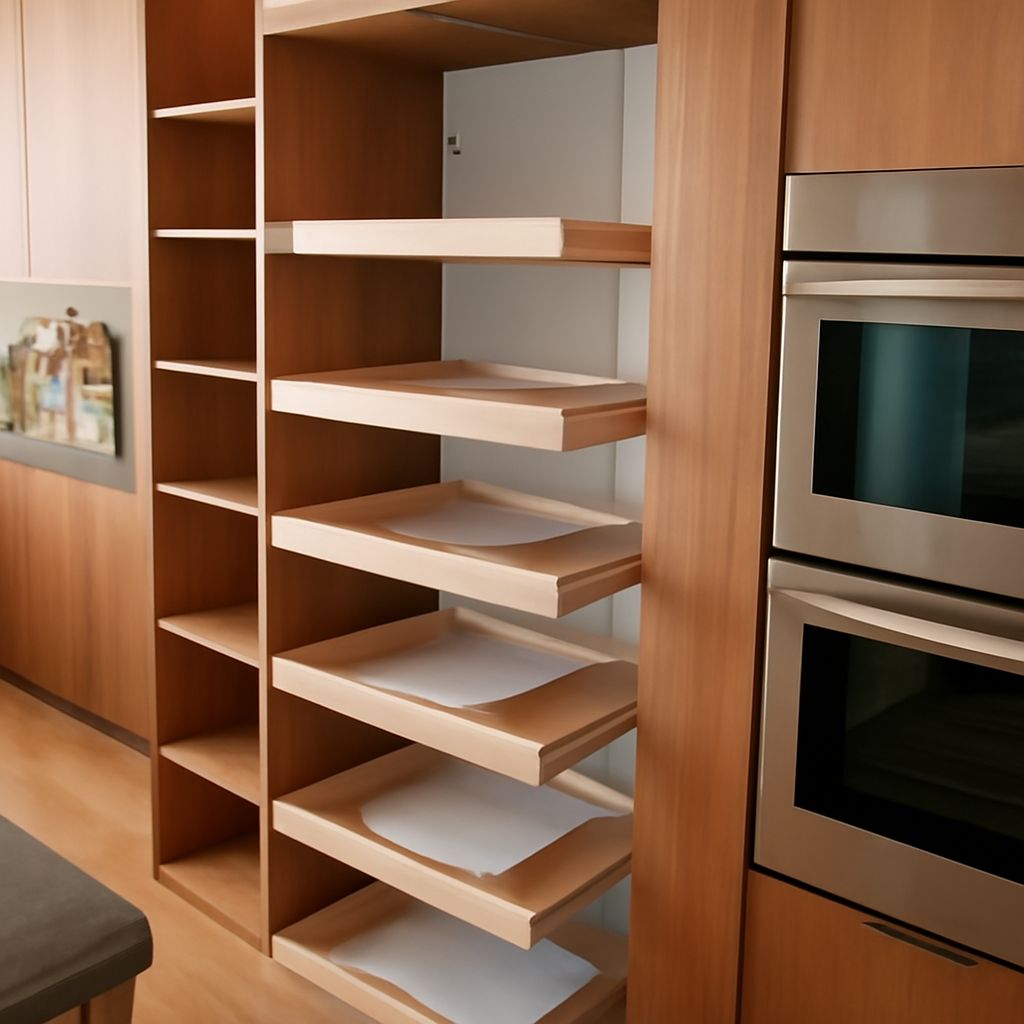
A pull-out shelf should be sized from the cabinet’s smallest usable opening, not the cabinet box. Doors, hinge arms, face frames, and spacers can reduce clearance substantially.
Measure those obstructions first. Then select the tray style, slide type, shelf dimensions, and mounting position from the measured opening. This prevents a shelf that fits the box but will not open.
Choose the pull-out format: tray or shelf
Choose a flat shelf for boxes, cookware, or appliances that do not need containment. Choose a tray with a raised front and side lip for bottles, cans, cleaning products, and small items. A 1- to 2-inch lip suits ordinary storage; taller sides help contain unstable items but reduce usable vertical space.
Common shelf constructions include plywood with a hardwood or edge-banded front, solid wood, and melamine or laminate over particleboard. Use a thicker bottom and reinforced front or back rails for heavy cookware. A removable tray is useful when you need to clean spills or change the storage layout.
For custom pull-out shelves, decide the tray height, lip height, bottom thickness, and slide location before ordering or building. These details affect both vertical spacing and the final shelf dimensions.
Measure the true clear opening
- Check the door swing. Open the door to its actual limit. A door may need to open beyond 90 degrees for the shelf front to pass. Record door thickness and any stop or adjacent-door interference.
- Locate hinge protrusion. Measure the hinge arm and mounting plates where they intrude into the cabinet. Check the front, middle, and rear of the opening because hinges are not always aligned with the side wall.
- Measure clear width. Measure between the nearest obstructions at the front, center, and back. Use the smallest number. On a face-frame cabinet, the frame’s inner lip may be narrower than the cabinet box and becomes the real opening unless brackets bridge it.
- Measure usable depth. Measure from the proposed slide mounting line to the rear obstruction. Include hinges, plumbing, outlets, drawer parts, and uneven back panels. Do not measure simply from the outside front to the cabinet back.
- Check vertical spacing. Measure from the shelf below to the obstruction above. Include existing shelf supports, slide hardware, tray lips, and the height of the items you will store.
Record the smallest clear width, usable depth, and usable height. If the face frame blocks direct side mounting, plan for spacers or front brackets. A spacer must be solid, level, and thick enough to bring the slide mounting surface past the frame lip.
Size custom pull-out shelves from the measured opening
Start with the slide manufacturer’s required side clearance. For a typical side-mount pair, this may be about 1/2 inch per side, but verify the specification. Undermount and bottom-mount slides use different deductions.
Shelf box width = smallest clear width − left slide clearance − right slide clearance − any bracket intrusion. Do not subtract spacer thickness unless the spacer moves the slide inward and reduces the opening.
Select a slide length that does not exceed usable depth. Build the shelf depth to the slide maker’s required dimension, allowing the specified front setback and rear clearance. Leave enough front clearance for the door, face frame, and hinge sweep when the shelf is fully extended.
For vertical sizing, subtract the slide hardware, tray lip, and operating clearance from the measured opening. Allow extra room above stored items rather than sizing the opening to the item’s exact height. Keep the shelf bottom and both slide members parallel; a small error can cause binding.
Choose sliding cabinet shelves, slides, and load capacity
Sliding cabinet shelves typically use side-mount ball-bearing slides, undermount slides, or heavy-duty bottom-mount hardware. Side-mount slides are easier to retrofit and usually expose their hardware. Undermount slides offer a cleaner appearance but require precise shelf construction and compatible dimensions.
Choose three-quarter-extension slides when rear access is acceptable. Choose full-extension slides when you need to reach the back of a deep cabinet. Check the slide’s rated load at its stated extension. The rating must cover the shelf, hardware, and stored contents together, with spare capacity for shifting loads.
Use matched slides as a pair and follow their required screw size, mounting pattern, and minimum cabinet depth. Soft-close slides can have different load limits, so do not assume their rating matches a standard slide.
Install, adjust, and test the loaded shelf
- Mark the slide height and front setback on both cabinet sides. Transfer the marks with a level so the members are at identical heights.
- Install face-frame spacers or brackets first. Fasten them securely to sound material, keeping both mounting surfaces flush and parallel.
- Attach the cabinet slide members, then check their setback from the front on both sides. Predrill where appropriate and use screws that do not penetrate the cabinet exterior or interfere with the slide.
- Attach the shelf members squarely to the shelf box. Measure diagonals or use a framing square to confirm the box is not twisted.
- Insert the shelf until both slides engage. Extend it slowly and adjust the mounting screws if it rubs, racks, or binds.
- Check front clearance with the door fully open, then close the door with the shelf fully retracted. The shelf must not strike the hinge, frame, or door.
- Load the shelf gradually and extend it fully. Check for sag, noise, tipping, loose fasteners, and smooth movement. Retract it, confirm the latch or soft-close action, and repeat the close check under load.