
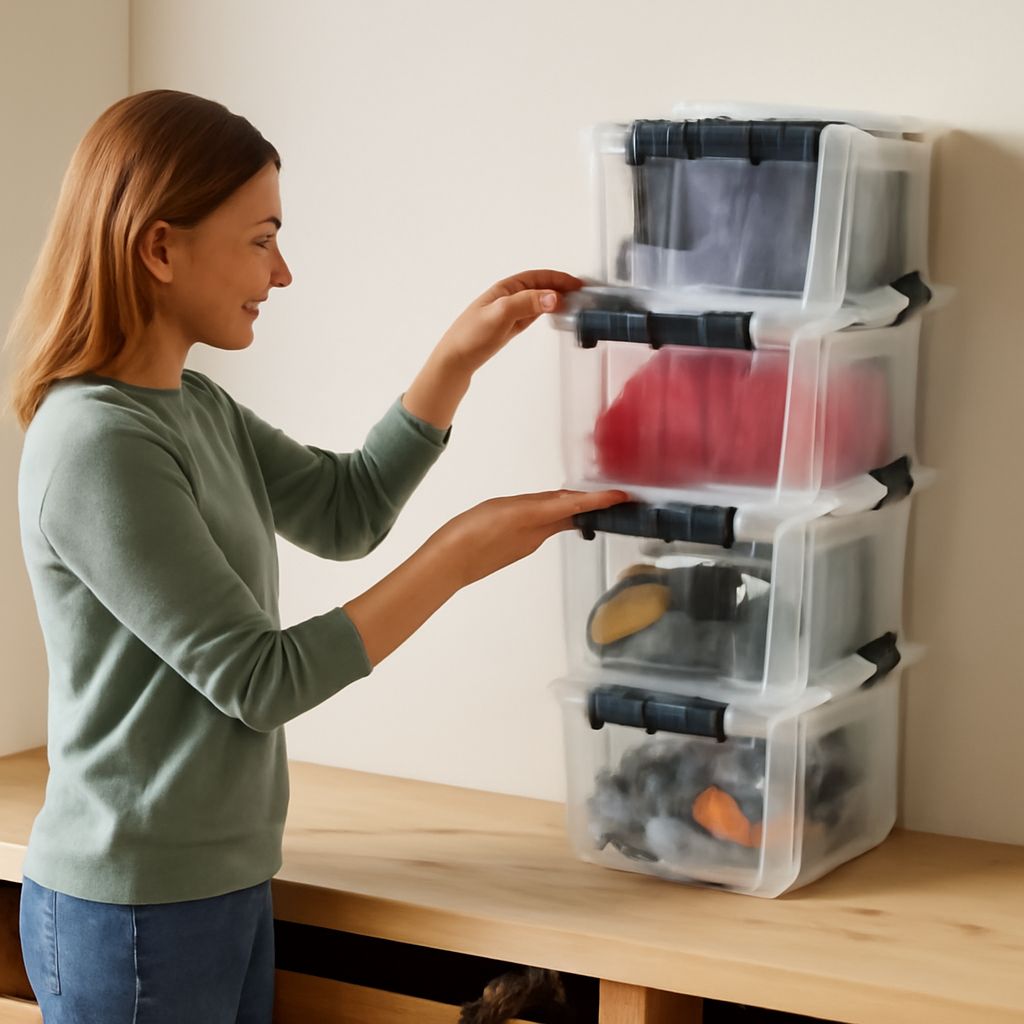
Plastic shelf bins work best when their outside dimensions, front access, and intended load match the shelving. Choose by usable shelf depth, width, and height, then compare those measurements with item dimensions, pick frequency, visibility, and the need to nest or stack.
For parts, pantry goods, crafts, garage supplies, or stockroom inventory, start with access. Frequently picked items need an open hopper or drawer. Reserve lidded totes for covered, less-accessed storage.
Plastic Shelf Bins: Compare Open-Front, Shelf, Tote, Drawer, Divided, Clear, and Stackable Bins
Each bin style solves a different access problem:
- Open-front bins: Provide fast access without removing the bin. A front lip keeps contents contained, while a hopper opening improves reach into deeper bins.
- Shelf bins: Usually have a reinforced rim and open face for organizing small parts directly on shelving.
- Totes: Offer handles and often lids for transport, dust protection, or reserve stock. They are slower for frequent picking.
- Drawer bins: Pull forward like shallow drawers, protecting small items while keeping them visible and accessible.
- Divided bins: Separate fasteners, craft components, or similar parts. Check divider slots and included inserts before buying.
- Clear bins: Show contents immediately and reduce mispicks. Opaque bins protect light-sensitive contents and create a cleaner visual system.
- Stackable bins: Use vertical space when the base and rim interlock securely. Confirm that stacking does not block the front opening.
Shelf Bins by Use: Parts, Pantry, Craft, Garage, and Stockroom
For parts storage, use divided or narrow open-front bins sized around one item family. Keep screws, fittings, and connectors visible at the point of use. Pantry bins should have smooth, cleanable interiors and enough front height to contain bags or boxes without hiding them.
Craft storage benefits from clear drawers, divider slots, and labels on the front. Garage storage usually needs heavier walls, higher load ratings, and opaque options for bulky or light-sensitive supplies. In a stockroom, standardize bin widths, use location codes, and select stackable or open-front styles according to pick frequency.
Measure Storage Bins for Shelves: Outside vs. Inside Dimensions and Fit Features
Measure the shelf’s usable opening, not its advertised size. Record clear width between uprights, usable depth from the front edge to the back obstruction, and vertical height between shelves. Leave clearance for insertion, removal, and any shelf lip.
Compare those figures with the bin’s outside dimensions. They determine whether the bin fits the shelf. The inside dimensions determine how much usable space remains for contents. Never select storage bins for shelves from stated volume alone while ignoring outside dimensions and front access.
Measure the items in their normal storage orientation. Allow room for fingers, handles, packaging, and replenishment. A tapered bin may have a generous top opening but less capacity at the base. Check the front height and hopper opening, especially when contents must be lifted out rather than pulled forward. A projecting lip can catch on shelf edges or reduce usable access.
For a row of bins, add each outside width, plus a small handling gap if the manufacturer recommends one. Plan shelf count by dividing the available shelf width by that total, then verify the remaining space. For vertical storage, check both bin height and the height needed to reach over the front edge. Confirm nesting dimensions for empty-bin storage and stacking dimensions for loaded storage.
Choose Material and Access: Clear or Opaque, Lids, Weight, Temperature, Food Contact, and Chemical Compatibility
Choose plastic by the environment and load, not appearance alone. Check the stated weight rating and keep heavy contents in reinforced bins or on lower shelves. Place dense metal parts low, even when lighter bins can stack above them.
Clear plastic improves visibility, but opaque plastic can protect contents from light and hide visual clutter. Lids help control dust and spills, though they slow picking and may require extra clearance above the bin. Confirm the operating temperature range for freezers, hot rooms, or outdoor areas.
Food contact is a distinct requirement: use bins specifically identified as suitable for food contact, and follow the maker’s cleaning instructions. General-purpose plastic is not automatically food-contact safe. Also verify chemical compatibility for oils, solvents, cleaners, acids, and other stored substances. A plastic that handles ordinary parts may soften, crack, or discolor when exposed to a particular chemical.
Label, Load, Replenish, and Clean the System
- Assign locations: Give each shelf and bin a location code, such as G-02-B03, and record it in the inventory list.
- Label the face: Put a large, readable label on the front or pull tab. Include the item name, size, variant, and replenishment information where needed.
- Set a maximum fill: Leave access space below the front lip and avoid packing contents above the safe load or stacking limit. Keep labels visible.
- Load by frequency and weight: Put high-use items between waist and shoulder height. Place heavy bins low, and keep rarely picked reserve stock higher or farther back.
- Replenish consistently: Restock from the rear or reserve location, rotate dated goods, and remove damaged packaging before it reaches the bin.
- Clean routinely: Empty bins before washing, use a cleaner compatible with the plastic, rinse when required, and dry completely. Inspect for cracks, warped rims, damaged lips, and unreadable labels.