
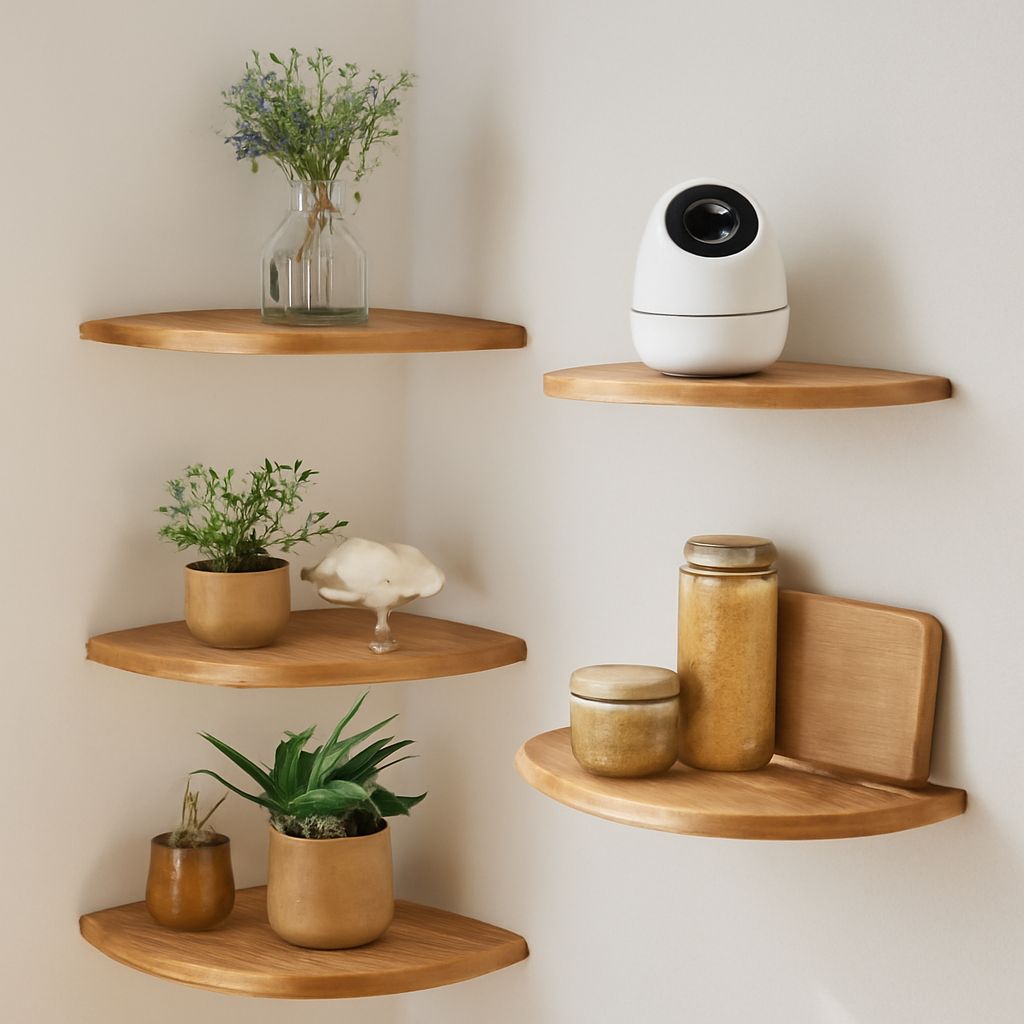
A floating corner shelf uses concealed wall support, so it looks clean and built in. A hanging corner shelf uses visible or hidden lines, rods, or rails and carries its load through different hardware. Choose between them based on shelf shape, movement, wall or ceiling structure, and the weight you expect to store.
For lightweight décor, either system can work. Books, plants, and ceramics require deeper shelves, stronger fasteners, and a clear load rating from the hardware manufacturer.
Corner shelf shapes: triangular, quarter-round, and L-shaped
Triangular shelves fit two walls with a pointed front. They use little material and suit small displays, but the front point offers limited usable depth. Measure the desired projection from the corner to the front edge.
Quarter-round shelves have a curved front and soften a sharp corner. They provide more continuous display space than a triangle, although the curved edge can be harder to cut or trim.
L-shaped shelves extend along both walls and provide the most practical surface for books or larger objects. Their inside corner must be cut accurately, especially when the walls are not square.
Choose the shelf depth first. A deeper shelf increases storage and leverage on its supports. It also projects farther into the room, making strong rear fastening and anti-tip protection more important.
Floating corner shelf: hidden wall support, brackets, edge, and finish
A floating shelf normally uses a concealed cleat, steel support plate, or pairs of metal rods fixed into the wall. The shelf slides over that support. This is a wall-to-shelf load path; it does not transfer weight to the ceiling.
Locate supports near the rear corners and add a center support on longer shelves. Fasten into studs, masonry, or another solid substrate whenever possible. Drywall anchors are suitable only for loads within their stated rating and should not support heavy books without structural backing.
Visible brackets are easier to inspect and often carry more weight. Place one near each rear corner, keeping them far enough from the edge to avoid splitting. A center bracket may be necessary on a wide shelf. Select brackets rated above the combined shelf and contents weight.
Finish the front edge with solid edging, paint, laminate, or a rounded profile. Seal unfinished wood, and check that the finish will resist moisture if the shelf will hold plants or bathroom items.
Hanging corner shelf: rails, rods, ropes, and ceiling suspension
Rails fixed to both walls can support a corner shelf while keeping the attachment visually organized. Vertical rods create a cleaner, more architectural look. Ropes add texture but need secure knots, clamps, and regular inspection for stretch or wear.
With rods or ropes, place attachment points symmetrically near the shelf’s rear corners or along its side edges. Unequal spacing can tilt the shelf or shift its center of gravity. Keep suspension lines vertical unless the hardware is specifically designed for angled loading.
Ceiling suspension is a separate load path. It transfers weight through ceiling anchors, joists, or structural framing rather than through the corner walls. Confirm the ceiling substrate before drilling: a joist or suitable structural anchor is preferable to a general-purpose hollow-ceiling fixing.
Set suspension length after deciding the shelf height and clearance below it. Use paired lines or rigid rods to reduce twisting, and add a rear wall guide, spacer, or discreet tether to limit sway. More suspension length creates more movement, particularly in a busy walkway.
Measure an out-of-square corner: template, depth, projection, and dry-fit
- Mark the intended shelf height and measure each wall from the corner to the planned projection. Record the left and right measurements separately.
- Make a full-size cardboard or thin-plywood template. Fit it into the corner, trim the edges until it sits without forcing, and mark the front edge and support locations.
- Transfer the template to the shelf material. Check depth, projection, wall clearance, and the direction of any visible grain or finished edge.
- Dry-fit the unfastened shelf and its brackets, rods, or cleat. Look for gaps, rocking, pipe or trim interference, and doors that may strike the projection.
For a quarter-round shelf, use the template to establish the curve. For an L-shaped shelf, test both inside edges independently; an out-of-square corner may require a scribe cut rather than a perfect right angle.
Hanging corner shelves: substrate, fastening, leveling, adjustment, and load checks
Before mounting, locate studs, joists, masonry, pipes, and cables. Mark every bracket or rod location from the template. Use screws and plugs suited to the substrate, and use structural blocking if the wall or ceiling cannot accept the required load directly.
- Install the cleat, brackets, wall rails, or ceiling anchors. Start every fastener carefully, then tighten it firmly without crushing drywall or deforming the hardware.
- Set the shelf in place and check it with a spirit level from front to back and side to side. Correct minor errors with rated shims or the support’s adjustment hardware, not loose scraps.
- For suspended shelves, adjust each rope, cable, or rod gradually. Measure the shelf height at both front corners and confirm that the lines remain evenly tensioned.
- Test for rocking, slipping, twisting, and excessive sway. Add a rear guide or stronger support if movement remains after adjustment.
- Apply weight in stages. Start with a small, centered load, then add items gradually while watching the fasteners, shelf edge, supports, and wall or ceiling surface for deflection or movement.
Base the expected load on the shelf material, span, depth, support spacing, and hardware rating. Keep heavy objects close to the wall or directly over brackets, and never exceed the lowest rated component in the system.