
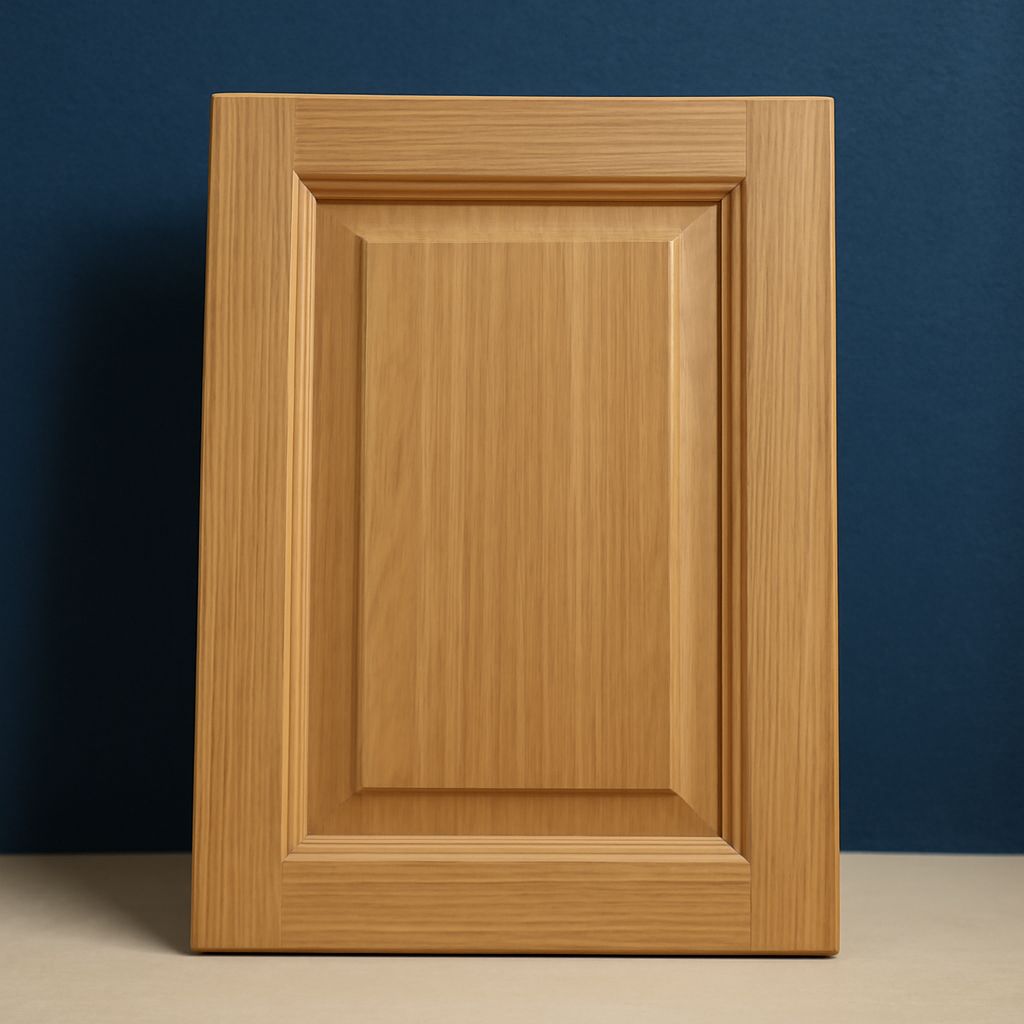
Raised-panel cabinet doors add a traditional frame-and-panel look while allowing the wood to move naturally. Choose the profile, panel construction, species, thickness, and finish state before measuring or ordering.
For replacement work, match the existing rail and stile profile, overlay or inset condition, door pairs, reveals, hinge style, and hardware placement. A small approved sample can prevent costly mismatches.
Raised-Panel Cabinet Doors: Frame, Panel, and Movement
A raised-panel cabinet door has horizontal rails and vertical stiles joined around a center panel. The inside edges are shaped so the panel appears elevated above the frame. Cope-and-stick construction cuts the rail ends and stile profiles to create a strong, aligned joint.
Rail and stile width affects both appearance and strength. Match the replacement to nearby doors when possible; common widths range from about 2 to 3 inches. The frame must also suit the door’s overall size, hinge load, and profile depth.
Panels may be solid wood or veneered. A solid panel shows natural depth and grain, but it expands and contracts across its width with seasonal humidity. A veneered panel uses a stable core with a wood face and usually moves less. Either type should fit the frame groove with room for movement.
- Do not glue a solid raised panel rigidly into its frame.
- Leave the panel floating so it can expand and contract without splitting the frame.
- Confirm that the panel material, frame profile, and door thickness match the intended finish and hardware.
Choose the Profile, Species, Grain, Thickness, and Finish State
Select a raised-panel cabinet door that matches the existing profile, including the panel bevel, inside edge, outside edge, and rail-and-stile shape. Even small profile differences become obvious across a run of cabinets.
Species changes color, hardness, grain pattern, and finishing behavior. Oak has pronounced open grain, maple is typically smoother and more uniform, and cherry darkens with age. Align the grain direction consistently, and request grain matching for adjacent doors or a door pair.
Confirm thickness before ordering. A replacement door that is too thick can interfere with neighboring doors, while a thinner door may sit incorrectly against the cabinet face. Also specify whether the doors are factory-finished or unfinished raised-panel cabinet doors. Unfinished wood requires preparation on every surface, including edges, backs, panel bevels, and frame recesses.
Request a profile and finish sample before approving a larger order. Compare it in the room’s lighting against the cabinet boxes, drawer fronts, and existing hardware. Choose pulls, knobs, and hinges after confirming the door thickness and overlay.
Measure a Raised-Panel Cabinet Door for Overlay, Inset, and Reveals
Measure the cabinet opening, not only the old door. Record width and height at several points, then use the smallest measurement if the opening is inconsistent. Check whether the door overlays the face frame or sits inside the opening.
For a single overlay door, use these calculations:
- Door width: opening width plus twice the desired side overlay.
- Door height: opening height plus the desired top and bottom overlays.
For example, a 15-inch-wide opening with a 1/2-inch overlay on each side needs a 16-inch door width. A 25-inch-high opening with a 1/2-inch top and bottom overlay needs a 26-inch door height.
For a pair of overlay doors, divide the combined opening width plus the outside overlays after allowing for the center reveal. A 1/8-inch center reveal is common, but match the surrounding cabinet layout. For inset doors, subtract the planned reveal from each edge. With a 24-inch opening and a 1/8-inch reveal on all four sides, order a 23 3/4-inch door, subject to the cabinet’s actual squareness.
Measure and mark hinge locations separately. Confirm the reveal around adjacent doors, drawer fronts, end panels, and appliances. Specify boring positions, hinge cup diameter, cup setback, and hinge overlay rather than assuming standard hardware will fit.
Prepare Unfinished Raised-Panel Cabinet Doors: Approve, Sand, and Finish
Inspect every door when it arrives. Check width, height, thickness, profile, species, grain direction, panel fit, and hinge-side orientation against the approved sample. Dry-fit pairs and arrange them in their final sequence before sanding.
- Sand faces and frames progressively, usually beginning around 120 grit and ending at the finish manufacturer’s recommended grit.
- Lightly sand the raised panel, bevel, edges, and recess without rounding crisp profile lines.
- Remove dust with a vacuum and clean, lint-free cloth.
- Apply stain, paint, or clear finish to both faces, all edges, the back, and exposed panel surfaces.
- Allow each coat to dry and cure according to the product instructions before sanding or recoating.
Test stain or paint on an offcut or approved sample first. Do not finish only the visible face; unequal moisture protection can increase movement and cause a visible color difference when the door is opened.
Drill, Hang, and Adjust: Hinge Cups, Pilots, and Alignment
Use a concealed-hinge template or manufacturer’s jig for the hinge cup. Drill to the specified diameter and depth, keeping the bit perpendicular so it does not break through the door face. Maintain the required cup setback from the door edge.
Mark handle or knob locations from a consistent template. Drill cleanly from the finished face when possible, and use a backer board to reduce breakout. Drill pilot holes for screws, sizing them to the screw core and avoiding excessive depth.
Install hinges, mount the doors, and tighten screws without stripping the cabinet material. Adjust in this order: height, side-to-side position, then depth. Set even reveals around the door and a consistent center gap on pairs. Open and close each door several times, check that it clears neighboring hardware, and retighten mounting screws after final alignment.