
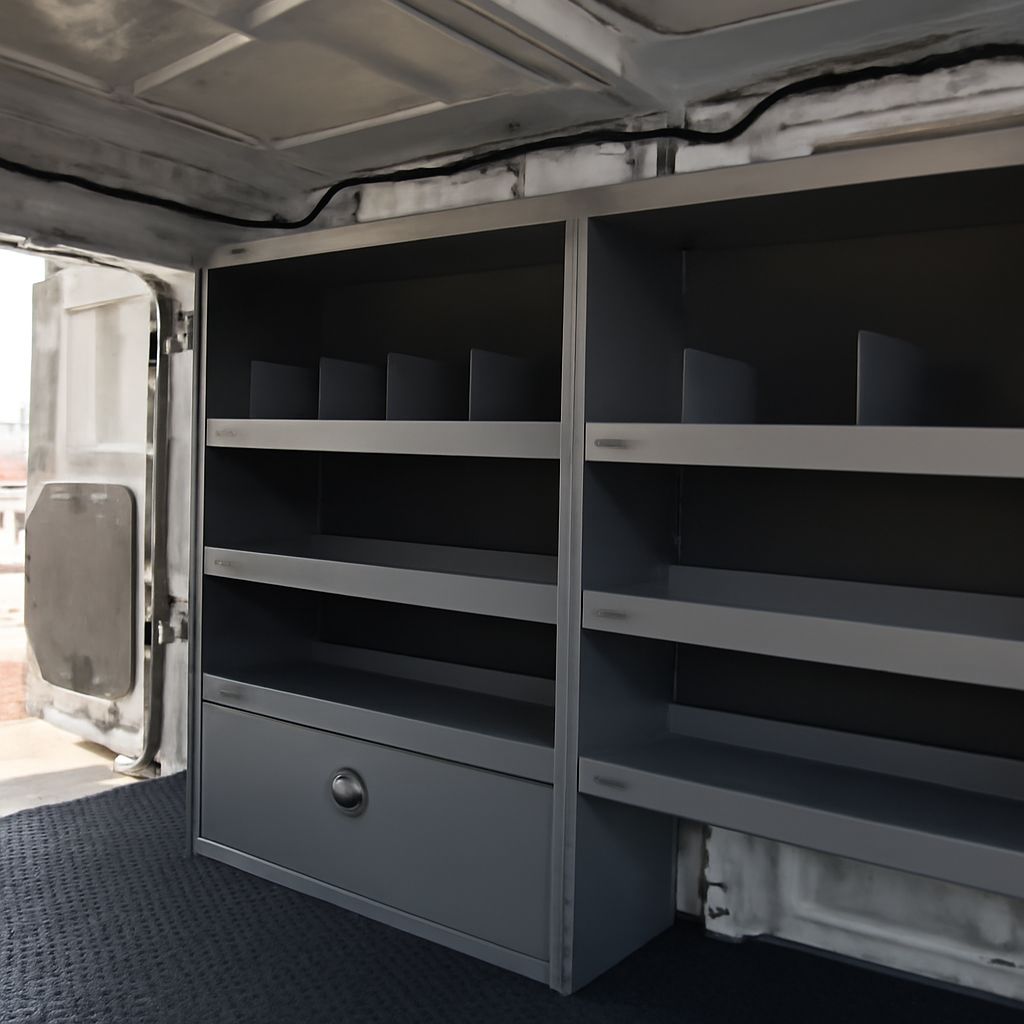
Cargo van shelving should follow your job workflow, not simply fill every available wall. Start by listing the tools, parts, consumables, and long materials you carry, then match the layout to the vehicle’s payload, dimensions, and structural mounting points.
The right work van shelving keeps frequent-use items near the doors, stores heavy equipment low, and prevents movement while driving. A useful plan also leaves a safe aisle and makes inventory resets quick.
Start cargo van shelving with workflow and inventory
Record what goes into the van for a typical day, including backup stock. Group items by task rather than by shape alone. For example, an electrician may need a circuit-testing kit, hand tools, fittings, cable, and protective equipment in one workflow.
- List every tool, case, spare part, consumable, and piece of personal protective equipment.
- Mark each item’s dimensions, weight, access frequency, and preferred storage method.
- Separate daily-use items from replenishment stock and emergency equipment.
- Identify ladders, conduit, pipe, trim, sheet goods, or other long stock that needs dedicated support.
Place drills, meters, fasteners, and common parts near the rear or side doors. Put heavier cases and machines on low shelves or the floor. Keep an aisle wide enough to remove a case without unloading other equipment. Reserve clear space around the partition and door swings.
This inventory becomes the layout brief. It also exposes unnecessary weight, duplicated tools, and items that need drawers, bins, cases, or dedicated retention.
Measure the van interior, payload, balance, and mounting points
Before selecting van shelves, record the vehicle body style, roof height, interior length, wall width, and usable height. Confirm measurements for the specific wheelbase and roof configuration; similar models can have different ribs, door openings, and wheel-well positions.
- Measure the floor between the wheel wells, the height over each wheel well, and the width at shelf height.
- Record rear and side door openings, door hinges, latches, steps, and the partition position.
- Map wall ribs, factory holes, reinforced sections, floor channels, and other structural mounting points.
- Check the floor surface, roof clearance, interior lighting, and any sensors or wiring that shelving could obstruct.
Read the vehicle’s payload rating and account for passengers, fuel, shelving, tools, stock, and accessories. Then estimate each shelf section’s loaded weight. Keep dense loads low, distribute them across both sides, and avoid placing most of the weight behind one axle or on one side.
Compare the proposed load with axle limits, not only the total payload. A layout that fits physically can still create poor side-to-side balance or excessive rear loading. Leave clearance for the aisle, partition, doors, and any planned ladder or long-stock carrier.
Choose work van shelving, materials, bins, drawers, cases, and long stock
Steel shelving is strong and economical for heavy tools, but it adds weight and may need corrosion protection. Aluminum reduces vehicle weight and resists corrosion, although it can cost more. Composite systems are light and quiet, while wood is easy to customize but needs sealing and careful fastening.
Modular systems suit changing inventories because shelves, dividers, drawers, and accessories can be rearranged. Package systems can install faster and provide a coordinated fit for common vehicle models. Choose based on loaded capacity, usable dimensions, noise, serviceability, and the quality of the mounting hardware—not appearance alone.
- Use open shelves for cases and items that need quick visual access.
- Use labeled bins for small parts, with lips or doors that prevent them opening in transit.
- Use drawers for dense hand tools and parts, but check their fully extended weight rating.
- Use cases for calibrated, fragile, or weather-sensitive equipment.
- Use vertical tubes, racks, or a partition-mounted carrier for ladders and long stock.
Plan the shelf depth around the wheel wells and door openings. Shallow shelves can preserve an aisle, while deeper shelves provide capacity but may hide items. Add dividers, non-slip liners, and task-based labels. Leave room for lighting so labels and drawer contents remain visible in low light.
Mount, label, and secure van shelves for the road
Mount every section to compatible structural points using the manufacturer’s specified fasteners. Do not rely on the thin wall skin, unreinforced trim, or improvised screws. Check that fasteners do not contact wiring, fuel lines, airbags, or the vehicle exterior.
Follow the system’s load ratings after installation. Secure shelves to the floor and ribs where designed, tighten hardware to the stated specification, and inspect the assembly after the first few trips. Add tie-downs for cases, cylinders, long stock, and anything that could become a projectile during sudden braking.
- Keep heavy items low and place frequently used items near the appropriate door.
- Use retention bars, straps, latches, or closed bins where braking could eject contents.
- Test doors, the partition, aisle, lighting, and seat access through their full movement.
- Drive over representative road surfaces and listen for rattles, shifting, or loose dividers.
- Recheck fasteners, shelf deflection, labels, and tie-down tension after loading.
Label each bin, drawer, case, and shelf by task or part number. At the end of every job, return items to assigned positions and record missing or depleted stock. That inventory-reset check keeps the layout reliable instead of allowing small changes to create unsafe weight or access problems.