
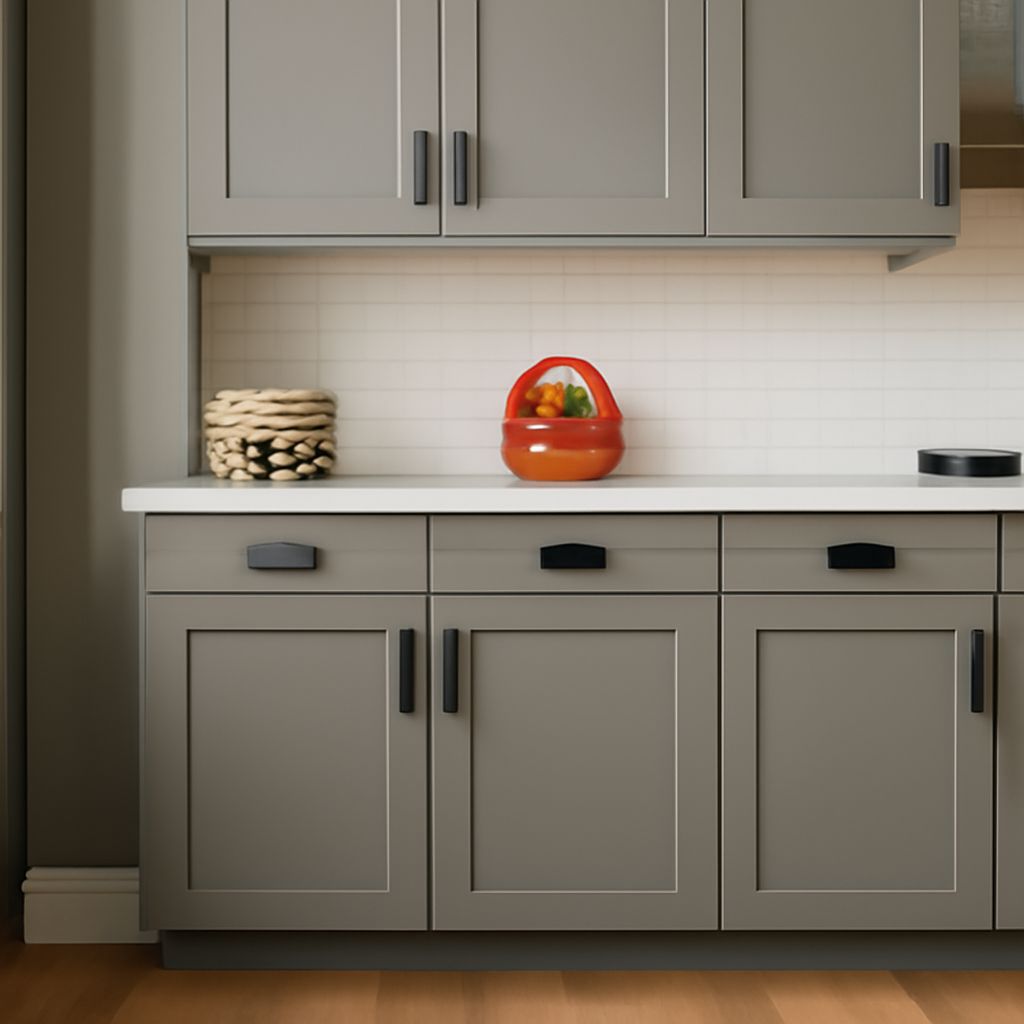
Three-inch drawer pulls usually refer to the 3-inch distance between screw-hole centers, not the handle’s full length. In metric listings, the same nominal size may appear as 76 mm; 3 inches equals 76.2 mm, so verify the maker’s stated center-to-center spacing before ordering.
For a replacement, measure the existing holes first. For a new installation, choose the pull by hole spacing, then check its overall dimensions, mounting hardware, and drawer-front thickness. This prevents a handle that fits the holes but collides with an edge or leaves old marks exposed.
What Three-Inch Drawer Pulls Measure: 3 Inches Center to Center
The mounting measurement is center to center (CTC): measure from the center of one screw hole to the center of the other. A nominal 3-inch pull is generally listed as 76 mm or 76.2 mm CTC. These measurements describe the hole spacing, not the pull’s complete length.
A bar can have 3-inch spacing and still measure 4, 4.5, or more inches overall. The same convention applies to three-inch cabinet pulls. If a product listing gives only overall length, confirm the CTC measurement before buying.
Measure Existing Holes or Plan New Drilling
Use the replacement path when the existing holes are sound:
- Remove one old pull and clean the area around the holes.
- Measure from hole center to hole center with a ruler or caliper. Do not measure from the outside edges of the holes.
- Check the hole diameter so the new screws and posts can pass through it.
- Measure the drawer-front thickness, including any separate decorative front.
- Check whether the new backplate footprint covers old scratches, dents, or unfinished marks.
If the centers measure about 3 inches or 76 mm, a nominal replacement should fit. Small differences can prevent the screws from passing through cleanly, so use the manufacturer’s stated dimension rather than relying on the product name alone.
For a new installation, mark the drawer’s horizontal centerline and position the pull at the desired height. A drilling template keeps both holes aligned and makes repeated installations faster. Secure the template, mark both centers, and confirm that the placement clears drawer edges, neighboring doors, and interior components before drilling.
Check Overall Length, Projection, Post Diameter, Grip, and Backplate
After confirming CTC spacing, compare the pull’s complete fit:
- Overall length: the end-to-end measurement of the pull. It affects appearance and clearance, but it does not replace CTC spacing.
- Projection: how far the pull extends from the cabinet or drawer face. More projection can improve access but may catch on clothing or interfere with adjacent fronts.
- Post diameter: the width of each mounting post or collar. It must cover the hole cleanly without requiring an oversized opening.
- Grip: the usable space between the handle and the drawer face. A narrow grip may be uncomfortable, particularly on heavy drawers.
- Backplate footprint: the plate’s width and height where it contacts the drawer. Choose one large enough to hide existing marks and sit flat.
Choose Three-Inch Cabinet Pulls by Style and Finish
Choose the style according to the room and the way the drawer is used. Slim bar pulls suit modern flat-front cabinets, while cup pulls provide a deeper grip on drawers. T-shaped or gently curved profiles can add more finger clearance without changing the mounting spacing.
Finish affects appearance and maintenance, not hole fit. Match visible hardware such as hinges and faucets when a coordinated look matters. For frequently handled drawers, inspect the finish description and choose a shape that does not have sharp edges or an uncomfortable seam.
Match Screws and Install 3-Inch Drawer Pulls
Most pulls use machine screws. Match both the thread type and length: common options include U.S. 8-32 screws and metric M4 screws. Do not force a screw that feels tight or cross-threaded.
Select screw length from the drawer-front thickness, the pull’s mounting depth, and the amount of thread engagement required by the pull. The screw must pass through the drawer and engage fully without bottoming out inside the post. Supplied screws may include multiple lengths; test the fit by hand before tightening.
- Place the pull over the existing holes, or position the secured drilling template on a new drawer.
- Insert both screws loosely so the pull can settle flat.
- Check that the backplate or posts contact the drawer evenly and that the grip is level.
- Tighten the screws alternately until secure. Stop when the pull is firm; excessive force can crush the drawer face or damage the finish.
- Open and close the drawer several times. Recheck alignment, edge clearance, projection, and screw tightness.
A successful installation has matching hole centers, a flat backplate, full screw engagement, and no movement when the pull is used. If the pull rocks, the screws bottom out, or old marks remain visible, stop and correct the hardware, spacing, or backplate before installing the remaining pulls.