
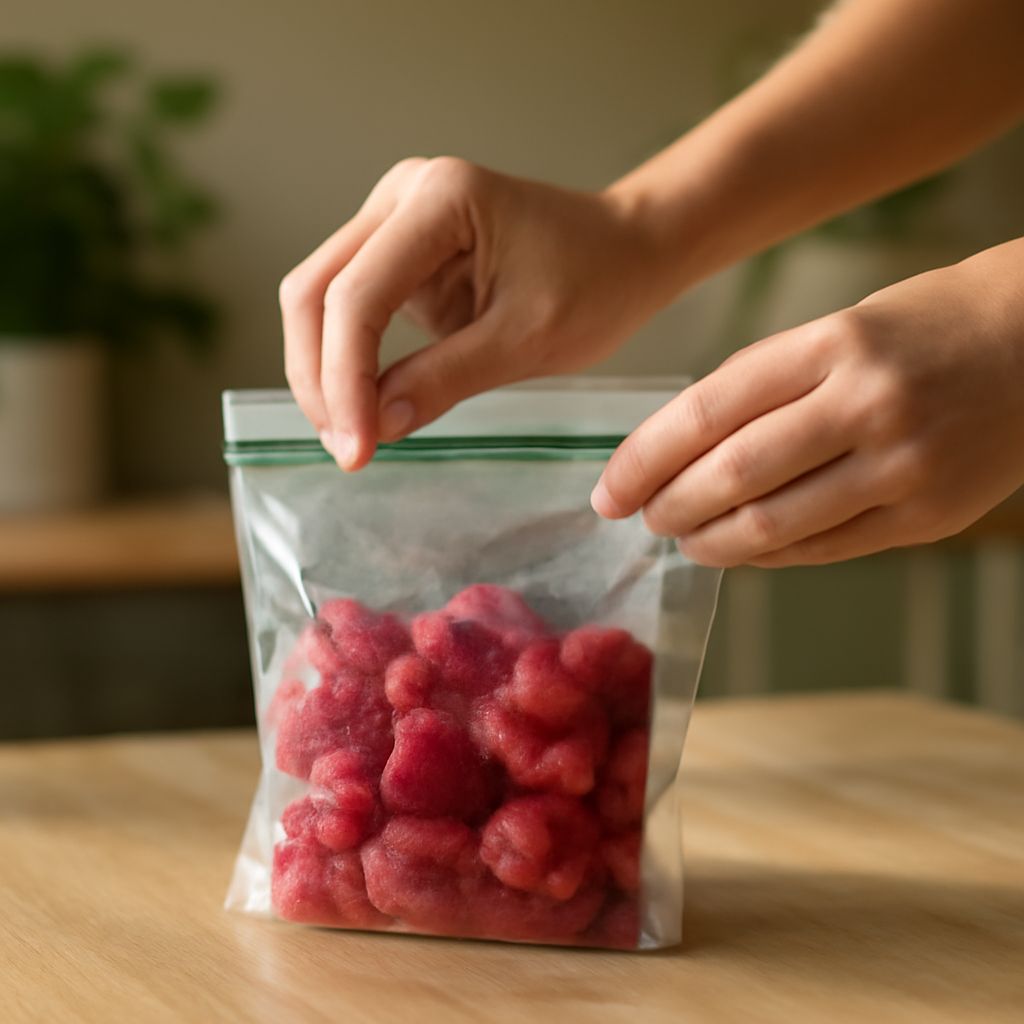
The right vacuum sealer bags depend first on your machine. External-suction sealers need embossed channel bags, while chamber sealers generally use smooth pouches made for chamber vacuum systems. Match the bag’s material, width, and seal area to the equipment before choosing a size.
Use bags labeled for food contact and vacuum sealing. Then select a format that fits the food, leaves enough headspace, and creates a clean, strong seal.
Vacuum Sealer Bags: Match External-Suction Embossed Bags or Smooth Chamber Pouches to Your Machine
External-suction, or edge-seal, machines remove air through channels in the bag’s textured surface. Buy embossed bags or rolls specifically rated for external-suction sealers. Place the textured side as your machine’s manual directs, commonly toward the vacuum channel, so air can move through the embossing.
Chamber sealers evacuate air from the entire chamber, so they typically use smooth chamber pouches. Smooth pouches are not universally compatible with external-suction machines because they lack the channels needed for those sealers to draw air from the bag. Confirm the machine and bag system together, especially when switching brands.
Choose Machine Width, Roll or Precut Format, and Thickness for Vacuum-Seal Food Bags
Check the sealer’s maximum bag width before buying. The bag must fit inside the seal bar with enough room for the machine to close evenly. A narrower bag is usually acceptable; a wider one may not seal or vacuum correctly.
- Rolls: Cut a custom length for irregular foods, large portions, or multiple items. They require a bottom seal before filling.
- Precut bags: Save time and provide consistent sizes for single portions, lunches, meat cuts, or small leftovers.
- Thickness: Choose a heavier bag for bones, shells, hard edges, or long freezer storage. Standard thickness suits soft foods and dry goods when the bag will not be handled roughly.
Size each bag around the portion, not the entire package. Leave room for air to move around the food and at least 3 inches of open material above it. That headspace gives the machine a clean sealing zone and makes later resealing possible.
Cut, Bottom-Seal, Fill, and Vacuum With Headspace and Clean Edges
- For a roll, cut a straight section several inches longer than the food. Seal one open end before filling.
- Place food in a single, reasonably flat layer. Keep crumbs, oil, and liquid away from the top sealing area.
- Wipe the inside and outside of the open edge if food or moisture reaches it. A dirty seal area can create a channel leak.
- Position the opening squarely in the vacuum chamber or seal channel. Keep the bag smooth, without folds crossing the seal bar.
- Start the vacuum cycle and watch moisture. Stop or use the machine’s moist setting if liquid begins moving toward the seal.
- Inspect the finished seal. It should be continuous, flat, and firmly bonded across the full width.
Do not overfill the bag. Bulky contents can prevent the top from lying flat, while trapped folds may form air paths through the seal.
Handle Moisture and Sharp Foods, Then Decide on a Double Seal
For soups, marinades, and juicy foods, chill the contents thoroughly or freeze them until firm before vacuuming. You can also use a moist-food setting if available. A folded paper towel placed above the food and below the seal may catch small amounts of liquid, but it cannot replace a clean sealing area.
Protect sharp bones, shells, and pointed corners with freezer paper or a small wrap before bagging. Keep those edges away from the film. If a puncture appears, transfer the food to a new bag rather than relying on a second seal.
Use a double seal for bone-in cuts, foods stored for extended periods, or packages that will be moved frequently. Make two straight, parallel seals with a small gap between them. A second seal improves security, but it will not correct debris, wrinkles, an open channel, or a hole.
Label, Freeze Flat, Check for Leaks or Channels, and Reuse Vacuum Saver Bags
Write the contents and date on every package before freezing or storing it. For portions, add the quantity or serving size. Lay flexible packages flat while freezing, then stack them once solid. Flat-freezing speeds organization, saves space, and reduces sharp bends that can stress the seal.
Before storage, gently press the package and inspect the entire seal. Look for gaps, wrinkles, or channels that run through the sealed area. If air returns, the bag feels loose, or the seal opens, cut above the failed section and reseal with a clean edge. Transfer the food if the film is punctured.
Reuse vacuum saver bags only when the manufacturer permits washing and reuse. Bags that held dry foods or clean produce may be washed, rinsed, and dried completely. Do not reuse bags that held raw meat, fish, eggs, greasy foods, or foods likely to leave bacteria or difficult-to-clean residue.