
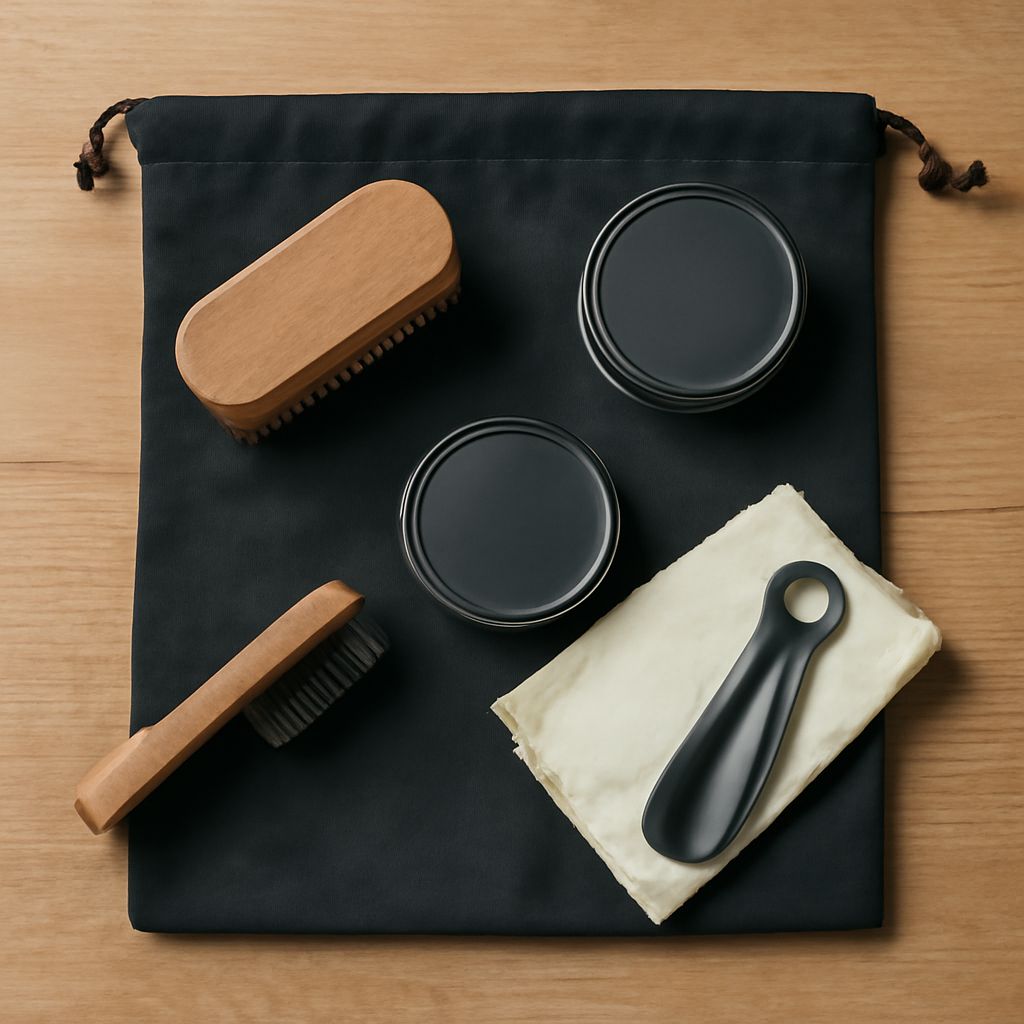
A shoe shine kit should match the leather, color, finish, and shine you want. For most smooth leather shoes, a useful set includes horsehair brushes, an applicator, cloths, conditioner, cream polish, wax polish, and an edge tool.
Choose a compact travel set for occasional touch-ups, or build a larger home kit for frequent polishing and several shoe colors. The sequence stays the same: remove dust, clean, condition, polish, dry, buff, and protect the edges.
Essential Shoe Shine Kit Components: Horsehair Brushes, Applicators, Cloths, and Optional Shoe Trees
Start with tools that perform separate jobs. Keeping cleaning and polishing tools distinct prevents dirt and color transfer.
- Horsehair cleaning brush: Use firm, flexible bristles to remove dust from the uppers, welts, seams, and soles.
- Horsehair buff brush: Choose a softer brush for working polish to a smooth, even shine.
- Applicator: A small dauber applies conditioner and cream polish precisely, especially around stitching.
- Cloths: Keep one lint-free cloth for cleaning and applying products, plus a fresh cloth for final buffing.
- Polish: Include cream and wax formulas. Cream restores color and flexibility; wax adds protection and a sharper shine.
- Conditioner: Use it when the leather feels dry or looks dull before polishing.
- Welt or edge tool: A narrow brush or edge applicator reaches the welt, heel edge, and sole border.
- Optional support: Shoe trees hold the shape and make creases easier to reach while the shoes dry.
- Accessories: Gloves protect your hands, while a case keeps products contained during travel or storage.
Use separate applicators and cloths for black, brown, burgundy, and neutral products. Marking each tool by color makes cross-color contamination less likely.
Identify Smooth Leather Before Choosing a Shoe Polishing Kit
This routine is for finished, smooth leather with a relatively even surface. Do not use it on suede, nubuck, patent leather, fabric, or an unknown coated material. Those surfaces may stain, lose their texture, or react badly to wax and conditioner.
Check the care label or manufacturer’s instructions first. If the surface is smooth and absorbent rather than fuzzy, plastic-like, or heavily coated, select a shoe polishing kit for finished leather. When the material remains uncertain, stop and identify it before applying product.
Choose Conditioner, Cream, Wax, and Neutral or Color Polish for the Finish and Shine
Match the product to the shoe’s condition and color. Conditioner is useful for dry leather, but too much can soften the structure or prevent polish from adhering. Apply a small amount and allow it to absorb before polishing.
- Color cream polish: Refreshes faded pigment and gives a soft, natural sheen. Choose a close match rather than a dramatically darker shade.
- Neutral cream polish: Adds light conditioning and shine without changing the color. It is useful for unusual shades or mixed-color footwear.
- Color wax polish: Builds richer color and a firmer protective layer, particularly on the toe and heel.
- Neutral wax polish: Adds shine without depositing visible pigment. It works well as a final layer over colored cream.
Use cream for routine maintenance and wax when you want more gloss or added protection. A high toe shine requires several very thin wax layers, not one heavy application.
Complete Shoe-Shining Sequence: Laces, Testing, Thin Coats, Drying, Buffing, Toe Shine, and Edges
- Prepare the shoes. Remove the laces and insert shoe trees if available. Removing laces exposes the tongue and prevents uneven polish around the eyelets.
- Brush off dust. Work the horsehair cleaning brush over the entire shoe, including the welt, seams, tongue, and heel. Dust left behind can scratch the finish.
- Clean gently. Wipe surface grime with a slightly damp cloth. Do not soak the leather. Let it become nearly dry before continuing.
- Test the product. Dab conditioner or polish on a hidden area, such as beneath the tongue. Wait briefly and check for discoloration, tackiness, or an uneven finish.
- Condition sparingly. Apply a thin, even layer with an applicator or cloth. Allow it to absorb according to the product directions.
- Apply cream polish. Use small circular motions and light pressure. Cover the uppers, avoiding thick buildup in creases and perforations.
- Let it dry. Give the cream time to set before adding wax. A rushed second layer can smear the color and reduce the final shine.
- Add wax. Apply a very thin coat to the toe, heel, and other areas needing extra gloss. Keep flexible vamp areas lightly coated.
- Buff. Use the clean horsehair buff brush first, then a soft cloth. Short, quick strokes should remove haze and reveal an even sheen.
- Build a toe shine. Add tiny amounts of wax with a barely damp cloth, allowing each layer to haze before buffing. Stop when the toe reflects light evenly without looking cloudy or cracked.
- Finish the edges. Apply suitable edge dressing or polish with the welt or edge tool. Keep it off the upper leather, then wipe away any stray product.
- Replace the laces. Once the shoes are fully dry, lace them and inspect the seams, heel, and toe for missed residue.
Compare Shoe Shine Kits by Portability, Then Clean and Store Them
A starter kit is best for one or two pairs at home. Look for full-size conditioner, cream and wax polish, two horsehair brushes, applicators, cloths, and an edge tool. A travel set should be smaller, securely closed, and limited to a neutral polish, one color you use often, a compact brush, applicator, and cloth.
After use, brush loose polish from the bristles and wash reusable cloths separately by color. Wipe product from the case and close every tin or bottle tightly. Store the kit upright in a cool, dry place, with black, brown, and neutral products separated. Keep brushes dry and let shoes finish drying before returning them to storage.