
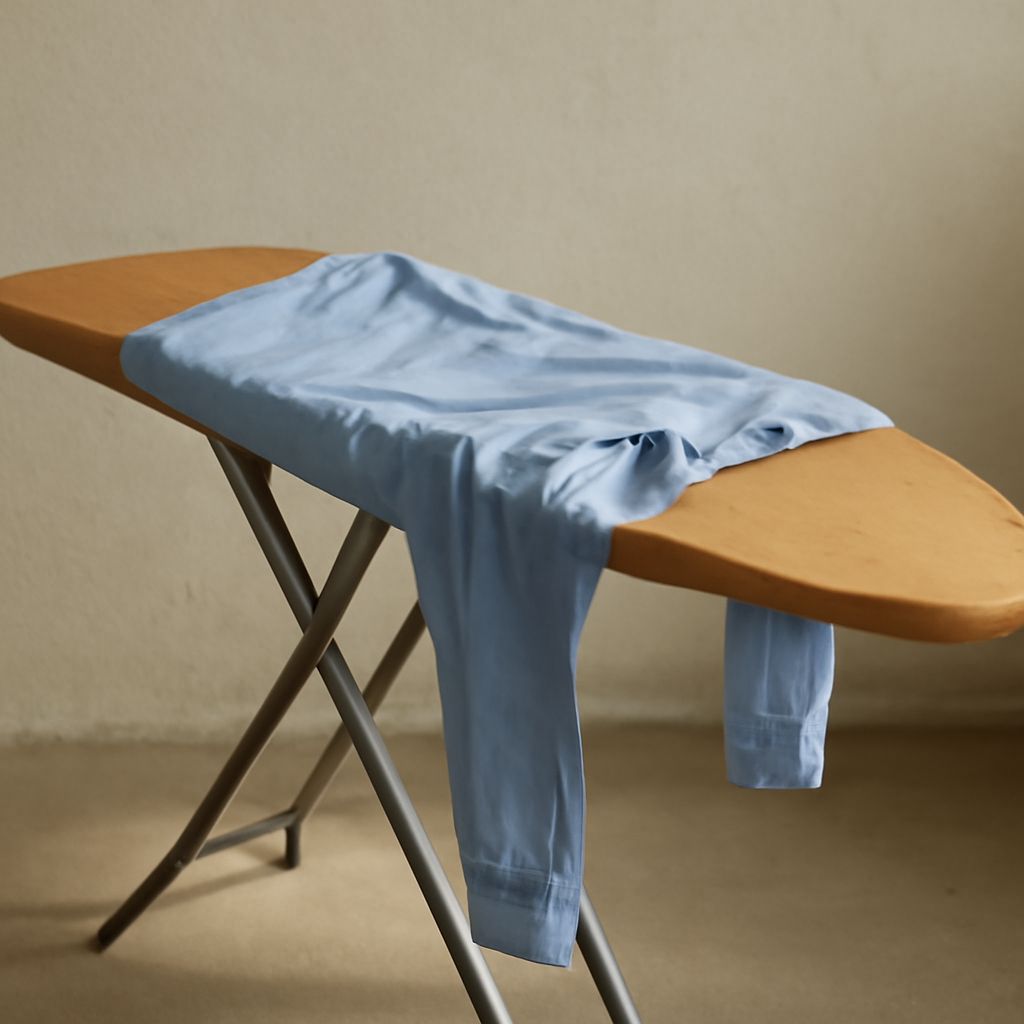
To learn how to shrink polyester, use controlled heat rather than a maximum-temperature wash or dryer cycle. Polyester is heat-sensitive but usually resists predictable, cotton-like shrinkage. A permitted warm wash followed by one monitored drying cycle may reduce dimensions slightly, but it can also cause shine, warping, or puckering.
Measure the garment first, test an inconspicuous area, and let it cool before judging the result. Stop after one cycle if the fit improves or any damage cue appears.
How to Shrink Polyester: Start With a Controlled Heat Test
Begin with a spare swatch, inside hem, or hidden seam allowance when possible. Dampen a small area evenly, then use a hair dryer on medium heat from about 15 cm away. Keep the airflow moving for two minutes, let the fabric cool completely, and inspect it.
- Proceed carefully if the fabric remains smooth, flexible, and unchanged in color.
- Stop immediately if it becomes shiny, stiff, wavy, darker, or visibly distorted.
- Do not use the test area if it contains a print, coating, elastic, zipper, or decorative finish.
This test cannot predict the exact final size. It only reveals whether the garment tolerates localized heat without obvious damage.
Check Fiber Content, Care Labels, Heat Setting, and Construction
Read the fiber content and care label before choosing a method. Heat-set polyester has been stabilized during manufacturing, so a 100% polyester garment may barely change. Knits, fleece, and textured fabrics can respond differently from tightly woven polyester.
Blends are less predictable. Cotton, rayon, wool, or other fibers may shrink while the polyester component does not. That can create twisting, rippling, or uneven dimensions. Therefore, 100% polyester is not automatically easier to shrink; its construction and finish matter more than the label percentage alone.
Follow the lowest-risk heat setting allowed by the care label. If the label says “do not tumble dry,” avoid a whole-garment dryer attempt. A low-temperature iron setting, steady movement, and a pressing cloth are safer for finishing, but direct ironing is not a reliable shrinking method.
Check elastic waistbands, bonded seams, heat-transfer prints, sequins, coatings, and rubberized details. These can harden, melt, peel, or lose their shape before the main fabric changes.
How to Shrink 100% Polyester With One Whole-Garment Cycle
Use this method only when the garment permits washing and tumble-drying. The goal is a single moderate heat cycle, not aggressive heat exposure.
- Record the dry garment’s key measurements: overall length, chest or hip width, sleeve or inseam length, and waistband width. Measure between matching seam points.
- Wash the garment according to its label using warm water if permitted. Avoid hot water unless the care instructions specifically allow it.
- Place it in the dryer on medium heat, or the warmest setting permitted by the label. Check it after 10 minutes rather than leaving it unattended.
- Remove the garment, lay it flat in its natural shape, and allow it to cool for at least 15 minutes.
- Measure it again and compare every dimension with the baseline. Look for twisting, shine, puckered seams, color change, or a distorted neckline.
If there is no change and the garment still looks healthy, one additional short interval may be reasonable. Use another five to 10 minutes, then cool and measure again. Do not keep repeating cycles to force a smaller result; polyester may distort without producing useful size reduction.
Shrink Polyester With a Targeted Heat Adjustment
Targeted heat is more suitable for a slightly long hem, sleeve, or narrow panel than for reducing an entire size. Turn the garment inside out, dampen the target evenly, and warm it with a moving hair dryer on medium heat. Work in two-minute intervals, keeping the dryer about 15 cm away.
For a hem or sleeve, move around the full circumference so one section does not tighten more than another. Keep heat away from elastic, prints, coated fabric, and decorative details. Do not heat only one side of a seam, since that can cause puckering or a skewed edge.
Lay the garment flat while it cools. Check the measurement after each interval. A targeted adjustment can create an uneven dimension more easily than a whole-garment cycle, so stop as soon as the fit improves.
Measure Baseline Fit, Cool Fully, and Stop at Damage Cues
Always judge the result when the fabric is completely cool and dry. Warm polyester can temporarily relax, making a garment appear smaller or larger than its finished measurement.
- Stop for a glossy or shiny patch, especially on dark fabric.
- Stop if the material feels hard, brittle, sticky, or unusually stiff.
- Stop for warping, rippling, puckering, twisted seams, or uneven hems.
- Stop if the color changes or a print begins to lift, crack, or distort.
- Stop if one dimension changes while the matching side remains unchanged.
If the garment still does not fit after one controlled attempt, further heat is unlikely to provide a dependable result. Altering the seams is usually more precise than continuing to heat polyester.