
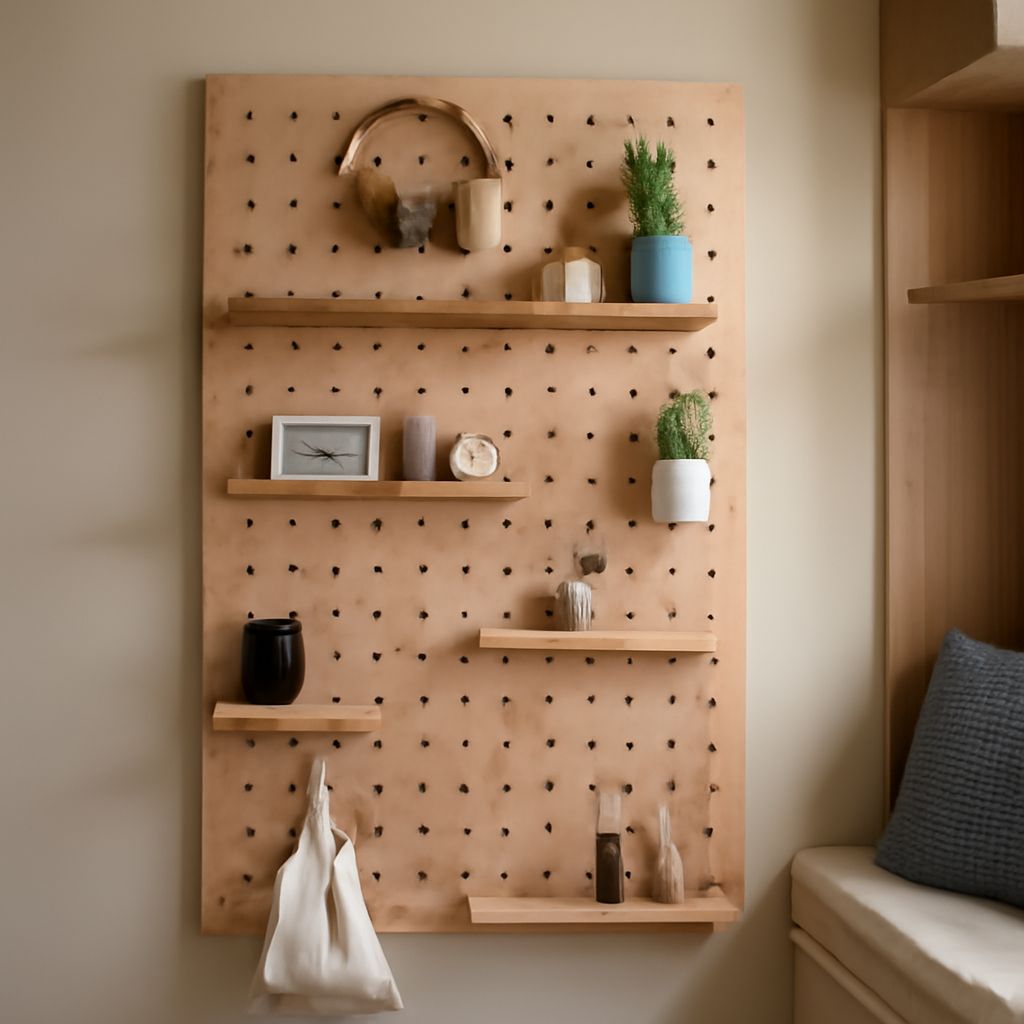
A pegboard shelf works safely only when the panel, spacers, brackets, shelf board, and wall fasteners match. Before buying, measure the hole diameter, hole spacing, panel thickness, standoff gap, and available wall support.
Then choose a shelf format for the load and reach you need. A ready-made unit is simplest, while a separate board and bracket system offers more flexibility. Baskets and trays suit smaller items, but every option still depends on correctly fitted hardware and a securely fastened panel.
Pegboard Shelf Compatibility: Hole Diameter, Spacing, and Panel Support
Start with the panel, not the accessory. Measure one hole across its opening and measure from the center of one hole to the center of the next. Many hardboard panels use 1/4-inch holes on 1-inch centers, but other patterns are common. Metal panels may use round holes, square holes, slots, or a proprietary spacing system.
Hooks and brackets must match both dimensions. A hook with the right diameter can still miss the pattern if its mounting tabs are spaced differently. Some accessories are made for a specific manufacturer’s panel, so check the stated hole size and center spacing before ordering. A peg board shelf with mismatched tabs may sit loosely, refuse to insert, or damage the hole edge.
Panel material also changes the installation requirements:
- Hardboard: Affordable and easy to cut, but it can flex, swell, or crush around fasteners when heavily loaded.
- Metal: More resistant to wear and bending at the holes, but it still transfers all shelf forces to its screws, spacers, and wall structure.
- Composite or proprietary panels: Follow the maker’s hardware and spacing instructions rather than assuming standard pegboard fittings.
Measure the standoff gap behind the panel. Accessories need enough clearance for their upper and lower tabs to pass through the holes and lock against the panel. The gap also keeps a shelf bracket from pressing the panel directly against the wall. If the panel bows between fasteners, the accessory may disengage even when the hole pattern is correct.
Choose Pegboard Shelves, Baskets, Trays, or Brackets
Choose the format according to item size, access frequency, and how much the load projects from the wall. Ready-made pegboard shelves usually combine a shelf board with matched brackets. They are quick to install and often include a front lip or an anti-lift tab. They are a good choice when the panel manufacturer specifies the compatible shelf.
A separate board with pegboard brackets provides more control over width, material, and depth. Use a board that is straight and strong enough for the intended items, then use brackets designed for its thickness. This option is useful for tools, containers, or display items that need a custom span, but it requires careful bracket spacing and edge support.
- Baskets: Best for soft goods, packaged supplies, and items that need containment. Their sides reduce roll-off, but deep baskets can move the center of gravity away from the panel.
- Small trays: Useful for screws, craft supplies, cables, and other light items. A raised rim helps prevent spills, but trays should not become catchalls for dense metal parts.
- Shallow shelves: Keep frequently used items visible and reduce forward leverage. They suit light tools, small boxes, and display pieces.
- Deep shelves: Hold larger containers but create more tipping force. Use stronger, closely spaced supports and keep heavy items at the rear.
For most wall organizers, a depth around 4 to 8 inches is easier to stabilize than a deeper platform. Select more depth only when the panel, brackets, and wall fastening are designed for it. Pegboard shelving should be treated as one assembly, not as a shelf board with an unrelated wall accessory.
Match Shelf Depth, Hook Gauge, and Bracket Spacing
Hook gauge describes the thickness of the hook wire or metal. A heavier-gauge hook is generally thicker, but gauge numbers are not interchangeable between every product type. Confirm the actual wire diameter, tab shape, and stated panel compatibility. The hook must enter without forcing and remain fully seated without excessive side-to-side movement.
Use hooks for hanging items and brackets for supporting shelves. Do not substitute a light hanging hook for a shelf bracket simply because both fit the holes. Shelf brackets resist downward force and forward leverage; their shape, locking tabs, and contact with the board matter.
Bracket spacing should shrink as shelf depth, width, or load increases. As a starting point, brackets around 12 to 16 inches apart may suit a light, shallow shelf, but the panel and board determine the actual limit. Place supports near the ends and add a center bracket when the board can flex. A wide shelf with only two end brackets can sag or twist even when each bracket is individually strong.
Check four measurements before assembly:
- Confirm the shelf board fits the bracket channel and does not exceed its supported width.
- Measure the bracket depth against the shelf depth so the front edge does not overhang excessively.
- Check that the bracket tabs align with the panel’s holes at the selected height.
- Verify that a front lip, retaining bar, or anti-lift feature will face outward and remain accessible.
Keep the shelf as close to the panel as the bracket design allows. Moving the load forward increases leverage on the tabs, panel, spacers, and wall fasteners.
Install Pegboard Shelving with Spacers and Wall Fasteners
Install the panel securely before fitting any shelf accessories. Locate studs where possible. For masonry or other solid walls, select anchors rated for the wall material. Do not rely on drywall alone for a shelf carrying dense or shifting items.
- Plan the layout. Mark the shelf height, panel edges, stud positions, and the location of each spacer and fastener.
- Fit the standoffs. Use spacers that create the clearance required by the brackets. Keep the gap consistent so the panel remains flat.
- Fasten the panel. Drive screws through the panel and spacers into suitable wall structure. Use enough fastening points to prevent flexing, especially around shelf locations and panel edges.
- Check the panel. Place a level across the top and sides. Correct the panel before adding brackets; accessories cannot reliably fix a crooked or loose panel.
- Insert each bracket. Angle the tabs into the selected holes, then rotate or press the bracket until every tab is fully through the panel.
- Engage the lock. Push down, rotate, or secure the locking clip according to the bracket design. A bracket that merely hangs from one tab is not installed.
- Fit the shelf board. Seat it fully in the bracket channels, then check that the board is level and cannot slide forward.
If the panel has no built-in anti-lift feature, use brackets with locking tabs or a shelf retainer. Never modify tabs casually to force a fit; altered hardware can reduce engagement and damage the panel.
Lock, Level, and Load the Shelf Safely
Test an empty shelf before adding items. Press gently down and forward near the front edge. The shelf should remain level, the brackets should stay engaged, and the panel should not bow or pull away from its spacers. If anything shifts, remove the shelf and correct the installation.
Load the shelf with the heaviest items closest to the panel and distribute weight across the supported area. Avoid concentrating dense objects at one end or at the front lip. Keep frequently handled items within the shelf’s stable zone, and use a basket or tray when small objects could roll off.
- Keep the total load within the limit for the complete assembly: shelf, brackets, panel, spacers, fasteners, and wall structure.
- Do not use a panel manufacturer’s capacity as a separate guarantee for an unapproved shelf or bracket combination.
- Use a front lip or retaining bar for items that can slide, but do not treat the lip as a structural support.
- Use anti-tip or anti-lift locks wherever the shelf can be bumped, pulled, or reached by children.
- Recheck level, fasteners, bracket engagement, panel flatness, and hole wear periodically, especially after moving heavy items.
Stop using the shelf if you see cracked hardboard, enlarged holes, bent tabs, loose screws, bowed brackets, or a growing gap behind the panel. Remove the load, repair the wall attachment or replace damaged components, then reinstall and test the system before loading it again.