
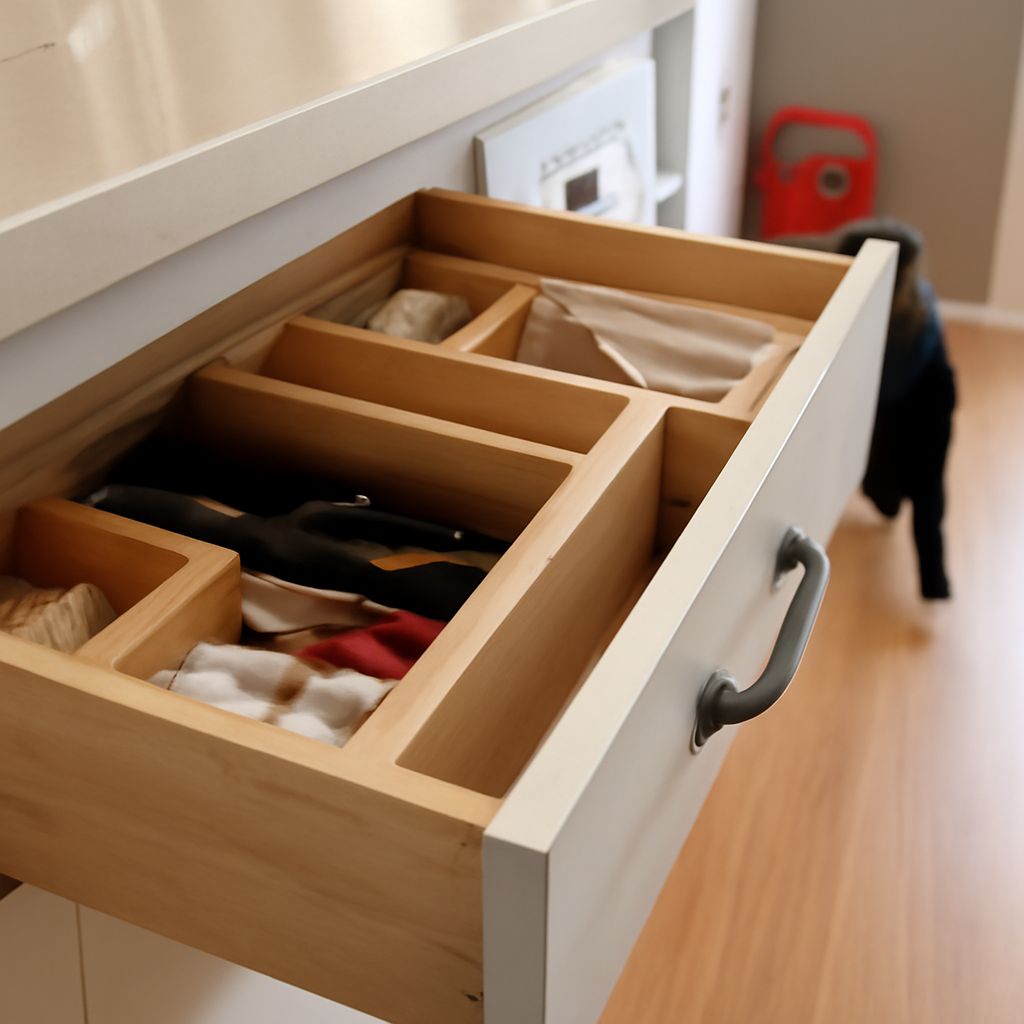
Kitchen drawer replacement begins with identifying the failed component. Inspect the drawer box, front, slides, cabinet members, and surrounding clearances before ordering anything. A replacement may require only a slide pair or front, not a complete drawer.
Measure the cabinet opening and confirm the mounting method before selecting replacement kitchen drawers. The old drawer’s outside dimensions are not enough when the slide type, opening, or front design differs.
Kitchen Drawer Replacement: Diagnose the Box, Front, Slides, or Cabinet
Remove the drawer and inspect it unloaded, then test it again with its usual contents. Look for the failure pattern below.
- Broken drawer box: Split joints, a sagging bottom, cracked sides, or a detached back usually justify replacing the box. If the front and slides remain compatible, they may be reused.
- Loose drawer front: If the box is square but the front has separated, repair or replace the front rather than the entire drawer. Check screws, clips, brackets, and stripped mounting holes.
- Worn slides: Grinding, uneven movement, excessive side play, a drawer that drops when opened, or failure to close smoothly often indicates worn slides. Replace both slides as a pair.
- Damaged cabinet members: A bent, loose, or pulled-out cabinet-side member can mimic a drawer problem. Repair the cabinet side, reinforce stripped screw holes, or replace the mounting member before fitting a new box.
- Racking: A drawer is racked when its box has shifted out of square. Measure diagonals corner to corner; unequal measurements indicate skew. Loose joints, a damaged bottom, or uneven slides can cause it.
- Interference: Check nearby drawer fronts, doors, hinges, shelves, face-frame edges, and plumbing. A drawer that catches at one point may be correctly sized but obstructed by the cabinet.
Also inspect the mounting screws. Missing or loose screws can create movement that looks like a failed slide. Do not install new hardware until the cabinet opening is sound, square, and free of obstructions.
Measure for Replacement Kitchen Drawers: Opening, Box, Front, and Slides
Record measurements in millimetres or inches, using the narrowest measurement where the cabinet is not perfectly consistent. Measure the cabinet, drawer box, and front separately.
- Measure the clear opening: Measure the inside width between the cabinet sides at the front, middle, and back. Measure the vertical opening from the supporting surface or opening bottom to the obstruction above. Record the smallest width and height.
- Confirm the slide deduction: For many side-mount slides, the drawer box width is the clear opening minus the required space on both sides. A common deduction is 1 inch total for two 1/2-inch slides, but verify the slide manufacturer’s specification. Undermount, center-mount, and specialty slides use different deductions.
- Measure usable depth: Measure from the inside front of the cabinet to the nearest rear obstruction. Select a slide length that fits this space without forcing the drawer beyond the cabinet. Account for face frames, back panels, hinges, and pipes.
- Measure box height: Measure the existing box outside height and compare it with the unobstructed opening. Leave the vertical clearance required by the slide and avoid copying a height that already rubs against the cabinet or adjacent drawer.
- Measure the front: Record front width, height, thickness, and position. Note whether it is an overlay front that covers the cabinet opening or an inset front that fits inside it. Measure the intended reveal around an inset front.
- Identify slide and mounting details: Note side-mount, undermount, center-mount, roller, ball-bearing, soft-close, or bottom-mounted hardware. Record where each slide member sits vertically and how it attaches.
Measure the old box outside dimensions only as a reference. They may reflect a different slide deduction, a distorted box, or a cabinet that was modified later. The clear opening and chosen hardware determine the replacement box dimensions.
Photograph the slide members and measure screw-hole locations before disposal. Check whether the replacement uses face-frame brackets, rear sockets, side screws, clips, or a combination. Confirm that the new hardware supports the drawer’s intended loaded weight.
Choose a Kitchen Cabinet Drawer Replacement Route
Choose the smallest replacement that solves the failure while preserving compatible parts.
- Replace the box only when the drawer front and slides are sound, the front can be detached cleanly, and the new box matches the mounting method.
- Replace the front only when the box is square and undamaged but the front is cracked, loose, stained, or incorrectly aligned. Confirm the front’s overlay or inset dimensions before drilling.
- Replace the slides when the box is usable and the cabinet members are secure. Buy a complete matching pair, including brackets or sockets if the existing parts are incompatible.
- Replace the complete drawer when the box, front, or hardware is damaged, mismatched, or difficult to adapt. This is often the simplest option when the original construction is nonstandard.
- Order a custom box when the cabinet has an unusual width, shallow depth, face-frame restriction, angled side, or limited clearance. Supply the manufacturer with opening, box, front, and hardware measurements.
Match the replacement drawer to the slide’s required box width, depth, height, and attachment points. Confirm whether the slide needs a flat box bottom, rear notch, side clearance, or a specific front gap. A box that fits the opening can still fail if its slide connection is wrong.
Use screws suited to the cabinet material and slide holes. They must hold securely without protruding into the drawer path or piercing a cabinet side. For new front holes, clamp the front in its final position, mark from the inside, and drill pilot holes slightly smaller than the screw shaft.
Install and Adjust a Drawer Replacement
- Remove and label the old parts. Empty the drawer, release its clips or levers, and remove the cabinet members. Keep one screw and bracket as references, but do not assume they suit the new hardware.
- Prepare the cabinet. Repair loose material, fill stripped holes, remove obstructions, and check that the cabinet sides are parallel. Mark matching heights on both sides using a level or measured reference.
- Install the cabinet members. Position the left and right members at equal heights, parallel to the cabinet bottom, and at the manufacturer’s setback. Start with one screw, check alignment, then add the remaining screws. Use face-frame brackets or rear sockets where required.
- Prepare the box. Attach the drawer members squarely and at matching positions. If reusing the old front, center it on the box and clamp it before tightening. Check that the box is not racked and that its diagonals match.
- Fit the drawer. Engage both slide sides evenly. Do not force a drawer that stops immediately; remove it and check width, rear clearance, slide engagement, and cabinet-member alignment.
- Align the front. Adjust the front horizontally, vertically, and for tilt until the reveals match neighbouring drawers and doors. Tighten the mounting screws only after checking both closed and open positions.
- Check loaded operation. Open and close the empty drawer several times, then add its normal contents gradually. Confirm smooth travel, full extension, soft-close engagement if fitted, and no rubbing, sagging, racking, or interference.
With the drawer loaded, inspect the gaps again. A front that aligns empty but drops, binds, or strikes an adjacent cabinet when loaded indicates a slide, mounting, clearance, or box-strength problem that must be corrected before regular use.