
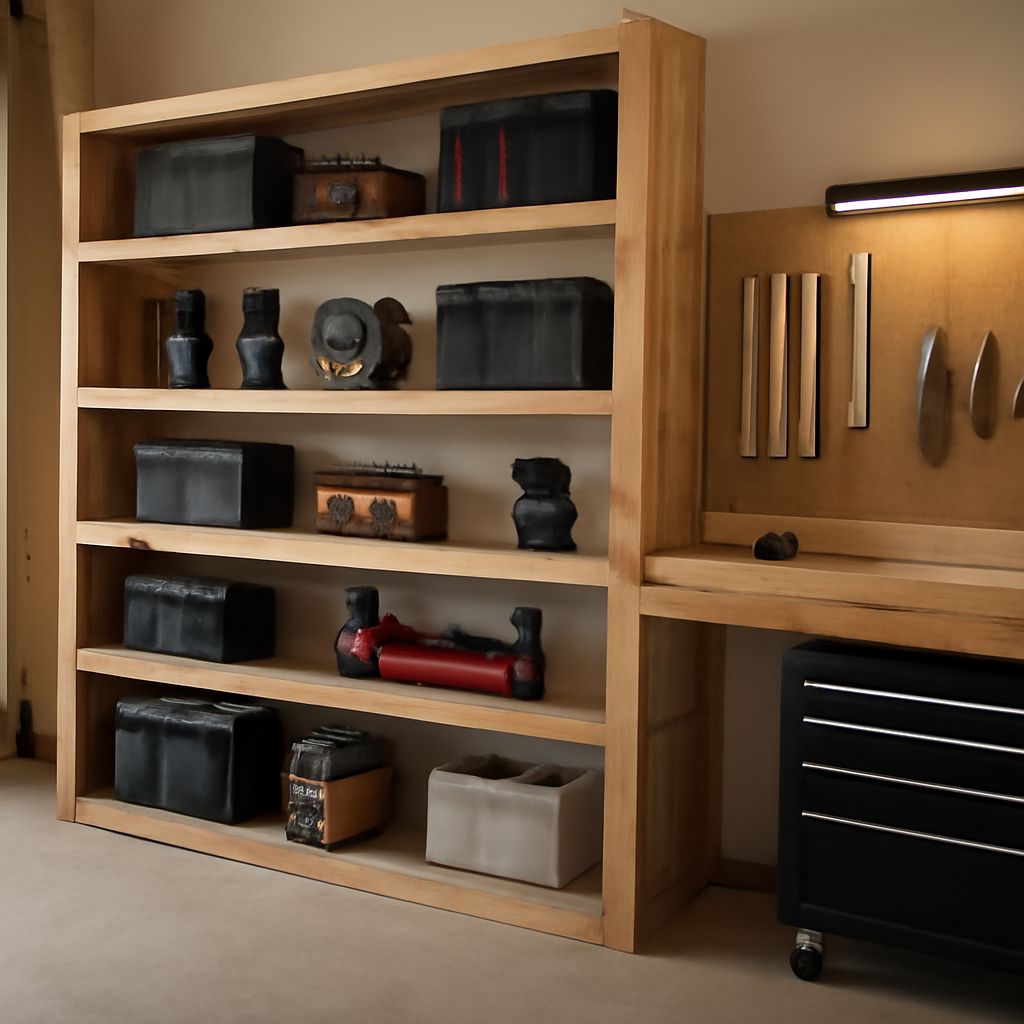
Garage shelf ideas are easiest to choose when you match the shelf to the load, wall structure, ceiling access, and how often you use each item. For most garages, wall-mounted shelves offer the best balance of capacity, access, and floor clearance.
Measure the garage before buying lumber. Then select a wall, ceiling, floor, or built-in layout and build it around vehicles, doors, bins, tools, and long materials.
Garage Shelf Ideas: Audit Space, Access, and Loads
Start with a scaled sketch of the garage. Mark the vehicle footprint, walking paths, workbench, doors, windows, lights, and storage areas. Include the complete travel path of the garage door, not just its closed position.
- Measure clearance: Record the distance from walls to parked vehicles, doors, the opener, rails, and the moving garage door. Keep shelves outside door travel and provide enough room to open car doors safely.
- Locate structure: Find wall studs, ceiling joists, utility lines, outlets, pipes, and ducts. A stud finder helps, but confirm locations before drilling. Never treat drywall, paneling, or ceiling plaster as structural support.
- Group inventory: Separate daily-use tools, seasonal bins, chemicals, sports gear, lumber, ladders, and rarely used items. Put frequent-use items between shoulder and waist height.
- Record bin dimensions: Measure the actual width, depth, and height of storage totes, including lids and handles. Allow about 1 inch of width and height clearance so bins slide out without binding.
- Choose shelf depth: Use 12 to 16 inches for hand tools and narrow bins, 16 to 24 inches for standard totes, and deeper shelves only when the stored items require them. Excess depth makes rear items difficult to reach.
- Estimate loads: Add the weight of every item planned for a shelf. A shelf holding paint, hardware, or power tools needs more support than one holding empty seasonal bins. Account for concentrated loads, such as a single tool chest.
Keep a work area clear of low shelves and place long items along a side wall or above a vehicle only when they remain outside door and opener movement.
Compare Wall, Hanging, Floor, and Built-In Shelving
Wall-mounted shelves are the best general-purpose choice. They preserve floor space, keep bins visible, and work well above a workbench. Fasten their ledgers, brackets, or rails directly to wall studs or suitable masonry anchors. Use them for heavy bins and tools when the wall has reliable structure.
Hanging garage shelves use ceiling joists and are useful for seasonal items, empty luggage, camping gear, and other low-access storage. They leave walls available for tools and benches. Because they hang overhead, keep them away from the garage door, opener, lights, and walking areas. Store lighter, stable loads where possible.
Freestanding floor shelving is the simplest option when walls are finished, utilities are hidden, or the layout may change. Choose a unit with adjustable shelves and a broad base. Anchor tall units to a stud or masonry surface so they cannot tip when a heavy bin is removed.
Built-in shelving makes efficient use of an awkward corner, narrow side wall, or space between posts. It can include a workbench, drawers, lumber cubbies, and dedicated bin bays. Build around access panels and shutoff valves rather than covering them permanently.
Use wall shelving for heavy, frequently handled loads; ceiling shelving for infrequent storage; floor shelving for flexibility; and built-ins when the garage layout is stable and every inch matters.
Plan Heavy-Duty Wall-Mounted Garage Shelving: Materials and Support
For a durable wall system, build plywood shelves on a 2×4 ledger, front rail, side cleats, and triangular braces. Keep shelf spans conservative: supports spaced about 32 to 48 inches apart generally reduce sag, with closer spacing for heavier loads or thinner shelf material.
Gather these materials and tools:
- 3/4-inch plywood or another load-rated shelf panel
- Straight 2×4 lumber for ledgers, front rails, side cleats, and braces
- Structural screws long enough to penetrate studs, plus washers where needed
- Concrete or masonry anchors if the wall is masonry
- Stud finder, tape measure, pencil, level, square, drill, driver, clamps, and circular saw
- Sandpaper or a sander, wood sealer or paint, and labels for finished bins
Design the shelf around the bin footprint first. A 20-inch-deep shelf may suit common totes, while a 16-inch shelf wastes less space for hand tools. Make the front rail tall enough to stiffen the shelf and stop bins from sliding forward.
Wall support must transfer weight through the shelf into the ledger, braces, and studs. Screws placed only in drywall or thin wall sheathing do not provide that load path. If studs do not align with the intended shelf location, add a continuous structural backer fastened to several studs, then attach the shelf supports to that backer.
Design Hanging Garage Shelves Around Joists and Load Paths
Ceiling shelves require a separate support plan from wall shelving. Their load travels from the shelf frame into vertical rods, cables, or other rated hangers, then into ceiling joists. Do not fasten hanging shelves to drywall or use wall-shelf anchors overhead.
Build a rigid rectangular frame from 2x4s with a plywood deck. Position each hanger beneath a joist or install a properly sized cross-member that transfers force into multiple joists. Use threaded rod with washers and lock nuts, or a rated suspension system intended for overhead loads. Each connection should be mechanically secured at both the ceiling and shelf frame.
- Map joist direction and spacing before choosing the shelf position.
- Keep the shelf clear of the garage door panels, tracks, opener, lights, and pull cord.
- Use two or more crosswise braces to prevent side-to-side sway.
- Distribute bins across the frame instead of placing the heaviest item at one corner.
- Leave enough space below the shelf to remove the largest bin without striking a vehicle.
Calculate the combined weight of the frame, shelf, and stored items. Use hardware and framing rated for that load, with a margin for shifting items during loading. Inspect overhead connections regularly for loosened nuts, bent rods, cracked lumber, or movement.
Build Shelves in a Garage: Mark, Cut, Brace, and Load
The following sequence builds the wall-mounted system described above.
- Mark the layout. Transfer the shelf height and length to the wall. Mark every stud, the shelf ends, and the locations of intermediate braces. Check the layout against vehicles, doors, utilities, and the opener before cutting materials.
- Cut the parts. Cut plywood panels to the planned depth and length. Cut the ledger, front rail, side cleats, and triangular braces to match. Keep the front edge straight; a bowed rail will make leveling difficult.
- Prepare and finish. Sand sharp plywood edges and predrill holes near board ends to reduce splitting. Paint or seal the parts before installation if you want easier coverage. Let the finish dry fully before assembly.
- Assemble the shelf frame. Attach side cleats and the front rail to the plywood, keeping the top surfaces flush. Add intermediate supports beneath the panel. Use clamps and a square while fastening so the frame remains rectangular.
- Install the ledger. Hold the ledger on the wall at the marked height. Drive structural screws through it into at least two studs, using additional studs along the shelf length. Check level after each screw and shim only with solid, noncompressible material.
- Add braces and the shelf. Fasten triangular braces to the ledger and studs, then attach the shelf frame to the ledger, braces, and side supports. Keep brace spacing consistent and place extra support beneath areas that will hold dense loads.
- Check the finished structure. Confirm that the shelf is level front-to-back and side-to-side. Push lightly on the front edge. Excessive movement, twisting, or visible fastener pullout means the support layout needs correction before loading.
- Load progressively. Start with an empty-shelf inspection, then add roughly 25 percent of the expected load. Recheck level and movement, increase to about 50 percent, inspect again, and continue toward the planned capacity only if the shelf remains rigid.
- Organize and label. Put dense tools and paint on lower shelves, lighter seasonal bins higher up, and daily-use items at reachable height. Label the front and top of each bin so its contents remain identifiable when stored overhead or behind another container.