
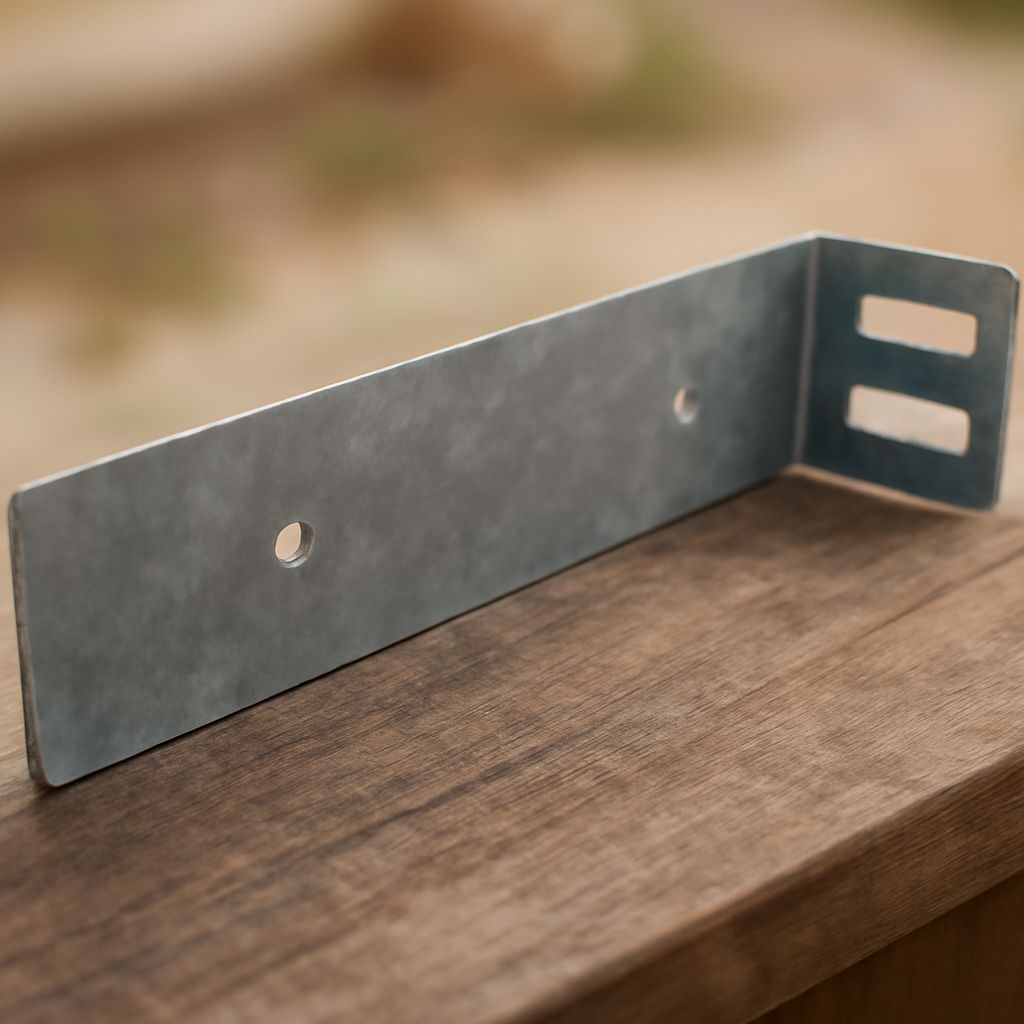
Choose floating shelf brackets by matching their geometry to the shelf, wall, span, and intended load. The hidden hardware must fit inside the shelf, engage the wall securely, and resist both downward force and twisting at the front edge.
For most installations, use steel rods or a welded backplate system for solid shelves, and a cleat or purpose-built hollow-shelf bracket for boxed shelves. Confirm the shelf’s depth, thickness, internal cavity, and wall construction before drilling.
Floating shelf brackets: rods, plates, welded systems, and cleats
Hidden hardware falls into five practical groups. Each suits a different shelf construction and installation method.
- Rod brackets: Steel rods project from a wall plate and slide into drilled holes in the shelf. They create a clean appearance and work well with thick solid-wood shelves.
- Backplate brackets: Several rods or arms are welded to a broad steel plate. The plate spreads force across multiple wall fasteners and usually offers better resistance to twisting.
- Welded supports: A rigid frame combines a wall plate, horizontal arms, and sometimes vertical bracing. Choose this style for deeper shelves or heavier, front-loaded items.
- Cleats: A wall-mounted cleat engages a matching channel in the shelf. Cleats distribute contact along the shelf rather than concentrating force at a few rods.
- Hollow-shelf brackets: These use a shallow frame, multiple arms, or a shelf cavity designed around the hardware. They are appropriate when the shelf has a veneer skin over a lightweight core.
Rod diameter affects both strength and the hole size required in the shelf. Common rods measure approximately 12 to 20 millimeters in diameter. A larger rod is not automatically safer; it must leave enough wood around the hole and fit the bracket’s tested design.
Backplate length matters as well. A short plate with two fasteners may suit a narrow shelf, while a longer plate with three or more fasteners distributes load across a wider span. Do not compare published bracket ratings unless the wall type, fasteners, shelf, spacing, and loading position match the test conditions.
Floating shelf supports: solid or hollow shelves, depth, thickness, and rod size
Start with the shelf, not the bracket. Measure the finished depth and thickness, then identify whether the shelf is solid throughout or built as a hollow box.
A solid timber or plywood shelf can accept drilled rod holes. The horizontal rod should usually enter at least two-thirds of the shelf depth, while stopping short of the front face. For a 250-millimeter-deep shelf, a rod around 165 to 200 millimeters long is a useful starting range. Leave enough material at the front and back to prevent splitting or breakout.
Thicker shelves hide hardware more effectively. A shelf around 38 millimeters thick often provides practical room for common rod brackets, but the required thickness depends on the rod diameter, vertical position, and manufacturer’s hole pattern. Keep adequate wood above and below each hole. If the rod nearly fills the shelf’s height, the shelf may split or weaken.
Thin shelves need a different solution. A narrow board may not contain a deep drilled hole without breaking through its face. Use a shallow plate, a visible underside reinforcement, or a thicker shelf instead of forcing a rod bracket into insufficient material.
Hollow shelves require careful inspection. Remove or locate the rear cap, internal webs, and skins before routing a cavity. A lightweight shelf may have only a thin veneer over cardboard or foam. In that case, the hardware needs a structural internal frame, a full-length cleat, or a purpose-built hollow-shelf bracket. Do not rely on the outer skin to hold the rods.
Allow clearance around the hardware for installation. The cavity should be deep enough for the backplate or frame, wide enough to slide over the arms, and positioned so the shelf remains level after it reaches the wall. A tight cavity can prevent full seating and transfer force unevenly.
The correct floating shelf supports also depend on shelf depth. Deeper shelves create more leverage, especially when books or objects sit near the front edge. Increase bracket count, use a stiffer system, reduce the span, or add structural wall attachment as depth and load increase.
Plan a floating shelf support: backplates, wall fasteners, spacing, and load
Mark every support position before drilling. For a moderate shelf on a stud wall, brackets commonly align with studs at roughly 400 to 600 millimeters apart. Reduce the spacing for a deep shelf, a long span, a heavy load, or a shelf that users may pull against.
Locate studs with a reliable finder, then confirm their centers with a small pilot hole. A stud connection is normally preferable to a drywall anchor because it resists both withdrawal and sideways movement. Use fasteners long enough to pass through the backplate and wall finish, then engage sound wood without emerging from the stud.
For masonry, identify whether the wall is brick, block, or concrete and use anchors rated for that material. Drill to the anchor manufacturer’s diameter and depth. Clean dust from the hole, keep the drill square, and tighten the screw without crushing the backplate or damaging the substrate.
When studs do not align with the desired shelf location, use a suitable structural mounting method rather than ordinary plastic plugs. A concealed backing board fixed across multiple studs can provide a reliable attachment surface, provided it is designed to carry the shelf’s expected load.
Account for load position, not just total weight. A 10-kilogram load near the front edge creates more overturning force than the same load against the wall. This front leverage produces torsion in the bracket, fasteners, shelf, and wall connection. Long shelves also flex between supports, so place brackets near the ends while maintaining enough edge distance for the shelf material.
Hold the backplate against the wall and mark its top edge, screw holes, and bracket centerline. A level line helps, but confirm the actual shelf position because uneven floors, trim, and adjacent cabinets can make a mathematically level shelf look wrong.
Concealed floating shelf brackets: template, dry-fit, scribe, and lock
- Make a template. Transfer the bracket’s rod centers, plate outline, screw holes, and required cavity dimensions to cardboard or thin plywood. Mark the shelf’s rear edge and its top surface so the pattern cannot be reversed.
- Lay out the shelf. Center the bracket pattern across the shelf width and keep each hole parallel to the shelf faces. Check the rod spacing against the wall plate. For a cleat, mark the complete channel rather than only its ends.
- Route or drill the cavity. Use a drill guide, router fence, or drill press where possible. Drill straight holes to the specified depth, then remove chips and test the fit. Stop before the front face or top skin.
- Fasten the wall hardware. Hold the backplate on the level marks, drill pilot holes for studs or the correct holes for masonry anchors, and tighten each fastener progressively. Recheck the plate with a level before final tightening.
- Dry-fit the shelf. Slide the shelf onto the rods, arms, or cleat without adhesive. It should reach the wall fully, sit level, and contact the support evenly. Resistance before full seating usually indicates a shallow hole, misaligned rod, debris, or an undersized cavity.
- Scribe the wall if needed. If the wall bows or the shelf meets uneven trim, mark the rear edge while the shelf is held in its final position. Remove only the small area needed for a close fit, then seal or finish the exposed edge.
- Install the locking feature. Use the supplied set screws, underside screws, retaining pins, or cleat locks. Locking prevents the shelf from sliding forward and helps control rotation. Do not substitute a screw that could split the shelf or miss the bracket.
- Load gradually. Apply light pressure first, then add the intended items in stages. Watch for shelf sag, movement at the wall plate, rod rotation, cracking, or separation at the rear edge. Remove the load and correct the connection if any movement appears.
A properly fitted floating shelf support stays fully engaged inside the shelf while the wall fasteners remain tight and the front edge does not rise under load. Keep the heaviest items close to the wall, and avoid using a concealed shelf as a handhold unless the entire assembly was designed for that force.