
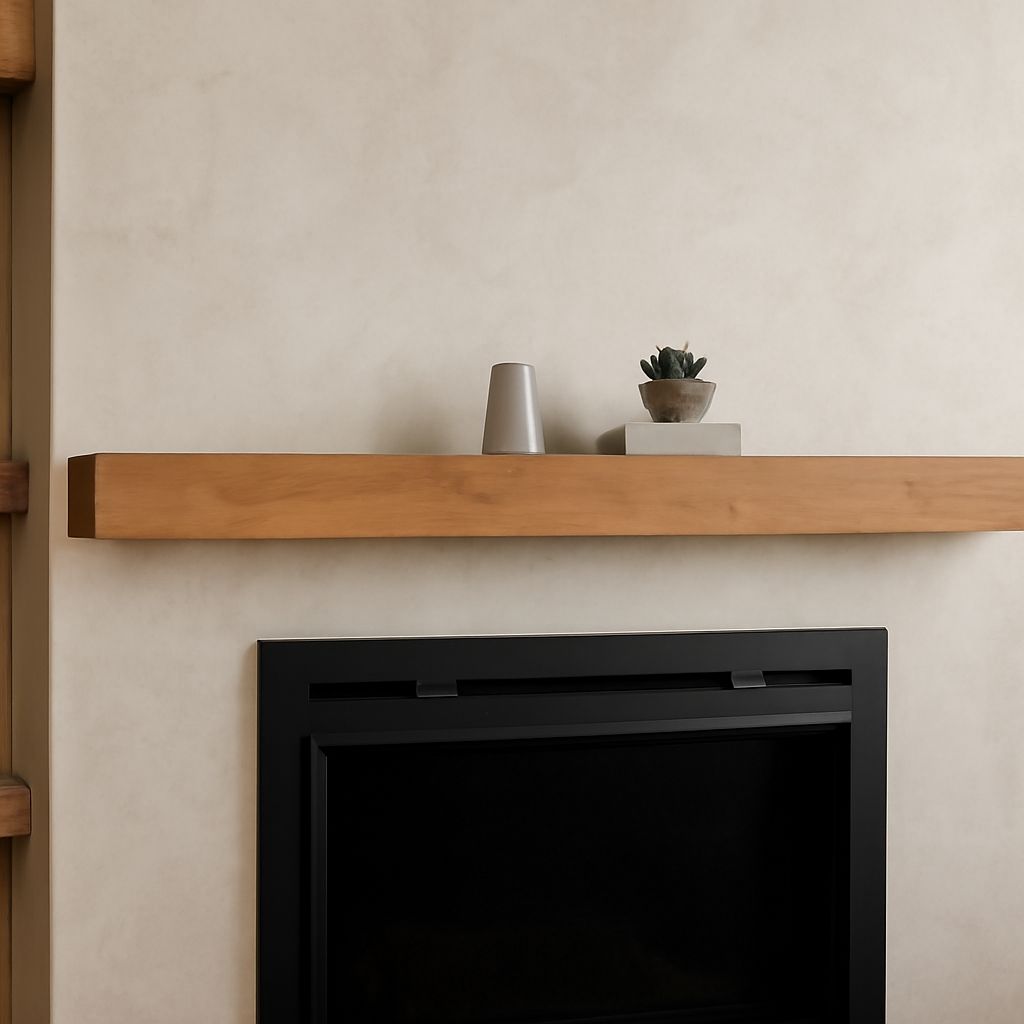
Choose a mantel shelf by measuring the wall, firebox, surround, and intended display load together. A typical shelf is 6 to 12 inches longer than the surround on each side, 8 to 12 inches deep, and 3 to 6 inches thick.
A wood fireplace mantel shelf also needs support suited to the wall. Solid beams require substantial fastening, while hollow shelves usually attach to a cleat or bracket system. Plan the mounting before choosing the finish.
Mantel Shelf Styles: Solid Beam, Hollow Box, Slab, and Bracketed Designs
A solid beam mantel shelf is milled from one substantial piece of timber. It provides authentic weight, visible grain, and strong resistance to dents. Its disadvantages are weight, cost, seasonal movement, and the need for reliable structural fastening.
A hollow box shelf has a lightweight frame or torsion-box interior covered with wood. It can look substantial without weighing as much as a beam. This style is often easier to install, especially on drywall, but its cleat or internal blocking must align with the mounting hardware.
A slab mantel uses a thick, usually live-edge or minimally shaped, piece of wood. Its irregular edges become the focal point, so keep surrounding trim simple. Check the slab for twists and end cracks before installation; an uneven back can create a visible wall gap.
Bracketed designs combine a shelf with exposed corbels, steel brackets, or decorative supports. They suit rustic, traditional, and industrial rooms. Visible brackets also help carry the display load, but they add visual weight and may interfere with artwork or a television.
Choose a Wood Fireplace Mantel Shelf: Length, Depth, and Thickness
Start with the wall width, then measure the firebox opening and the full surround. Center the shelf on the firebox or surround, not automatically on the entire wall. If the fireplace is off-center, decide whether the design should emphasize the opening or correct the room visually.
- Length: Make the shelf at least 6 to 12 inches wider than the surround on each side when the wall allows. Leave a deliberate margin from adjacent corners, windows, and built-ins.
- Depth: Use about 8 to 10 inches for art and modest accessories. Choose 10 to 12 inches when the shelf must balance a deep surround or support larger objects.
- Thickness: A 3-inch profile looks light and contemporary. A 4- to 6-inch profile suits a large fireplace, high ceiling, or heavy timber style.
Depth should relate to the surround’s projection. A shelf that ends well behind a deep surround can look undersized. A shelf that projects much farther can dominate the room and place objects closer to heat.
For a narrow wall, prioritize proportion over maximum length. A shelf that nearly touches both corners can make the fireplace appear trapped. For a broad wall, a longer shelf can connect the fireplace to nearby cabinetry or balance a large television.
Plan and Center a Shelf Mantel: Wall Width, Firebox, Surround, TV, and Art
Mark the firebox centerline first. Transfer that line to the surround and proposed shelf. Then mark the shelf’s finished ends, depth, and underside with painter’s tape. Stand across the room to check whether the proportions feel centered from the main viewing position.
Measure the surround’s width and height, including trim, tile, stone, and any projecting ledge. The shelf should relate to the complete surround rather than only the metal firebox opening. On a masonry surround, account for uneven joints and changing stone faces.
For a television, place the screen so it can be viewed comfortably without forcing the head upward. Confirm the television’s width, mounting height, bracket movement, and cable route before fixing the shelf. A mantel is not a substitute for a television mount; use the wall structure required by the screen and bracket.
For artwork or a mirror, measure the frame before selecting shelf length. Leave enough space above the shelf for the piece, while keeping its lower edge visually connected to the mantel. A smaller frame usually works better centered over the firebox than centered over a wide wall.
Fireplace clearances are not interchangeable. Check the appliance manufacturer’s required distance from the opening, heat outlet, and flue to combustible wood. Measure from the specified reference point, and preserve those clearances after accounting for the surround and shelf projection.
Select Support: Studs, Masonry, Cleats, and Hidden or Visible Brackets
Locate the wall structure before ordering the shelf. On framed walls, use a stud finder, small test holes, or an electronic scanner, then confirm each stud center. A heavy solid shelf should fasten into multiple studs whenever possible.
On brick, block, or concrete, use anchors rated for the masonry type and the combined weight of the shelf and display. Do not treat tile, plaster, or mortar joints as equivalent to structural masonry. Identify the substrate behind the finish before choosing screws and anchors.
A continuous wood cleat distributes weight across several fastening points. It works especially well with hollow box shelves, which can slide over the cleat and hide the hardware. Add internal blocking inside the shelf wherever screws or bolts will pass.
Hidden steel brackets create a clean floating appearance. They require accurate drilling and enough shelf thickness to conceal the bracket arms. Visible corbels or angle brackets are more forgiving and can provide extra support, but their spacing should follow the shelf manufacturer’s load guidance.
Calculate the intended display load before selecting support. Include books, stone objects, planters, seasonal decorations, and anyone likely to lean on the shelf. A shelf designed only for lightweight art should not later carry a television, speakers, or dense pottery.
Mount the Mantel Shelf: Template, Level, Scribing, Fastening, and Wall Gap
- Make a template. Cut cardboard to the shelf’s length and depth. Mark the centerline, underside, ends, support locations, and required fireplace clearance. Tape it to the wall and check sightlines from several positions.
- Mark a level reference. Use a long level or laser to mark the cleat or bracket line. Measure down from the ceiling or up from the floor only as a secondary check; floors and ceilings may not be level.
- Fit the wall. Hold the shelf or template against the finished surface. If the wall bows, scribe the back edge to its contour. For a small gap, use concealed shims behind the cleat rather than pulling the shelf hard against an uneven surface.
- Fasten the support. Drill pilot holes in wood studs, or use masonry bits and rated anchors in masonry. Install every specified fastener, tighten without crushing drywall, and recheck the level after each section is secured.
- Lock the shelf. Slide the hollow shelf over its cleat, seat the solid shelf onto its brackets, and install locking screws from underneath or through concealed points. These screws prevent lifting and shifting; they do not replace structural support.
Use shims behind a cleat when necessary, then trim or conceal them. A small planned wall gap can be covered with backer trim, but a large gap indicates an inaccurate scribe, bowed shelf, or misplaced support. Do not fill a structural gap with caulk alone.
Finish and Load the Mantel Shelf: Shelf Locking, Display Weight, and Gradual Loading
Condition unfinished wood indoors before installation so its moisture content can adjust to the room. Sand with the grain, soften exposed edges, and seal all faces, including the back and end grain. Sealing reduces uneven moisture movement but does not stop natural wood expansion.
Choose the finish based on heat exposure and maintenance. Paint disguises joined construction and suits a hollow box shelf. Oil or clear finish emphasizes grain on a solid beam or slab, but test it on an offcut because color varies between boards.
After mounting, confirm that the shelf is level, firmly locked, and free from rocking. Place the heaviest objects near supports rather than at the center or front edge. Keep combustible decorations within the fireplace’s clearance requirements, and never block a heat outlet.
Load the shelf gradually:
- Wait until the finish has cured according to its product instructions.
- Place lightweight items first and inspect for movement, sagging, or new wall gaps.
- Add heavier objects one at a time, distributing weight across the shelf.
- Stop if the shelf shifts, fasteners loosen, the wall cracks, or the wood flexes.
Recheck the fasteners after the first week and again after the heating season begins. Temperature and humidity changes can reveal movement that was not visible on installation day.