
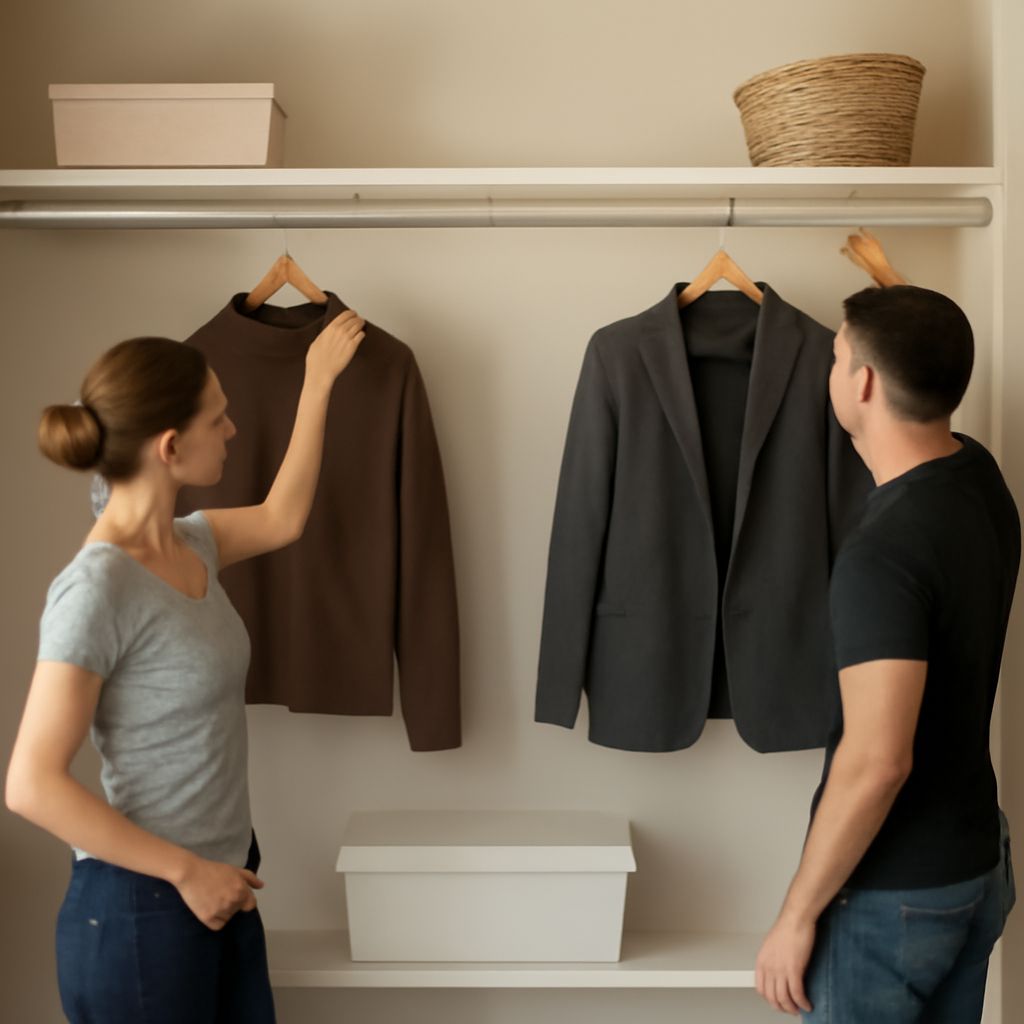
A standard closet rod height is 64–68 inches from the finished floor to the rod’s centerline for a single hanging section. A practical midpoint is 66 inches. For double hanging, place the lower rod at 40–42 inches and the upper rod at 80–84 inches, then adjust for garment length, shelf placement, and user reach.
These measurements describe the rod centerline—not its top, bottom, or mounting bracket. The centerline gives you a consistent reference when choosing a closet bar height for shirts, trousers, dresses, coats, or children’s clothing.
How closet bar height is measured: finished floor to rod centerline
Measure vertically from the top of the finished floor to the horizontal center of the rod. If the closet will receive carpet, tile, or another floor finish, measure from that completed surface. Measuring from the subfloor can make the finished rod too low.
The rod centerline is not the same as the garment’s shoulder line. A hanger hook sits over the rod, while the hanger shoulders and clothing extend below it. This hook-and-shoulder drop uses several inches of vertical space before the garment itself begins.
To calculate usable space, measure from the rod centerline to the hem of the longest item that will hang there. Include the hanger hook, shoulder drop, and any garment features that extend downward. Then add floor clearance:
- Everyday clothing: allow at least 2–4 inches above the floor.
- Coats and formal garments: allow about 4–6 inches to prevent brushing the floor.
- Uneven or sloped floors: use the lowest point when setting the minimum clearance.
For example, if a dress measures 66 inches from the rod centerline to its hem, the rod needs to sit at least 70 inches above the floor for 4 inches of clearance. Measure an actual hanger and garment whenever possible; clothing length varies more than standard labels suggest.
Typical closet rod height for single and double hang, shirts, and trousers
The typical closet rod height for one full-height hanging section is 64–68 inches to the centerline. This range suits most shirts, blouses, jackets, skirts, and many shorter dresses. Use the lower end for shorter users or a higher shelf, and the upper end when long shirts or jackets need additional clearance.
For double hanging, use these centerline ranges:
- Lower rod: 40–42 inches above the finished floor.
- Upper rod: 80–84 inches above the finished floor.
The lower position works well for shirts, blouses, folded trousers, skirts, and children’s clothing. The upper position handles a second group of shirts and jackets. Trousers hung over a hanger bar usually need less height than trousers hung full length from a clip hanger. Measure the intended hanger style before fixing the rod.
Stacked rods need clear space between the lower garment hems and the upper rod. A lower rod at 42 inches and an upper rod at 84 inches creates 42 inches of vertical separation between centerlines. That generally accommodates two short-hang sections, but bulky jackets may need more.
Do not select a double-hang layout only by copying the two rod numbers. Check the bottom clearance below the lower garments, the hook and shoulder drop above each rod, and the space needed to remove hangers. If long shirts or jackets occupy either section, raise or lower one rod rather than forcing equal spacing.
Long garments and coat closets: dresses, coats, and floor clearance
Long garments need a different layout because their hems occupy the space below the rod. Dresses, robes, jumpsuits, and long skirts commonly need 66–72 inches from the rod centerline to the floor, including clearance. Set the rod at about 68–72 inches when the measured garment length requires it.
Coats vary widely. A short jacket can use a standard single-hang section, while a long winter coat may need 68–74 inches from centerline to floor. Heavy coats also benefit from extra width and a sturdy rod, but their vertical requirement still comes from the coat’s measured hanging length.
Keep at least 2–4 inches between the garment hem and the floor for ordinary clothing. Use more clearance for coats, garments with dragging linings, or closets where dust and moisture are concerns. If a long-hang section shares a closet with shelving, place the shelf above the rod rather than below the garment.
A shelf above a rod should leave room for the hanger hook to sit, turn, and be removed. Allow at least 2–3 inches between the top of the hook and the shelf underside, then test the actual hanger and bracket. A deeper shelf or front lip may require more vertical separation because it reduces the angle available for lifting a hanger off the rod.
Choosing the standard height for a closet rod: shelves, children’s closets, accessible reach, and pull-down systems
The standard height for a closet rod depends on what must hang below it and who must reach it. For most adults, 64–68 inches to the centerline is a useful single-rod starting point. For a child’s closet, place the rod around 36–48 inches, depending on the child’s height and the garment length. Use the child’s reach, not an age chart, as the final test.
Accessible closets should keep frequently used clothing within comfortable reach. A rod around 44–54 inches may work for many seated or limited-reach users, but reach ranges differ. Measure the user’s highest comfortable reach and place the rod below that point. Leave enough clearance for the person to grasp and remove a hanger without stretching or twisting.
Pull-down systems allow a high rod to serve users who cannot reach a conventional upper rod. Follow the hardware manufacturer’s mounting range, because the mechanism needs specific side clearance and cabinet depth. Position the handle within comfortable reach, and verify that the lowered rod clears shelves, drawers, and the user’s head.
When adding shelves, drawers, or floor storage, reserve their required height before choosing the rod. A shoe shelf or hamper below the rod reduces available garment clearance. Likewise, a shelf above the rod must clear the hanger hook and permit easy hanger removal. Draw the entire vertical arrangement from finished floor to ceiling before drilling.
Measure, mock up, mark, test reach, and finalize placement
- Measure the longest items. Hang the actual garments on the intended hangers. Measure from the proposed rod centerline to each hem, including the hanger hook and shoulder drop. Record the longest measurement for every closet section.
- Add floor clearance. Add 2–4 inches for everyday garments or 4–6 inches for coats and delicate long clothing. This gives the minimum centerline-to-floor requirement for that section.
- Mock up the layout. Use painter’s tape, a temporary dowel, or a straight board to represent the rod. Mark the proposed centerline, shelf underside, lower rod, and upper rod on the closet wall.
- Test the garments. Hang the longest items and confirm that hems clear the floor, shelves, drawers, and storage bins. Check that stacked rods leave enough room for the upper garments to hang without crowding the lower section.
- Test reach and removal. Have the intended user reach for the highest hanger, lift it off the rod, and return it. Test the lowest rod too, especially when floor storage or a bench will be nearby. For a pull-down system, test the handle and lowered position.
- Finalize placement. Mark the rod centerline, bracket locations, and shelf positions only after the mock-up works. Secure brackets to suitable framing or approved anchors, then recheck garment clearance after installation.