
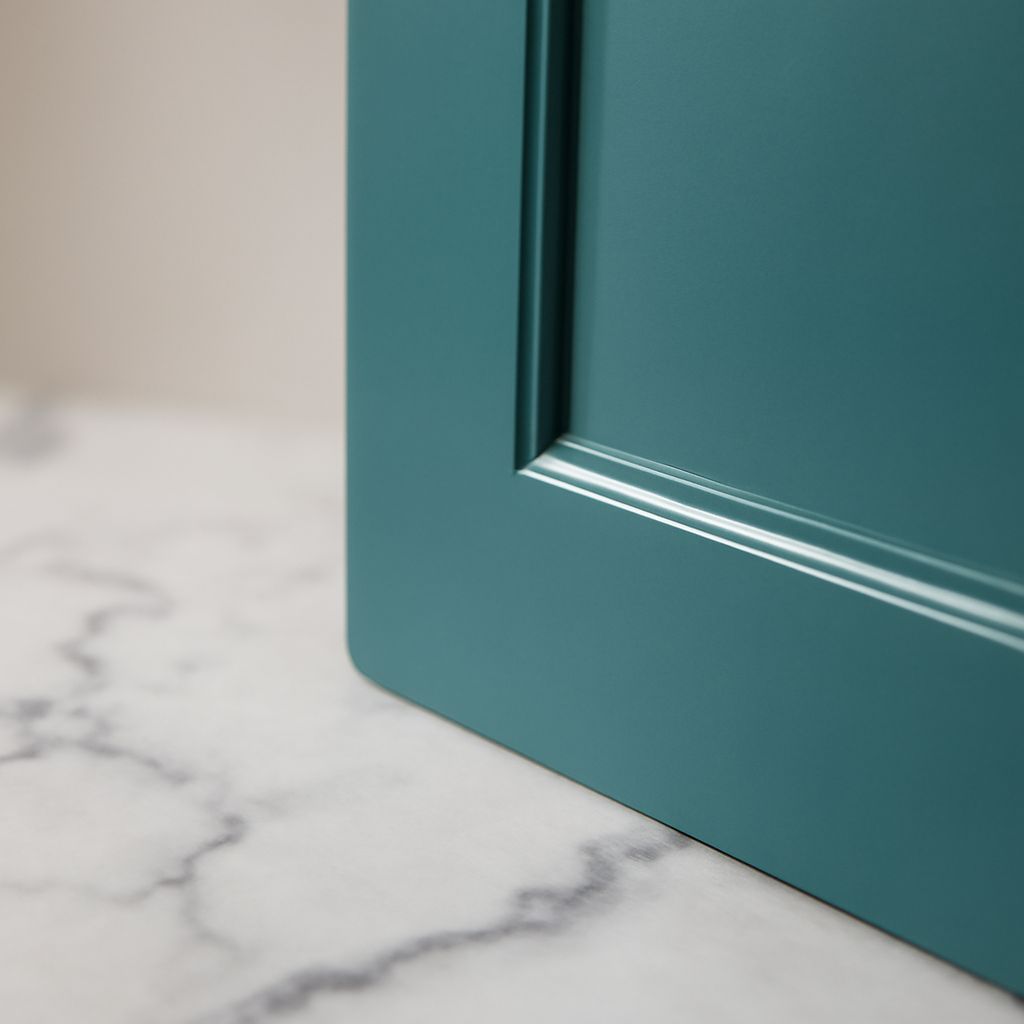
A cabinet end panel covers an exposed cabinet side and makes the installation look intentional. The right choice depends on whether the panel carries the cabinet, simply covers it, supports an appliance opening, or finishes a visible end.
For most exposed ends, choose the panel before cabinets are installed. Confirm its thickness, finished depth, door alignment, toe-kick shape, countertop relationship, and any floor or wall irregularities before cutting.
Cabinet end panel types compared: structural sides, thin skins, full-depth decorative panels, appliance panels, and finished ends
Panel names can describe appearance, construction, or installation timing. These categories are not interchangeable:
- Structural cabinet sides: These are the cabinet box sides, commonly about 3/4 inch thick. They hold shelves, rails, hinges, or adjacent cabinets and remain part of the cabinet’s structure.
- Thin skins: Cabinet end-panel skins are usually thin matching sheets, often around 1/4 inch thick. They cover an unfinished cabinet side but do not replace it, carry a countertop, or support an appliance.
- Full-depth decorative panels: These are thicker panels, often matching the cabinet side or door thickness. They can extend from the floor or toe-kick area to the countertop and from the cabinet front to the back, creating a substantial finished end.
- Appliance panels: These panels are sized and reinforced for an appliance opening, such as a dishwasher, refrigerator, or integrated unit. Their dimensions must preserve the appliance’s required width, depth, ventilation, door swing, and fastening points.
- Finished ends: A finished end is a factory-completed cabinet side, rather than a separate panel added later. It is convenient, but its color, edge, depth, and grain direction are fixed by the cabinet order.
A thin skin is appropriate when the underlying cabinet side is sound and already provides support. A full-depth decorative panel may be better when the exposed end must visually match a door, cover fillers, or extend beside a countertop. Never use a decorative skin as an appliance support panel or structural cabinet side.
Choose a cabinet side panel: thickness, depth, style, timing, and appliance clearance
Start with the end exposure. An end beside a wall may need only a narrow finished strip, while an end beside a room, island, or seating area may remain visible across its full depth. Measure what people will see, not just the cabinet box.
Use thickness to match the job:
- Select a thin skin for a simple overlay on a flush, stable cabinet side.
- Select a thicker decorative panel when the end must align with the door face, continue to the floor, or visually balance a finished door panel.
- Use a structural side or reinforced appliance panel where screws, hinges, countertop loads, or appliance brackets require dependable holding power.
Style includes more than color. Check the grain direction, edge treatment, sheen, and reveal around the door. A vertical wood grain usually looks intentional on a tall end, while a mismatched grain direction can make the panel look like an afterthought. Specify whether the exposed edges need factory edge banding, a finished solid edge, or a field-applied finish.
Decide timing before installation. A factory-finished end arrives ready to install. A separate skin or decorative panel may be attached after the cabinets are leveled, allowing you to scribe it accurately. If the panel is installed before flooring, countertops, or adjacent fillers, account for those later layers.
For appliances, measure the finished opening after every panel, filler, and side support is included. A panel that is only 3/4 inch thicker can reduce a tight appliance opening enough to affect installation or door swing. Follow the appliance manufacturer’s clearance and anchoring requirements, and do not rely on adhesive alone where the appliance requires mechanical support.
Measure cabinet end-panel skins: flush or proud, floor and wall scribes, toe-kick, and countertop overhang
Make a full-size measurement before ordering or cutting. Record the cabinet end’s height, depth, visible width, and relationship to the doors, floor, wall, and countertop.
- Establish the reference plane. Decide whether the panel will be flush with the cabinet box, flush with the door faces, or proud of them. “Flush” means the faces share a plane; “proud” means the panel projects beyond that plane. Door overlay and face-frame thickness can change the required position.
- Measure height at several points. Measure from the finished floor to the underside of the countertop or the planned countertop support. Compare front, middle, and rear measurements. Use the shortest safe dimension, then mark a floor scribe if the floor is uneven.
- Measure depth and countertop exposure. Record the cabinet depth, door projection, filler thickness, and countertop overhang. Do not assume the decorative panel should extend to the countertop edge. The countertop may overhang the panel, align with it, or require a separate finished support.
- Mark the toe-kick notch. Transfer the toe-kick height and setback from the adjacent cabinet. Keep the notch consistent with the cabinet run, or use the panel to create a deliberate furniture-style leg. Check that the notch clears flooring and does not remove material needed for fastening.
- Plan the wall scribe. Hold the panel in its intended position and mark any wall variation. Scribe only the edge that meets the wall. A slightly oversized blank gives you material to remove without making the panel too narrow.
- Check end exposure and grain. Mark the visible face, front edge, top edge, and any return. Keep the best grain and factory-finished edge in the exposed locations. Verify that the finished panel will not hide a needed filler or interfere with a door swing.
Make a cardboard or thin-board template when the wall, floor, or toe-kick is irregular. Test the template in place, including the countertop overhang and door projection, before transferring its shape to the finished panel. A template also reveals whether the planned panel is flush or unintentionally proud.
Attach and finish the exposed end: dry-fit, trim, fasten, align doors, and check seams
Dry-fit the panel before applying adhesive or driving fasteners. Place it against the cabinet, install the adjacent door or filler temporarily, and inspect the top, front, bottom, and rear edges from normal viewing angles.
- Trim in stages. Cut slightly outside the scribe line, then remove material gradually with a plane, router, or sanding block. Protect the finished face and orient it according to the cutting tool’s tear-out direction.
- Confirm the finish side. Keep the finished face outward, and check which edges remain visible after the countertop, toe-kick, filler, and door are installed. Seal or edge-band any cut edge that will remain exposed.
- Choose the fastening method. Use compatible construction adhesive for a stable skin over a clean cabinet side, or use hidden screws, pocket fasteners, biscuits, or clips where the panel may need mechanical retention or future removal. Do not use adhesive alone for a structural or appliance-support panel.
- Clamp without shifting. Apply even pressure with padded clamps or temporary blocks. Check that the panel stays in its intended flush or proud position while the adhesive cures. Remove squeeze-out promptly using the adhesive manufacturer’s instructions.
- Align the door. Install or temporarily position the door and adjust hinges before final tightening. The panel should not force the door outward, narrow its reveal, or create a step that makes the door look misaligned.
- Inspect seams and clearances. Look for gaps at the wall, toe-kick, countertop, filler, and rear edge. Open the door and appliance fully, check the countertop overhang, and confirm that no fastener, panel edge, or seam interferes with movement.
Finish field-cut edges to match the panel’s face. Use the specified edge band, matching paint, stain, or clear finish, and allow it to cure before final cleaning. A final inspection should show consistent reveals, a deliberate toe-kick notch, continuous grain where practical, and no visible adhesive or fastening marks.