
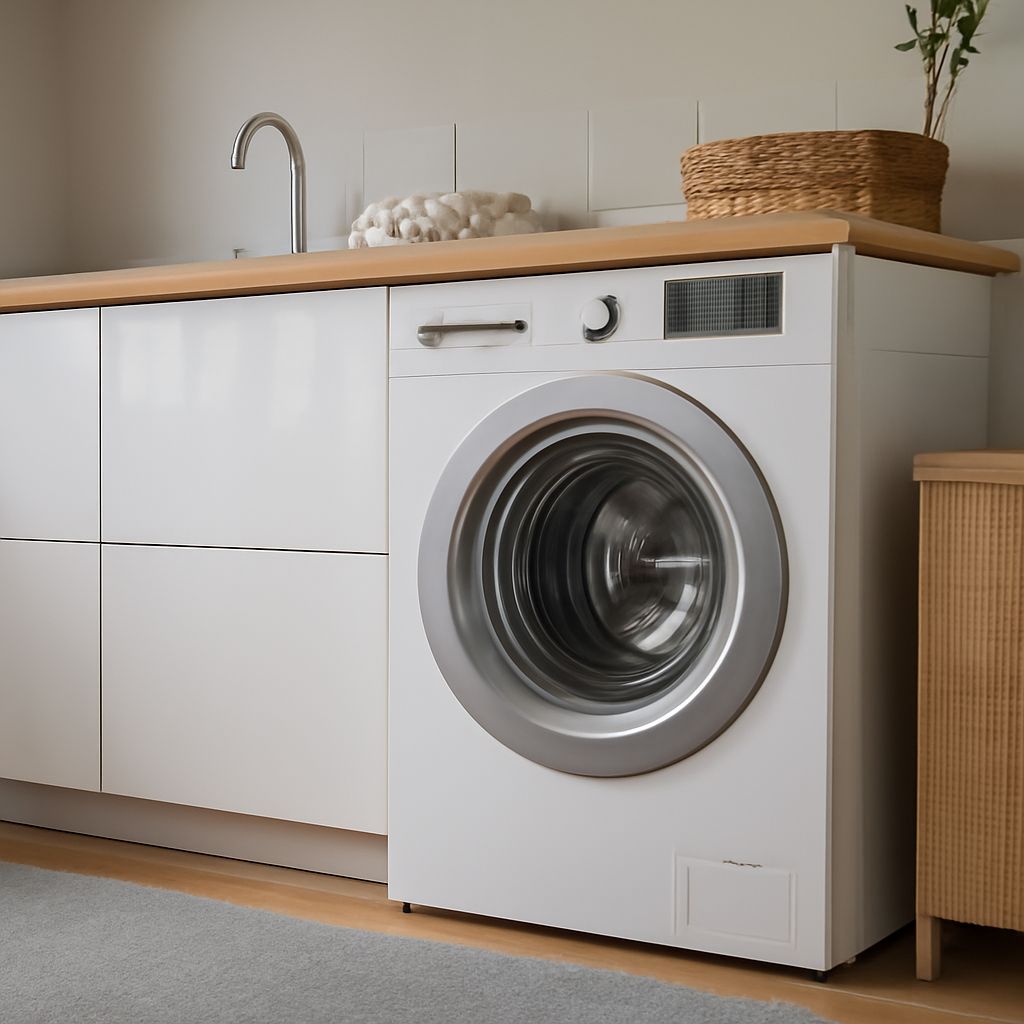
Choose a washer pan by its usable inside dimensions first, then confirm the lip height, material, drain fitting, and access around the appliance. The pan must support the machine’s feet without restricting vibration, hoses, door movement, or future service.
Measure the washing machine and installation space before shopping. A pan that fits the room but not the machine is ineffective, while an oversized pan can obstruct a closet door or make appliance removal difficult.
What a Washer Pan Does: Drip Containment vs. Active Drainage
A washer pan is a tray beneath a washing machine. It catches limited water from small leaks, condensation, or spills and directs that water toward a visible location. It can also protect flooring from slow, unnoticed drips.
There are two basic types:
- Drip-containment pans: These have no connected drain. Water remains in the tray until you remove it. They are simple to install, but they require regular inspection.
- Actively drained pans: These include a drain outlet and fitting. Water flows through connected plumbing to an approved drain, provided the outlet, pipe route, slope, and connection are installed correctly.
A shallow pan is not protection against every hose failure, supply-line separation, pump failure, or large uncontrolled leak. Its capacity is limited by the floor area and lip height. Keep the appliance’s water shutoff accessible, use sound hoses, and investigate any water that reaches the pan.
The lip helps contain water, but a taller lip also increases the lift required to place the machine inside. It may interfere with a pedestal, door swing, or service movement. Compare the pan’s height with the appliance installation instructions rather than choosing the tallest available model.
Measure the Machine, Feet, and Access Space Before Buying a Washer Pan
Use the pan’s inside dimensions for appliance fit and its outside dimensions for room fit. Manufacturers may list both, and the difference can be substantial because of the pan walls, rolled edges, and drain outlet.
- Measure the machine footprint. Record the greatest width and depth, including rear bulges, front trim, and any part that extends below the cabinet. Do not measure only the top panel.
- Measure the feet and base. Confirm that all feet can sit fully on the pan floor. The feet should not rest on a lip, drain cover, raised channel, or unsupported edge.
- Compare interior dimensions. The pan’s usable floor should exceed the appliance footprint by the clearances specified for that model. A little extra room helps with placement, but excessive space can allow more movement during spin.
- Check outside dimensions. Measure the closet or alcove width and depth, including baseboards, trim, wall irregularities, and the pan’s drain fitting. Confirm that the pan can pass through the doorway.
- Measure vertical clearance. Add the pan lip height to the machine height. If the washer sits on a pedestal, verify that the pan is approved for that configuration and that the combined height does not obstruct cabinets or shelving.
Plan for appliance movement, not just its parked position. The washer can shift slightly during an unbalanced spin cycle, so leave the manufacturer’s side and rear clearances. Hoses need enough slack to avoid kinks, but excess loops should not press against the wall or rub on the pan edge.
Also check the door or lid. A front-load washer needs room for the door to open fully and for a technician to remove the lower panel. A top-load machine needs clearance for the lid. The path for pulling the washer forward should remain usable after the pan is installed.
Choose Among Washing Machine Pans, Materials, and Drain Options
Most washing machine pans use molded plastic, galvanized steel, aluminum, or stainless steel. Choose based on the floor, expected moisture, handling needs, and available drain design.
- Molded plastic: Polypropylene and similar plastics are lightweight and resist corrosion. They are easy to move, but the floor must support them evenly so the pan does not flex or crack.
- Galvanized steel: Steel pans are rigid and can tolerate demanding installations. Scratches or damaged coatings can eventually allow corrosion, especially in persistently damp areas.
- Aluminum or stainless steel: These provide strong corrosion resistance and a durable finish. They may cost more and weigh more, but they suit areas where long-term moisture exposure is a concern.
Look for a smooth, rigid floor; a continuous lip; a formed drain location; and a fitting that matches the planned plumbing. Some washer pans include a preformed outlet, while others have a knockout or require a manufacturer-approved drain kit. Do not drill a new hole simply because the existing outlet is inconvenient. A misplaced opening can weaken the pan or leave water trapped at the low side.
When comparing washer pans, check the stated load and capacity limits. The pan must support the washer’s operating weight, including water and clothing, not merely its empty shipping weight. A higher lip does not automatically mean the pan can hold a large flood. Confirm whether a pedestal, stacking kit, or other base is permitted.
Plan the Laundry Pan Drain Location, Floor Level, and Fitting
Position the drain outlet where it can connect without crossing beneath a machine foot or forcing the appliance away from the wall. A rear outlet may suit a nearby standpipe, while a side outlet may work better in a tight alcove. Measure the fitting’s outside projection when checking depth.
An actively drained laundry pan needs a complete drainage route, not just an outlet in the tray. Confirm the fitting size, gasket or seal method, pipe material, and connection point. Many products use a common 1 1/2-inch outlet, but the manufacturer’s specification controls. Connect it to an approved standpipe, floor drain, or other permitted receptor according to local plumbing requirements.
Keep two leveling issues separate. The pan should sit level and remain stable so the washer feet stay supported. The connected drain line may need a continuous downward slope toward its receptor. If the pan has a molded floor slope, place its outlet at the intended low point; do not level the pan by tipping it toward an improvised drain.
Before placing the washer, test the fitting with a small amount of water. Check for seepage around the outlet and confirm that water reaches the drain without backing up. A pan without a connected drain is containment only, even if it sits near a floor drain.
Place, Connect, and Inspect Washer Pans Around the Machine
- Prepare the location. Shut off and disconnect the washer, remove debris, and inspect the floor for damage or an uneven area. Repair an unstable floor before setting the pan.
- Set and level the pan. Place it with the drain outlet in the planned position. Check that it does not rock, contact sharp trim, or sit partly on a raised threshold. Keep the lip clear of walls and access panels.
- Install and test the fitting. Complete the drain connection before the machine blocks access. Test for leaks and verify that the pipe does not lift, kink, or pull on the pan outlet.
- Move the appliance carefully. Use an appliance dolly or another method approved for the washer. Do not drag the machine across the pan or drop its feet onto the lip. Set every foot fully on the supported pan floor.
- Reconnect hoses and power. Keep supply and drain hoses free of sharp bends, rubbing, and excessive tension. Leave enough movement for vibration and later service, while keeping loops from pressing against the wall.
- Run an inspection cycle. Watch the supply connections, drain hose, pump area, and pan outlet during filling, washing, draining, and spinning. Confirm that the washer stays level and does not shift against the lip.
Inspect the pan after the first cycle and periodically afterward, such as during monthly laundry-room maintenance. Look for standing water, cracks, corrosion, shifted feet, loose fittings, and hose abrasion. If water appears, stop the washer, close its supply valves, identify the source, and remove the water promptly. The pan is a detection and containment aid, not a substitute for repairing the leak.