
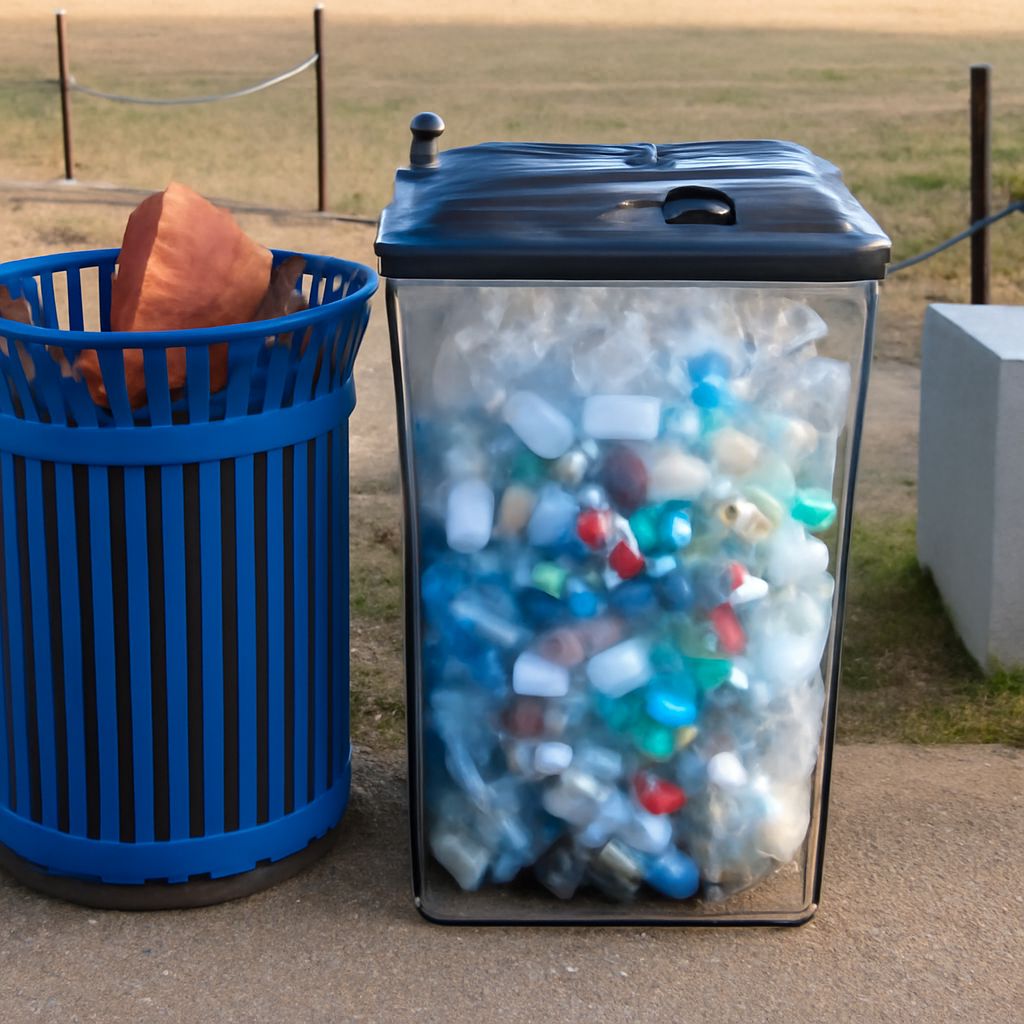
The right recycling bins depend first on your local collection rules. Identify which materials your program accepts, whether it combines or separates streams, and whether glass, deposit items, or organics require different containers.
Then match the system to your household’s weekly volume, available floor or cabinet space, and collection schedule. A practical setup usually includes separate capture for paper, containers, trash, and organics when required, plus a clear transfer routine for outdoor carts.
Recycling Bins Start With Locally Accepted Streams
Begin with your municipality’s accepted-material list rather than buying a divided bin. Programs vary, and one recycling container may not be suitable for every material in your area.
- Paper: Include newspapers, office paper, magazines, and flattened cardboard only when your program accepts them. Keep paper dry and loose.
- Containers: Collect accepted plastic, metal, and cartons together when the local program uses a mixed-container stream. Empty them before placing them in the bin.
- Glass: Use a separate box or recycling container if glass is collected independently. Glass can damage sorting equipment or contaminate other materials where it is excluded.
- Deposit items: Keep refundable bottles and cans in a separate, washable bag or crate if you return them for a deposit.
- Trash: Provide a distinct trash bin for non-recyclable packaging, food-soiled paper, and items excluded from recycling.
- Organics: Add a small lidded caddy for food scraps if your community collects compostables. Do not mix organics with paper or containers.
Follow the local rules for rinsing. Usually, containers should be emptied and scraped clean, not washed until spotless. A quick rinse is useful when residue would attract pests or contaminate paper. Never place a tied plastic bag of recyclables in a cart unless the program specifically allows it; many programs require recyclables to remain loose. Use liners for trash and organics only when permitted.
Choose Recycling Containers by Format, Capacity, and Footprint
Choose the format that makes correct sorting automatic. Measure the space before shopping, including the opening width, interior depth, lid clearance, and the path needed to remove the bin.
- Single bins: A single open bin suits one mixed recycling stream. It is inexpensive, easy to clean, and simple to carry, but it cannot separate glass or deposit items.
- Divided bins: These combine two or more sections for paper, containers, and sometimes trash. They save floor space, though small compartments fill quickly and can be awkward for bulky cardboard.
- Stackable bins: Stackable recycling containers work well in narrow utility areas. Use a stable base and keep the most frequently used stream at waist height.
- Pull-out bins: Cabinet pull-outs hide containers and provide a tidy kitchen setup. Check that the hardware supports the loaded weight and that the door opens fully.
- Lidded bins: Lids help contain odors, moisture, and pests, especially for organics or outdoor overflow. They slow access, so they are less convenient for clean, frequent recycling.
- Outdoor bins: Large wheeled bins or collection carts handle transfer from the kitchen and protect materials from wind. Use a secure lid and place the cart on a level, accessible surface.
For a one- or two-person household, start with about 5 to 8 gallons for recycling and 5 to 10 gallons for trash between weekly collections. Three or four people commonly need 8 to 14 gallons for recycling and 10 to 20 gallons for trash. Increase capacity for longer collection intervals, frequent deliveries, or limited access to the outdoor cart.
Allow roughly 1 to 2 inches of clearance inside a cabinet opening. A 10- to 13-inch-wide bin often fits beside plumbing, while a deeper 14- to 20-inch model may hold more without increasing width. Confirm the actual exterior dimensions, handle projection, lid swing, and liner size rather than relying on the stated gallon capacity.
Pair a Trash and Recycling Can With Kitchen Capture
A trash and recycling can works best when both sections sit at the point where waste is created, usually beside food preparation space or below the main counter. If a divided unit gives recycling too little capacity, use two separate bins instead.
Place the recycling section closest to the preparation area and the trash section where messy scraps are handled. Add an organics caddy only if it has a defined collection route. Keeping three clearly different openings is safer than forcing trash, food scraps, and recyclables into one crowded compartment.
For a pull-out cabinet, measure the clear opening after hinges and plumbing are accounted for. Leave enough room to lift out each full bin without scraping the cabinet. A removable inner bucket makes leaks easier to manage, while a foot pedal or wide rim improves hands-free use.
Use a washable liner or paper bag for organics if local rules permit it. Do not line recycling bins with a bag unless the collection program allows bagged material. A liner can hide contamination and lead to an entire bag being rejected. Keep a small spare box or crate nearby for cardboard that will not fit through the main opening.
Place the Recycling Container for Transfer and Overflow
Set the main recycling container on the shortest route between the kitchen and the collection cart. A utility area, mudroom, garage, or covered side entrance usually works better than a distant storage corner. The container should be easy to carry when full and close enough that overflow is visible.
Keep flattened cardboard beside, rather than inside, the main bin when it would block smaller items. Tie or bundle it only as local instructions require. Store deposit items in their own crate so they do not occupy recycling capacity or become mixed with ordinary containers.
Outdoor carts need a flat standing surface, a closed lid, and protection from rain, animals, and strong wind. Do not overfill a cart: materials should fall freely when tipped, and the lid should close completely. Leave enough clearance for the collection vehicle and keep the handle or wheels accessible.
If collection is weekly, transfer indoor recycling when the bin is about three-quarters full. That leaves room for bulky packaging and prevents a last-minute overflow pile. A household with biweekly collection may need a larger outdoor cart, a second approved cart, or more frequent drop-off of deposit items.
Label, Empty, and Clean the System
Labels should name the stream and show a few accepted examples. “Containers: empty plastic bottles, cans, cartons” is more useful than a recycling symbol alone. Add “no bags” or another important local restriction in smaller text. Use large lettering, high contrast, and matching colors across indoor bins and outdoor carts.
Place one label above each opening and another at eye level on a pull-out door or wall. If glass, organics, or deposit items follow different rules, give each its own color and unmistakable wording. Avoid long lists that nobody reads; point to the local accepted-material guide for unusual items.
- Check the level: Transfer recycling before the bin is full and remove cardboard that prevents loose items from falling freely.
- Empty correctly: Put acceptable items loose into the collection cart. Keep deposit items, glass, and organics in their designated streams.
- Prepare containers: Empty liquids, scrape food residue, and rinse briefly when needed. Keep lids and caps with containers only when local instructions permit.
- Inspect for contamination: Remove plastic bags, food scraps, liquids, and clearly non-accepted materials before collection.
- Clean the bins: Wipe dry materials weekly. Wash trash and organics buckets with warm soapy water when liners leak or odors appear, then dry them fully.
- Reset the stations: Replace permitted liners, return labels to view, flatten the next cardboard pieces, and place the empty bins back at their normal points.
For odor control, empty wet materials promptly, keep organics covered, and do not store liquid containers in recycling. A dry, labeled system with a predictable transfer day prevents most overflow and contamination problems.