
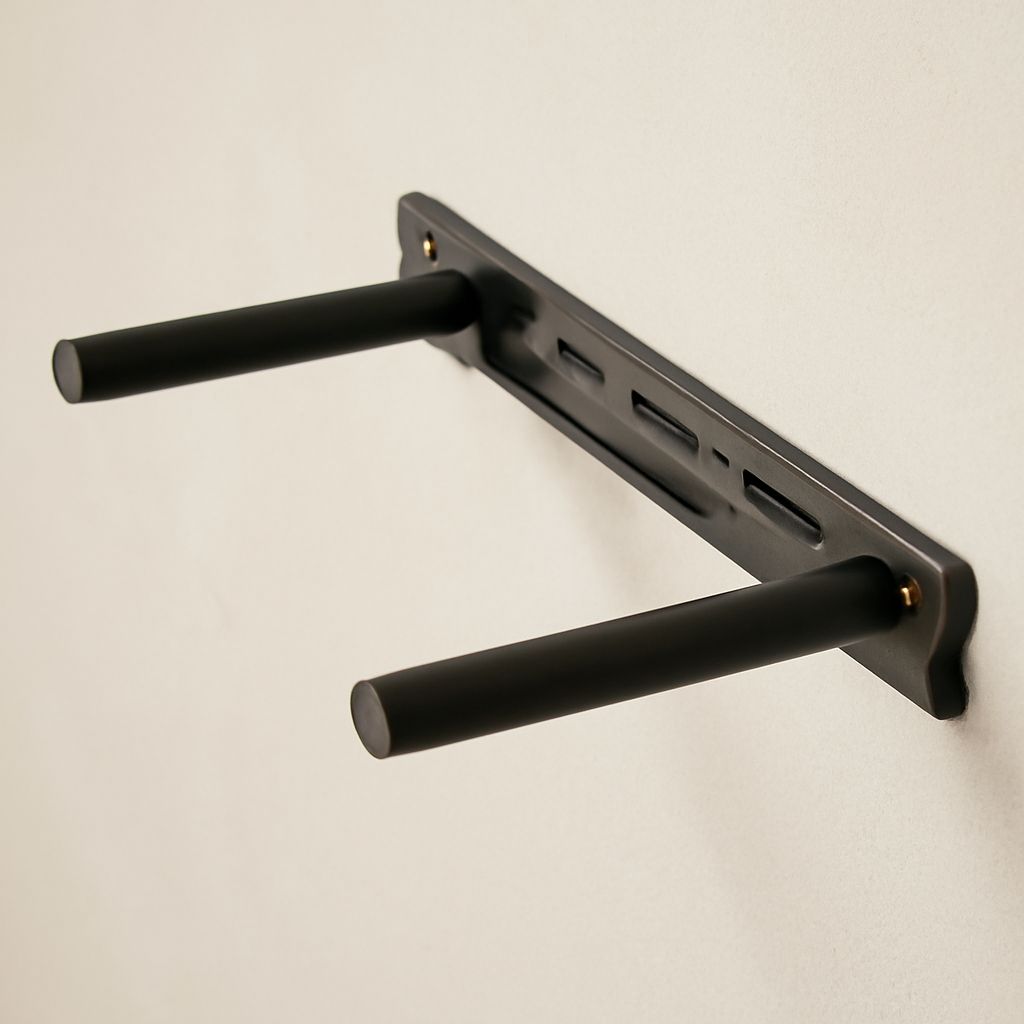
Choose metal shelf brackets by the complete support system, not by appearance alone. Match the bracket arm to the shelf depth, keep the load close to the wall, and fasten the wall leg into a stud or suitable masonry anchor whenever possible.
For most household shelves, fixed steel supports spaced 16 to 24 inches apart provide a stable starting point. Confirm the manufacturer’s load rating, then reduce spacing for heavy books, wide shelves, weak materials, or loads placed near the front edge.
Metal Shelf Brackets: Compare Utility, L, Decorative, Rail, Folding, and Concealed Designs, Finishes, and Corrosion Resistance
Utility brackets suit workshops, garages, pantries, and storage shelves. They typically use thicker steel, a deep arm, and a gusset or triangular brace. Choose them when capacity matters more than a minimal appearance.
L brackets have a horizontal arm beneath the shelf and a vertical leg against the wall. They are simple and compact, but an unbraced L bracket can flex under a heavy or forward load. Check the steel thickness and screw-hole pattern before relying on one.
Decorative brackets add shaped ends, scrollwork, or visible finishes. Their stated capacity varies widely. Treat the rating as the limit for the complete installation, not just the metal itself. Thin decorative designs may suit display shelves but not dense books or cookware.
Rail brackets attach to a horizontal wall rail, allowing the support positions to move. They work well when shelf layouts change. The rail still needs strong attachment at regular intervals, and each bracket must lock securely into its slot.
Folding brackets release the shelf when space is needed. Use them for temporary worktops, laundry areas, or occasional storage. They need a positive locking mechanism and should not carry a moving or shock load unless specifically rated for it.
Concealed brackets slide into a drilled channel or hollow shelf. They create a clean shelf mount, but require precise drilling and adequate shelf thickness. They are generally less forgiving than visible brackets and may offer limited capacity at the front edge.
For finishes, powder-coated steel resists ordinary indoor wear and is available in many colors. Zinc-plated steel offers useful protection in dry utility areas. Stainless steel is a stronger choice for kitchens, bathrooms, and other damp locations. Inspect cut edges, chipped coating, and exposed fasteners because corrosion often begins at damaged areas. Use corrosion-resistant screws that match the bracket and wall environment.
Match Metal Shelving Brackets to Shelf Depth, Thickness, Span, Arm, Leg, and Load
The arm is the horizontal part supporting the shelf. The leg is the vertical part attached to the wall. Measure both dimensions separately; a long arm does not compensate for a short wall leg or inadequate fastening.
Choose an arm that supports at least two-thirds of the shelf depth for light and medium loads. For books, tools, dishes, or other concentrated loads, use an arm close to the full shelf depth. Keep the front overhang modest, usually about one to two inches, unless the bracket design specifically allows more. A large unsupported overhang increases leverage and can tip the shelf or pull fasteners from the wall.
Shelf thickness affects both sag and bracket compatibility. A 3/4-inch shelf can work for light storage when supports are closely spaced. Heavy loads or longer spans usually need a thicker solid-wood shelf, laminated board, or reinforced plywood. Concealed supports may require a specific minimum thickness for their internal bar or mounting plate.
Span is the unsupported distance between supports. As a practical guide, use brackets about 16 to 24 inches apart for books or other heavy contents. Light decorative items on a stiff shelf may allow spacing up to 32 inches, but flexible boards need closer support. Place the outer brackets roughly 3 to 6 inches from each end, then distribute additional supports evenly.
Read load ratings carefully. Some ratings apply to one bracket, while others apply to a pair installed into a particular wall type. The rating may also assume an evenly distributed load close to the wall. A 40-pound load at the front edge creates more leverage than 40 pounds spread across the shelf. Use the lowest capacity among the shelf, brackets, fasteners, and wall substrate as the practical limit.
Plan Shelf Brackets: Overhang, Spacing, Wall Substrate, and Fastener Paths
Draw the shelf line and bracket positions before drilling. Mark the shelf ends, the desired overhang, and every bracket center. Check that doors, trim, outlets, and nearby shelves will not interfere with the arm or stored items.
Find studs with a stud finder, then confirm their centers with a small probe or pilot hole. Drive the main screws through the bracket’s wall leg into the stud, not merely into drywall. If the studs do not align with the preferred positions, adjust the layout or install a properly secured mounting rail.
For masonry, identify whether the wall is concrete, brick, or block and select anchors designed for that material. Drill with the correct masonry bit, clear the dust, and keep the anchor diameter and embedment within the manufacturer’s instructions. Avoid placing anchors in loose mortar unless the anchor system specifically permits it.
Drywall anchors can support light shelves when their stated capacity matches the load. They are not a substitute for stud or masonry attachment under heavy storage. Toggle anchors spread force behind hollow walls, but the wall panel itself still limits capacity.
Think through the fastener path: weight travels from the shelf into the horizontal arm, through the bracket and wall leg, then into screws and the stud, masonry, or anchor. Use every structural hole recommended by the bracket maker. Select screw length long enough for firm substrate engagement, but not so long that it contacts pipes or wiring.
Install the Shelf Mount: Mark, Pilot-Drill, Fasten, Level, Fix, and Gradually Load
- Mark the layout. Hold a straightedge at the required shelf height. Mark the bracket centers, wall-leg hole positions, and the shelf overhang at both ends. Recheck spacing before making holes.
- Mark the substrate. Confirm stud centers or select masonry anchor points. For a rail system, mark all rail holes and ensure the rail will sit level across its full length.
- Pilot-drill accurately. Use a bit suited to the screw, stud, masonry anchor, or wall anchor. Drill straight and to the required depth. A pilot hole that is too small can split wood or prevent the screw from seating; one that is too large reduces grip.
- Fasten the wall legs. Start each screw by hand, then tighten the bracket without crushing drywall or stripping the head. Keep the bracket face flat against the wall. For masonry, install each anchor fully before tightening its screw.
- Check level and alignment. Place a level across neighboring bracket arms and along the wall leg line. Correct small errors before fully tightening. If one bracket sits high, the shelf may rock or transfer excess load to the others.
- Fix the shelf to the brackets. Set the shelf in position, confirm the end overhang, and clamp or hold it steady. Drive short screws through the arm’s shelf holes from below. Choose screws that penetrate the shelf securely without emerging through its top.
- Test gradually. Press down lightly near each bracket, watching for movement, wall flex, screw withdrawal, or shelf cracking. Add a small portion of the intended load, wait briefly, and inspect again. Place the heaviest items over the supported areas and keep fragile or unstable loads away from the front edge.