
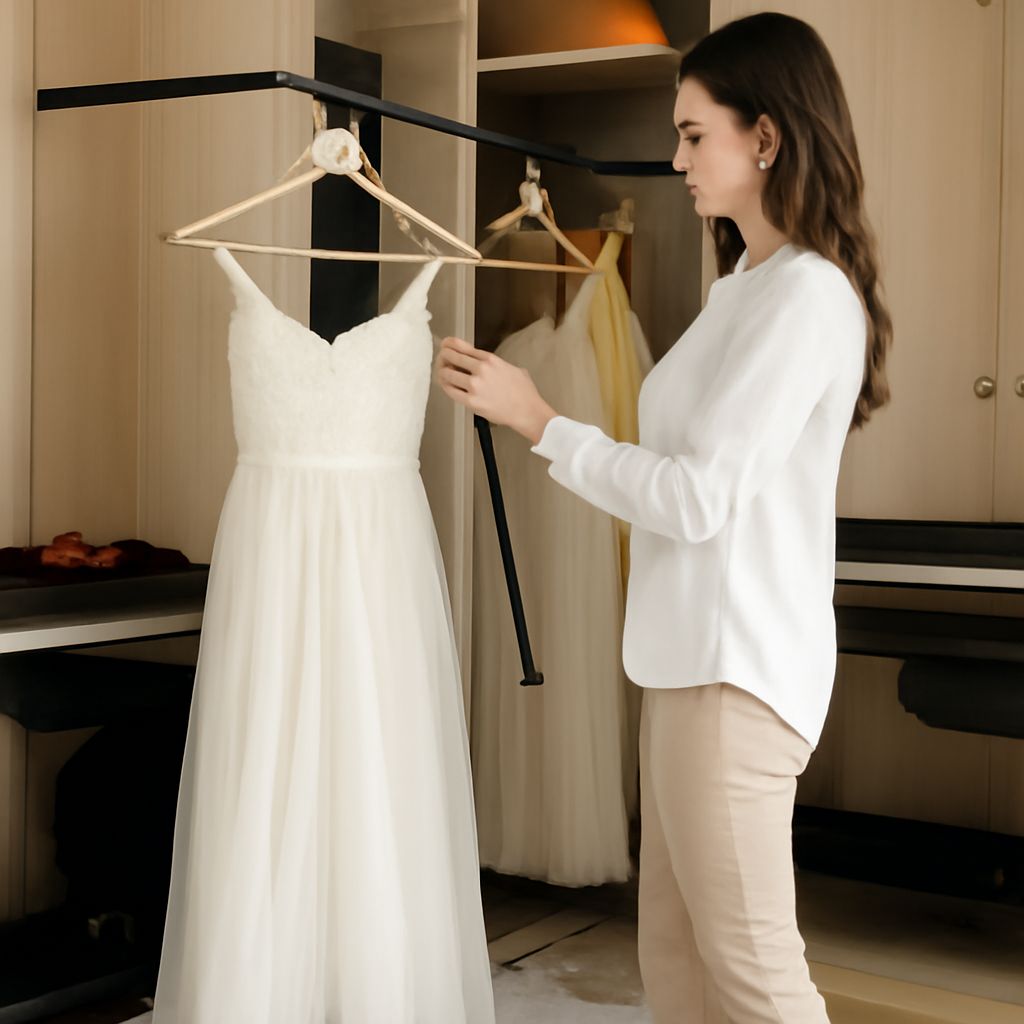
A pull-down closet rod makes high hanging space usable by bringing garments down to a reachable position. Select it by the cabinet’s internal width, mounting height, lowered arc, handle reach, load rating, and available clearance—not by the closet’s overall width.
The installation depends on strong side panels and accurate alignment. Before ordering a pull-down clothes rod, measure the opening at the actual mounting height, map the rod’s swing, and confirm that doors, shelves, and neighboring storage will not block its movement.
How a Pull-Down Closet Rod Works
A typical pull-down rod uses two side brackets connected to pivoting arms. The hanging bar swings forward and downward, then returns upward into the high storage position. A spring counterbalance or damper controls the movement so the loaded bar does not drop suddenly.
The rod’s lowered arc is larger than its final resting position. As the arms pivot, the bar usually moves both down and toward the user. The handle may also project below the garments. For that reason, check the entire swept path rather than measuring only the distance to the lowered bar.
Most models are designed for side mounting inside a cabinet or closet compartment. The side brackets carry the arm load, so they must sit on solid panels at the same height. A rod that fits between the panels can still fail if the panels are too thin, damaged, or unsupported.
Measure Internal Width, Height, and Swing
- Measure the internal width. Measure from the inside face of one mounting panel to the inside face of the other at the intended bracket height. Take measurements near the front, center, and back because cabinets are not always square.
- Allow for the brackets. Do not use overall closet width as the product width. Subtract the space occupied by side brackets, spacers, and any manufacturer-specified end clearance. Confirm whether the listed width describes the bar, the bracket centers, or the complete assembly.
- Check mounting height. Measure from the cabinet floor, shelf, or other obstruction to the bracket location. Compare that height with the rod’s raised and lowered positions. A high rod may fit when raised but strike a shelf when lowered.
- Map the swing. Mark the pivot locations on the panels. Use a stick, tape, or cardboard template to trace the forward and downward movement. Check the doors, face frame, shelves, drawers, lights, and adjacent hanging sections throughout the arc.
- Measure garment length and depth. Identify the longest items you will store, such as coats, dresses, or suits. Also measure garment depth from the back panel toward the door. Clothing that fits on the bar can still hit the door or shelving when the rod is lowered.
Record the narrowest internal width, not the average. If the opening tapers, size the assembly for the smallest measurement and preserve the required clearance on both sides. A few extra millimeters can prevent binding, but excessive side space may leave the brackets poorly supported.
Choose a Heavy-Duty Pull-Down Closet Rod
A heavy-duty pull-down closet rod is appropriate for dense clothing, long garments, or frequent use, but its rating must match the complete load. Include the rod, hangers, and clothing in the calculation. Use the manufacturer’s distributed-load rating, not a rating measured at one central point.
Compare these features before choosing:
- Rated capacity: Select a model whose stated load exceeds your normal filled load. A higher rating does not compensate for weak cabinet panels or unsuitable fasteners.
- Spring assistance: Spring-balanced arms reduce lifting effort. They should move smoothly under the intended load, not snap upward when the bar is empty.
- Damper control: A damper slows the return motion and can improve control in bedrooms, dressing areas, and shared storage.
- Bar length and construction: A longer bar places more leverage on the side brackets. Verify that the capacity applies to the chosen width, not only to a shorter version.
- Handle position: Choose a handle that remains reachable when the rod is fully lowered. A handle hidden behind garments or positioned too far forward will make the mechanism harder to use.
Panel strength matters as much as the rod rating. Solid wood, plywood, or a reinforced cabinet side generally provides better screw holding than thin particleboard. If the panel is weak, add suitable backing or a reinforcement method approved for the cabinet construction. Do not rely on short screws that grip only a thin finish layer.
Load the bar evenly from side to side. Concentrating heavy coats at one end can twist the arms, increase friction, and make the return motion uneven. If the rod feels difficult to lift when balanced, it may be overloaded or require spring adjustment.
When a Retractable Closet Rod Fits Best
A retractable closet rod is useful when the available width varies, the bar must telescope for removal, or front clearance is limited. Unlike a conventional pull-down mechanism, a retractable design may slide or shorten within its supports. This can simplify access in a narrow compartment, but it does not automatically provide the same capacity as a fixed-length pull-down assembly.
Choose a retractable design when you need adjustable width or occasional access to a shallow section. Choose a side-mounted pull-down design when the main goal is lowering a full row of clothes from a high shelf. Compare the same criteria for either option: usable width, load rating, panel support, operating clearance, handle position, and the manufacturer’s fastener requirements.
Check the lowered position against garment length. Short shirts may clear a shelf that catches long dresses. If the bar lowers into an aisle, allow room for the garments to swing forward without hitting a door, mirror, drawer, or neighboring storage. The user should be able to grasp the handle without leaning into the cabinet or standing on unstable furniture.
Mount, Adjust, and Test the Rod
- Prepare the panels. Transfer the bracket positions from your measurements. Keep both pivot points at the same height and the same distance from the front edge. Pre-drill only as specified for the panel material and supplied fasteners.
- Install spacers if required. Use the manufacturer’s spacers to clear a face frame, door hinge, or uneven panel. Spacers must sit flat and be secured so the brackets cannot shift under load.
- Fasten the side brackets. Use the specified screws or bolts and engage solid material. Tighten the hardware evenly without crushing a composite panel. Do not substitute fasteners that are shorter, narrower, or incompatible with the bracket holes.
- Check level and alignment. Place a level across the rod and compare the bracket heights. Operate the arms empty. Binding, rubbing, or a bar that rises unevenly usually indicates misaligned brackets or insufficient clearance.
- Adjust the spring or damper. Follow the product’s adjustment sequence. Make small, equal adjustments on both sides when required. The bar should lower with controlled effort and remain stable rather than dropping or springing upward.
- Test with a partial load. Hang a few garments evenly, lower the rod, and inspect the arms and fasteners. Add clothing gradually until the intended load is reached. Stop if the panels flex, screws loosen, or the mechanism twists.
- Check the return motion. With garments distributed across the bar, raise it fully and release the handle as directed. Confirm that it returns smoothly, stops in the raised position, and does not strike the ceiling, shelf, door, or adjacent storage.
Operate the handle rather than pulling down on the clothes bar unless the instructions specifically permit it. Keep the load balanced after installation, and recheck the hardware if the rod develops play, scraping, uneven movement, or a changed stopping position.