
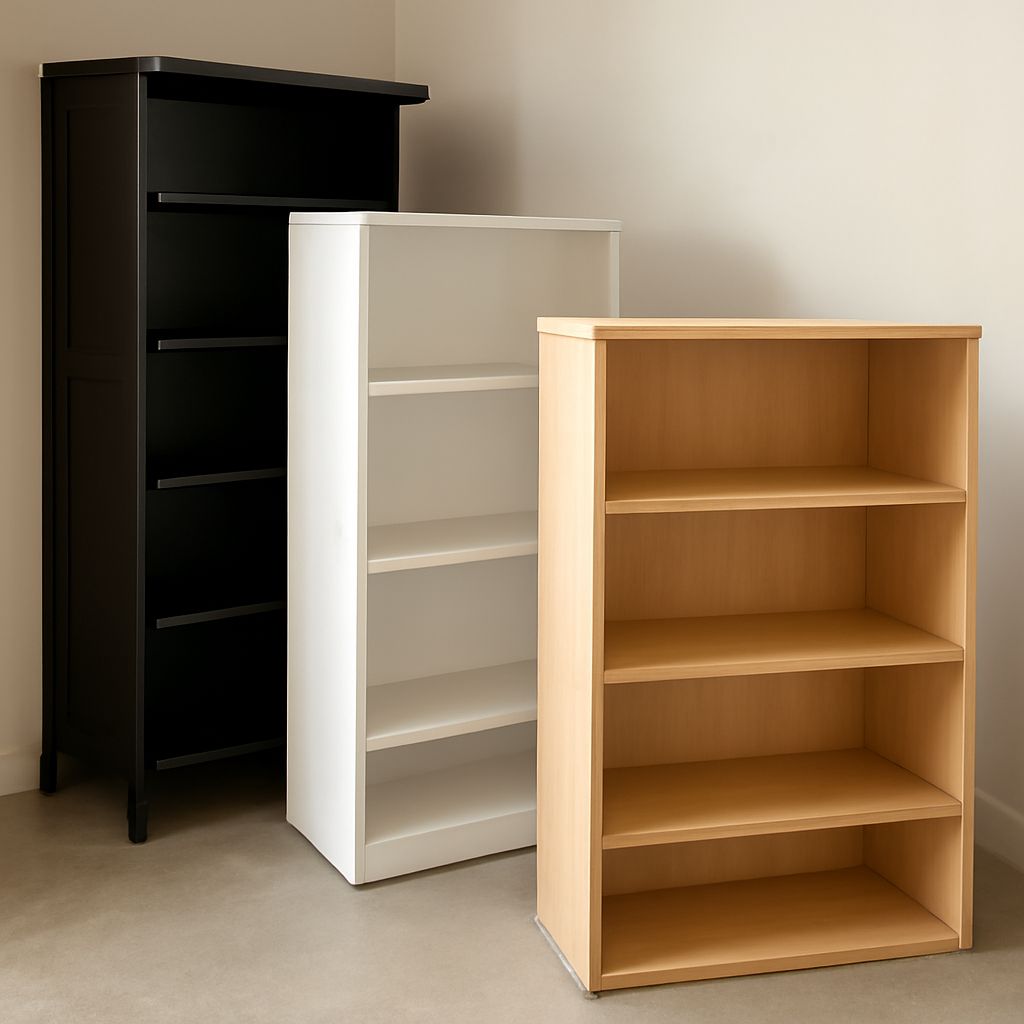
Gondola shelves form the adjustable runs used to display packaged goods, household products, health and beauty items, and general merchandise. A practical store plan starts with the base type, then matches upright height, bay width, shelf depth, load rating, accessories, and aisle space to the products being sold.
Single-sided units work against walls, while double-sided units create freestanding center-store runs. The following guide explains the parts, dimensions, layout decisions, and assembly sequence for a stable, easy-to-merchandise retail shelving system.
Gondola shelves: single- and double-sided bases
A single-sided base has one upright and one display face. It normally sits against a wall or perimeter fixture, so its back side needs less clearance. Common base depths range from 18 to 24 inches, with shelf depths selected to step inward above the base.
A double-sided base has uprights and shelves facing opposite directions. It creates a central aisle run and commonly uses a 36- to 48-inch overall base depth. Each side can have different shelf depths, heights, and merchandise categories.
The base deck is the lowest, strongest display surface. It sits above the floor and carries heavier or bulkier products. A front kick plate closes the lower area, protects stock from carts, and gives the fixture a finished appearance. Some designs use a recessed base, allowing products to sit farther back from the aisle.
Choose a single-sided configuration when the fixture must maximize wall capacity. Choose double-sided shelving when the store needs more display space within a defined floor area. In either case, keep heavy products low and distribute weight evenly across the run.
What a retail gondola includes: parts and accessories
A retail gondola is a connected system rather than one shelf. Its main parts work together as follows:
- Uprights: Vertical steel posts support the shelves and define the fixture height. Typical heights include 48, 60, 72, and 84 inches.
- Bases: The lower platforms support merchandise and help stabilize each section. Base depth determines how far the fixture projects into the aisle.
- Backs: Solid panels, pegboard, slatwall, or open backs close or organize the rear of a bay. Pegboard backs accept hooks, while solid backs create a cleaner visual boundary.
- Kick plates: Lower front panels protect the base and conceal the space beneath it.
- Shelves: Adjustable steel or laminated panels hold products above the base. Their depth and angle should match the package size and shopping behavior.
- Brackets: These attach shelves to the upright perforations. Use matching brackets on both sides, and confirm that each bracket is rated for the intended shelf load.
- Top caps: These cover the upper edge of the uprights or backs. They provide a finished top line and may support promotional graphics.
- End units: Endcaps or side panels finish the ends of a run. They can add display space, signage, or a secondary merchandise face.
- Peg hooks: Hooks hang blister-packed or bagged products from perforated backs. Select hook lengths that leave products visible without blocking adjacent items.
- Dividers: These separate product facings and keep small or shifting items aligned from front to back.
- Fencing: Low rails or wire restraints keep loose, round, or sloped products from falling forward.
- Signage: Header panels, shelf strips, and category signs identify departments, prices, promotions, and product groups.
Perforation spacing determines how precisely shelves and accessories can be positioned. Before ordering, confirm that the backs, brackets, hooks, and signage all use the same system.
Choose gondola retail shelving dimensions and loads
For most store plans, start with a 36- or 48-inch bay width. A 48-inch bay provides more facing capacity, while a 36-inch bay fits tighter walls, smaller departments, and narrower layouts. A starter bay includes the components needed to begin a run. Add-on bays extend the run by sharing an upright with the neighboring section, reducing cost and visual gaps.
Separate the key measurements before choosing a fixture:
- Bay width: The horizontal distance between uprights, usually 36 or 48 inches.
- Upright height: The total display height. Lower units improve sightlines; taller units add capacity along walls.
- Base depth: The front-to-back footprint of the lower deck and fixture.
- Shelf depth: The usable front-to-back display area above the base. Common options range from 10 to 24 inches.
- Shelf angle: Flat shelves suit boxed goods and stacked products. Downward angles improve visibility for bottles, cans, and small packaged items.
- Load rating: The permitted weight for each shelf, bracket, bay, or base under the stated conditions.
Do not treat shelf depth as the same measurement as base depth. A 24-inch base can support deeper lower stock while upper shelves step back to 12, 16, or 20 inches. Allow enough product clearance for labels, hand access, and replenishment.
Use the manufacturer’s load rating, not an estimate based on shelf appearance. Dense products such as canned goods, beverages, and paper products require particular care. Place the heaviest items on the base or lowest shelves, keep left-to-right weight reasonably balanced, and avoid concentrating stock at one end of a run.
Plan at least one or two adjustable shelf positions for each product group. This makes seasonal changes and new package sizes easier without replacing the fixture.
Plan runs, endcaps, and aisles
Begin with a scaled floor plan showing walls, doors, checkout areas, columns, coolers, service counters, and fixed equipment. Mark the shopping direction, then place shelving so customers can enter, browse, turn, and reach products without creating pinch points.
Calculate a straight run by multiplying the number of bays by the bay width, then add the width of end units, corner transitions, or service gaps. For example, four 48-inch bays create a 16-foot run before end treatments. Confirm the actual outside dimensions because uprights and end panels can add to the nominal bay measurement.
Keep a practical clear aisle width of roughly 36 to 48 inches, depending on cart traffic, product handling, and the store’s planned circulation. Use wider aisles near entrances, queue areas, intersections, and high-volume categories. Do not let endcap displays, dump bins, or promotional signs reduce the intended passage.
Endcaps provide high-visibility space for promotions, seasonal merchandise, or products linked to the adjacent aisle. Use them to present a focused group rather than unrelated excess stock. Check that an endcap does not block sightlines, doors, emergency equipment, or the turning path around the run.
Keep taller fixtures on perimeter walls when possible. Lower center runs improve visibility across the store and make signs easier to read. Group products by shopping mission, then use shelf strips, dividers, and consistent facings to make each bay easy to scan.
Assemble and configure a gondola fixture
Assemble the gondola fixture in a fixed sequence so the frame is level before shelves and stock add weight:
- Mark the run: Transfer the floor plan onto the site, including bay widths, end units, aisle edges, and door clearances.
- Build the starter bay: Install the base, uprights, backs, kick plates, and required frame connections. The starter establishes the first complete section.
- Add connected bays: Attach add-on sections to the shared upright or connector points specified for the system. Do not leave unsupported gaps between bays.
- Level the frame: Adjust the built-in feet or shims until each upright is plumb and the base does not rock. Check the run again after adding backs.
- Anchor where specified: Use the manufacturer’s required floor, wall, or adjacent-fixture anchors for the installation. Anchoring is especially important for tall, freestanding, or heavily loaded configurations.
- Install shelves: Fit matching brackets into the upright perforations, then set shelves at the planned heights and angles. Press each shelf down fully so the brackets seat correctly.
- Add accessories: Fit peg hooks, dividers, fencing, shelf strips, and signage. Keep accessory locations consistent within each product category.
- Load and inspect: Place heavy stock low, keep products within the shelf depth, and check for bowing, rocking, loose brackets, or blocked labels. Correct these problems before opening the run to shoppers.
For reconfiguration, unload one bay at a time, remove accessories, reposition brackets, and retest stability before restocking. A finished run should remain level, balanced, fully anchored where required, and clear of the planned aisle.