
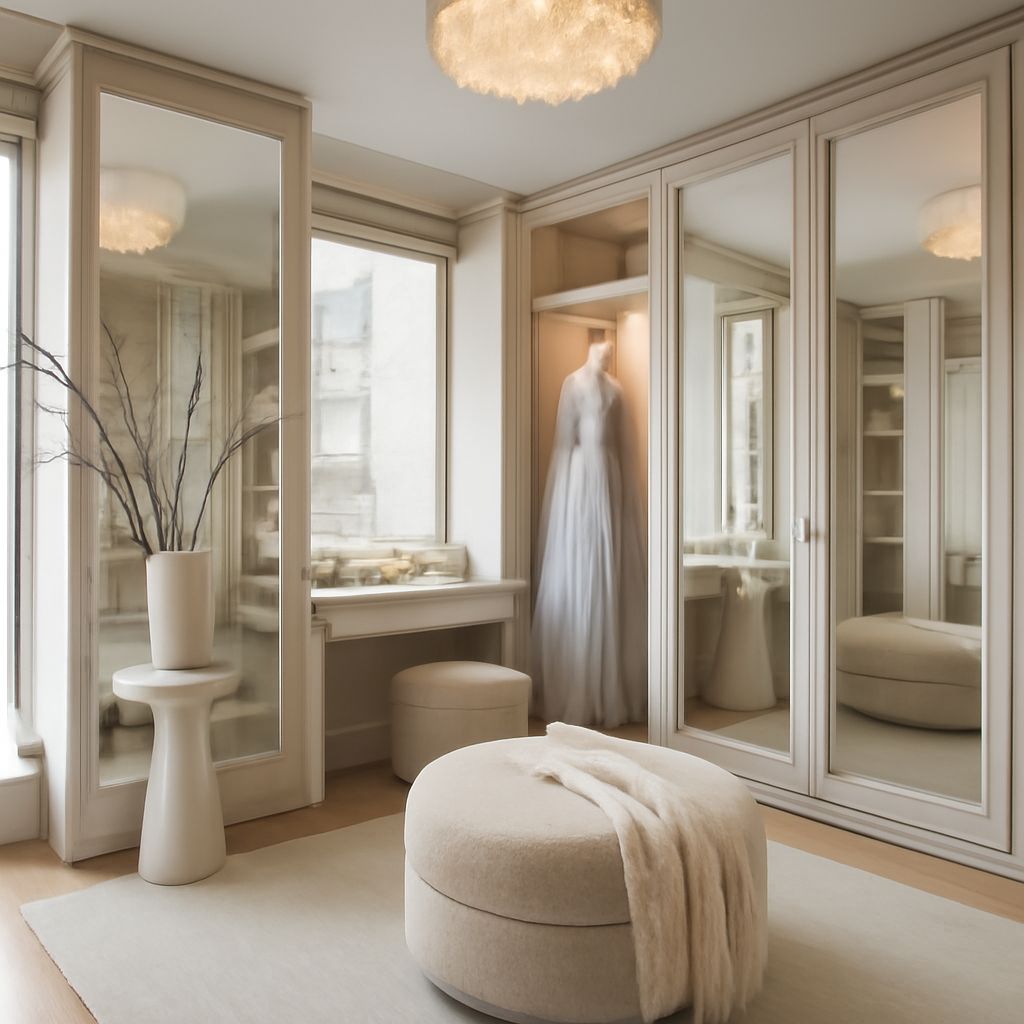
A mirrored closet door should be ordered from the finished opening, not the rough framing. Measure the opening width at the top, middle, and bottom, then measure height at both jambs and the center. Use the smallest dimensions, inspect the jambs and floor, and apply the door manufacturer’s deductions.
For a typical two-panel bypass installation, specify the finished opening, panel overlap, track type, frame finish, mirror safety backing, handles, and available access width. The track system determines the final deductions, so do not assume every door uses the same clearance.
Mirrored Closet Door Types: Bypass Overlap and Access Width
Bypass doors slide past each other on parallel tracks. One panel sits in front of the other, allowing both panels to cover one opening without requiring swing clearance. This is the standard format for many sliding mirrored closet doors.
The panels need a deliberate overlap so the closet remains visually closed when the doors meet. If two equal panels cover an opening of width W and the required overlap is O, a basic starting point is:
Panel width = (opening width + overlap) ÷ 2
That formula is only a planning reference. End frames, rollers, track stops, and the manufacturer’s fitting deductions can change the order size. Follow the selected system’s specification before purchasing glass panels or a complete door kit.
Access width is smaller than the full opening. With one panel moved aside, the usable passage is approximately the panel width minus the overlap and any frame interference. A larger overlap improves closure and reduces gaps, but it reduces access. Confirm the clear opening if you need to move shelves, drawers, or bulky storage through the closet.
Other formats include framed glass panels, frameless panels, center-opening sets, and top-hung systems. Framed panels generally offer protected mirror edges and a more forgiving installation. Frameless designs appear lighter but demand careful edge handling and compatible hardware. For ordinary reach-in closets, bypass sliding closet mirror doors provide the simplest combination of coverage and floor-space efficiency.
Measure the Finished Opening for Sliding Mirrored Closet Doors
Measure only after the flooring, trim, jambs, and header surfaces that will remain in the finished installation are complete. The finished opening is the clear space inside the jambs, from the finished floor or sill to the actual mounting surface above.
- Check the jamb condition. Look for loose trim, bowed jambs, damaged drywall, and insufficient solid material for fasteners. Repair weak or uneven surfaces before measuring. A track cannot compensate for a header that is not secure.
- Measure width in three places. Record the distance between the left and right jambs at the top, middle, and bottom. Use the narrowest measurement when the opening is not uniform.
- Measure height in three places. Measure from the finished floor to the header or track mounting surface at the left, center, and right. Use the shortest height for the order calculation.
- Check level and plumb. Place a level across the header and floor, and check both jambs vertically. Measure the diagonals if the opening looks out of square. A substantial difference indicates that the frame may need correction.
- Record depth and obstructions. Measure the available headroom and track depth. Note baseboards, outlets, light switches, shelves, and adjacent walls that could restrict panel travel or handle clearance.
Write down the smallest width and height, plus the amount of variation at each point. Then apply the exact ordering deductions for the track and panel system. Height deductions create running clearance for rollers, guides, and floor irregularities; width deductions account for track stops and frame fit. Never subtract a generic amount unless the manufacturer specifies it.
Uneven floors deserve special attention. If the floor rises beneath one side of the opening, a door may bind, rock, or show an inconsistent gap. Correct the floor or install a suitable sill before ordering when possible. If the system uses a floating floor guide, confirm that it can accommodate the measured variation without lifting the panel.
Choose Panels, Frame, Track, Handles, and Safety Backing
Panel weight affects both the track and the roller assembly. A large mirror, thick glass, or substantial edge frame can make a panel much heavier than a lightweight wood door. Select hardware rated for the complete panel weight, not merely its dimensions. The track, hangers, rollers, and fasteners must work as one rated system.
Top-and-bottom-track systems guide the panels at both edges. They usually feel stable but require a clean, level floor track or guide. Top-hung systems carry most of the load at the header and use a bottom guide to control swinging. In either design, the header must provide solid fastening. Do not rely on thin drywall or unsupported trim.
Choose the frame finish to coordinate with nearby hardware. Aluminum, steel, and painted finishes vary in profile depth, edge protection, and visible sightline. Edge frames protect mirror edges from impact and help conceal small alignment differences. Frameless panels require more careful handling and precise compatible hardware.
Specify safety backing for every mirror panel. A safety film or bonded backing helps retain fragments if the mirror breaks, but it does not make the glass unbreakable. Confirm that the backing is factory-applied and compatible with the door manufacturer’s frame and warranty requirements.
Handles should suit the panel overlap and the direction of travel. Recessed pulls preserve clearance between bypass panels. Surface pulls may be easier to grip, but they can strike the adjacent panel or limit the closing overlap. Position handles where they remain reachable without forcing fingers between moving panels.
When comparing closet doors with mirrors, compare more than the visible glass. Check the complete panel weight, frame depth, track capacity, replacement roller availability, safety backing, and the clear access width after installation.
Install and Adjust Sliding Closet Mirror Doors: Tracks, Guides, and Rollers
- Prepare and level the opening. Remove loose trim and correct significant jamb or floor problems. Mark the centerline and confirm that the header is sound. Shim the track where necessary rather than forcing it to follow an uneven surface.
- Install the top track. Position it according to the system’s front-to-back offset and secure it into the header or blocking. Check the track with a level from end to end. A sloping track can cause panels to drift open or closed.
- Fit the bottom track or floor guide. For a bottom track, place it directly below the top track and keep it parallel. For a guide, center it in the travel path specified by the hardware instructions. Anchor it to a stable, level surface without blocking the panel’s required overlap.
- Hang the rear panel first. Lift the panel carefully and engage its upper rollers or hangers in the rear channel. Then install the front panel in the front channel. Keep the mirror supported; do not drag an unprotected edge across the floor or track.
- Set the panel height. Turn the roller adjustment screws equally on both sides until the panel clears the floor or guide and maintains a consistent gap. Adjust one side at a time only for minor correction. Large differences indicate a leveling or installation problem.
- Check overlap and stops. Close the panels fully and confirm that the meeting stiles overlap as specified. Set track stops so the panels do not strike the jambs, handles, or each other. Verify that the panels cover the opening without exposing a side gap.
Operate each panel across its full travel several times. It should roll smoothly without scraping, rocking, jumping, or drifting. Check that the rollers remain engaged, the guide does not pinch the panel, and the handles clear the neighboring door. Recheck the level after adjustment because tightening fasteners or shifting a guide can change alignment.
Keep tracks free of grit and vacuum the channels periodically. Clean mirrors with a soft, nonabrasive cloth and prevent liquid from collecting at the frame edges. If a door becomes difficult to move, inspect the track, guide, rollers, and floor level before applying lubricant; some roller systems require cleaning rather than oil.