
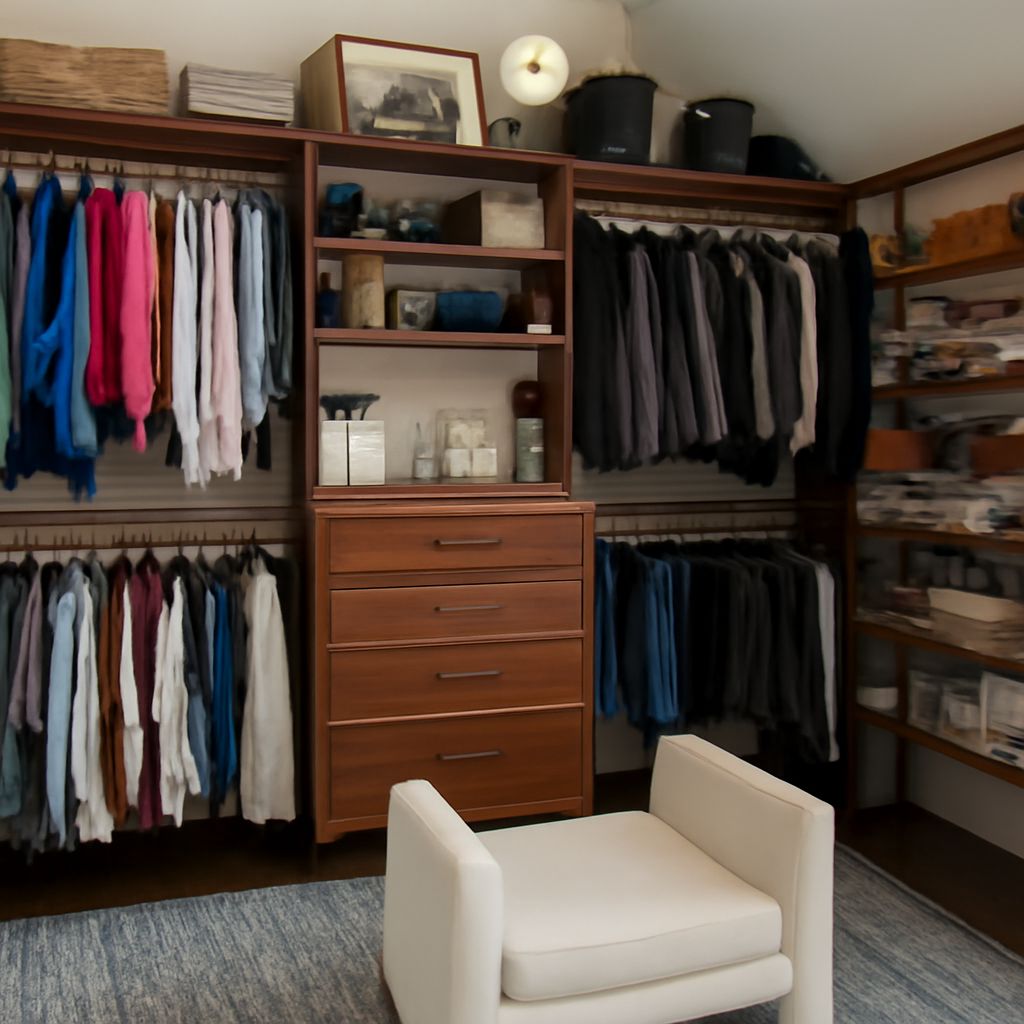
To learn how to organize your closet, follow this order: remove everything, edit what you own, measure the space, then create zones based on use. Do not buy bins or shelving before you know what must fit.
If your note says “organize my closet,” start with the same reset. Organizing your closet becomes easier when every item has a defined location and the most-used pieces stay easiest to reach.
Empty, Group, and Edit: Keep, Repair, Relocate, Donate, or Store Seasonally
Take all clothing, shoes, bags, and accessories out of the closet. Work on a bed or clean floor so you can see the full volume. Vacuum shelves and corners before returning anything.
Make five decision piles, then handle each item once:
- Keep: Choose items that fit, suit your current life, and are worn regularly or intentionally kept for a specific occasion.
- Repair: Set aside missing buttons, loose hems, broken zippers, and shoes needing resoling. Give repairs a deadline, such as two weeks.
- Relocate: Move luggage, sports equipment, formalwear, sentimental pieces, or rarely used linens to a more suitable storage area.
- Donate: Remove duplicates, uncomfortable pieces, unworn purchases, and clothing that no longer fits your lifestyle. Bag donations immediately.
- Store seasonally: Keep current-season clothing accessible. Box or vacuum-store genuinely off-season items, but label the container and record where it lives.
Try on uncertain items only after the obvious decisions are complete. Keep a piece if it fits now, works with several outfits, and you would choose it again. If you are unlikely to repair or wear something soon, it should not return to the closet.
Measure Rods, Shelves, Floor Space, Doors, and Vertical Gaps
Measure before shopping for organizers. Record dimensions in inches or centimeters, using the usable interior space rather than the outside frame.
- Rods: Measure each rod’s length, depth from the back wall, and height from the floor or shelf. Note whether a rod is single or double-hung.
- Shelves: Record the width, depth, thickness, and clearance between shelves. Check whether shelves are fixed or adjustable.
- Floor: Measure the clear width and depth beneath hanging clothing. Include baseboards, doors, and vents that reduce usable space.
- Doors: Measure door width, height, and clearance when open. Check hinge placement before considering an over-door rack.
- Vertical gaps: Measure the space above the top shelf, below hanging rods, and between the floor and short garments.
Sketch the closet from the front and side. Mark outlets, trim, obstructions, and walking clearance. The finished map should show where hanging, folded, shoe, and accessory zones can fit without blocking retrieval.
How to Organize Your Closet by Frequency, Length, and Category
Assign prime space by frequency first. Keep daily clothing between shoulder and hip height, where it is visible and easy to remove. Put occasional and backup items higher or farther back. Reserve low areas for shoes, hampers, and heavier containers.
Next, group clothing by category, then arrange each category in a practical sequence. For example, place work shirts together, followed by casual tops, sweaters, trousers, skirts, dresses, and outer layers. Within a category, sort by color only if it helps you choose faster.
- Use short-hang space for shirts, jackets, folded trousers, and skirts.
- Use long-hang space for dresses, coats, jumpsuits, and other full-length garments.
- Place the garments you wear most often at the front or nearest your usual dressing area.
- Keep complete outfit components near one another when that speeds up dressing.
- Separate clean, worn-once, and laundry-bound clothing so items do not return to the wrong zone.
The best layout reflects your retrieval pattern. If you choose clothes by outfit, group outfits or related pieces. If you dress by garment type, use clear category blocks. A system is successful when you can find an item without moving several others.
Return Clothes, Shoes, and Accessories: Hang, Fold, Bin, and Place
Return only the items assigned to keep, repair, or current-season storage. Leave space between categories; a tightly packed rod makes even a well-zoned closet difficult to use.
- Hanging clothes: Use one consistent hanger style when possible. Slim matching hangers maximize rod capacity, while sturdy wooden or shaped hangers suit heavy coats and structured jackets. Face all hangers the same direction.
- Folded clothes: Fold knitwear, denim, activewear, pajamas, and T-shirts into stable stacks or vertical rows. Vertical folding works well in drawers and bins because every item remains visible.
- Bins: Use measured bins for scarves, swimwear, belts, small accessories, and off-season pieces. Avoid deep containers for daily items; they hide the contents and encourage overfilling.
- Shoes: Put everyday shoes on the floor or a low shelf near the closet opening. Pair them toe-to-heel or side by side. Store occasional shoes higher, and keep delicate pairs in breathable boxes with labels.
- Accessories: Hang bags from sturdy hooks or place them upright on a shelf. Use shallow trays or divided containers for jewelry, sunglasses, watches, and hair accessories.
Keep frequently used accessories close to the clothing they complete. For example, place belts near trousers and work bags near workwear. Do not stack items so high that removing one piece disturbs the rest. Leave a small amount of spare capacity in every active zone.
Label Each Zone and Make Organizing Your Closet Easy to Maintain
Label bins, shelves, and seasonal containers with specific terms such as “winter scarves,” “gym tops,” or “formal shoes.” Labels should identify the contents at a glance, not merely say “miscellaneous.” For open shelves, use labels only where categories are easy to confuse.
Use a short recurring reset instead of waiting for another full closet overhaul:
- Daily: Return each item to its zone after dressing. Place worn-once clothing in a designated airing or re-wear spot.
- Weekly: Hang displaced garments, pair shoes, refold unstable stacks, and empty the laundry transition area.
- Monthly: Remove repairs that remain unfinished, relocate misplaced items, and check whether any zone is becoming crowded.
- Seasonally: Rotate clothing only after reviewing what was actually worn. Edit duplicates before storing anything.
If a zone repeatedly fails, change the layout rather than blaming the routine. A crowded shelf needs fewer items or a different folding method; a neglected bin may be too high, too deep, or poorly labeled. A useful rule when I organize my closet is to make the easiest action the correct one: daily pieces stay visible, laundry has a defined route, and every container has a clear limit.
The practical answer to “how to organize my closet” is therefore an edited inventory, measured zones, and a reset schedule that matches how you actually get dressed.